
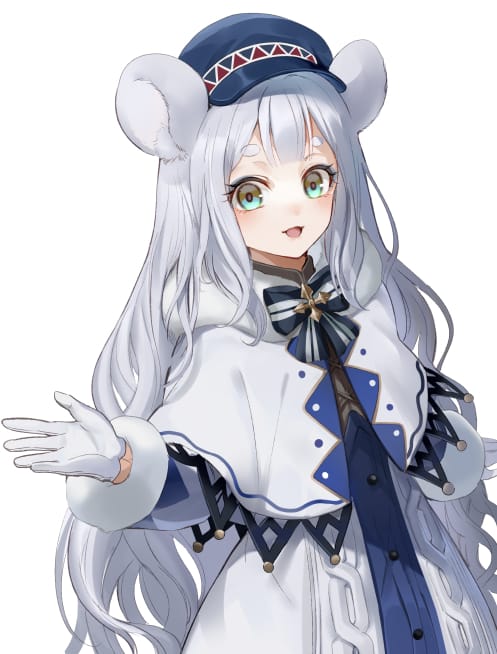
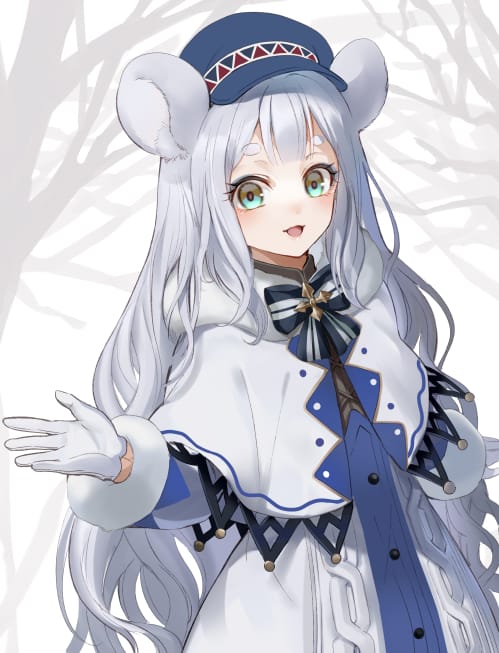
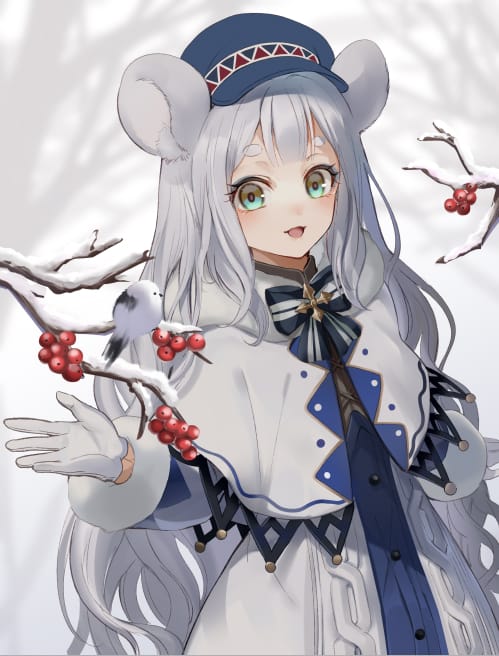
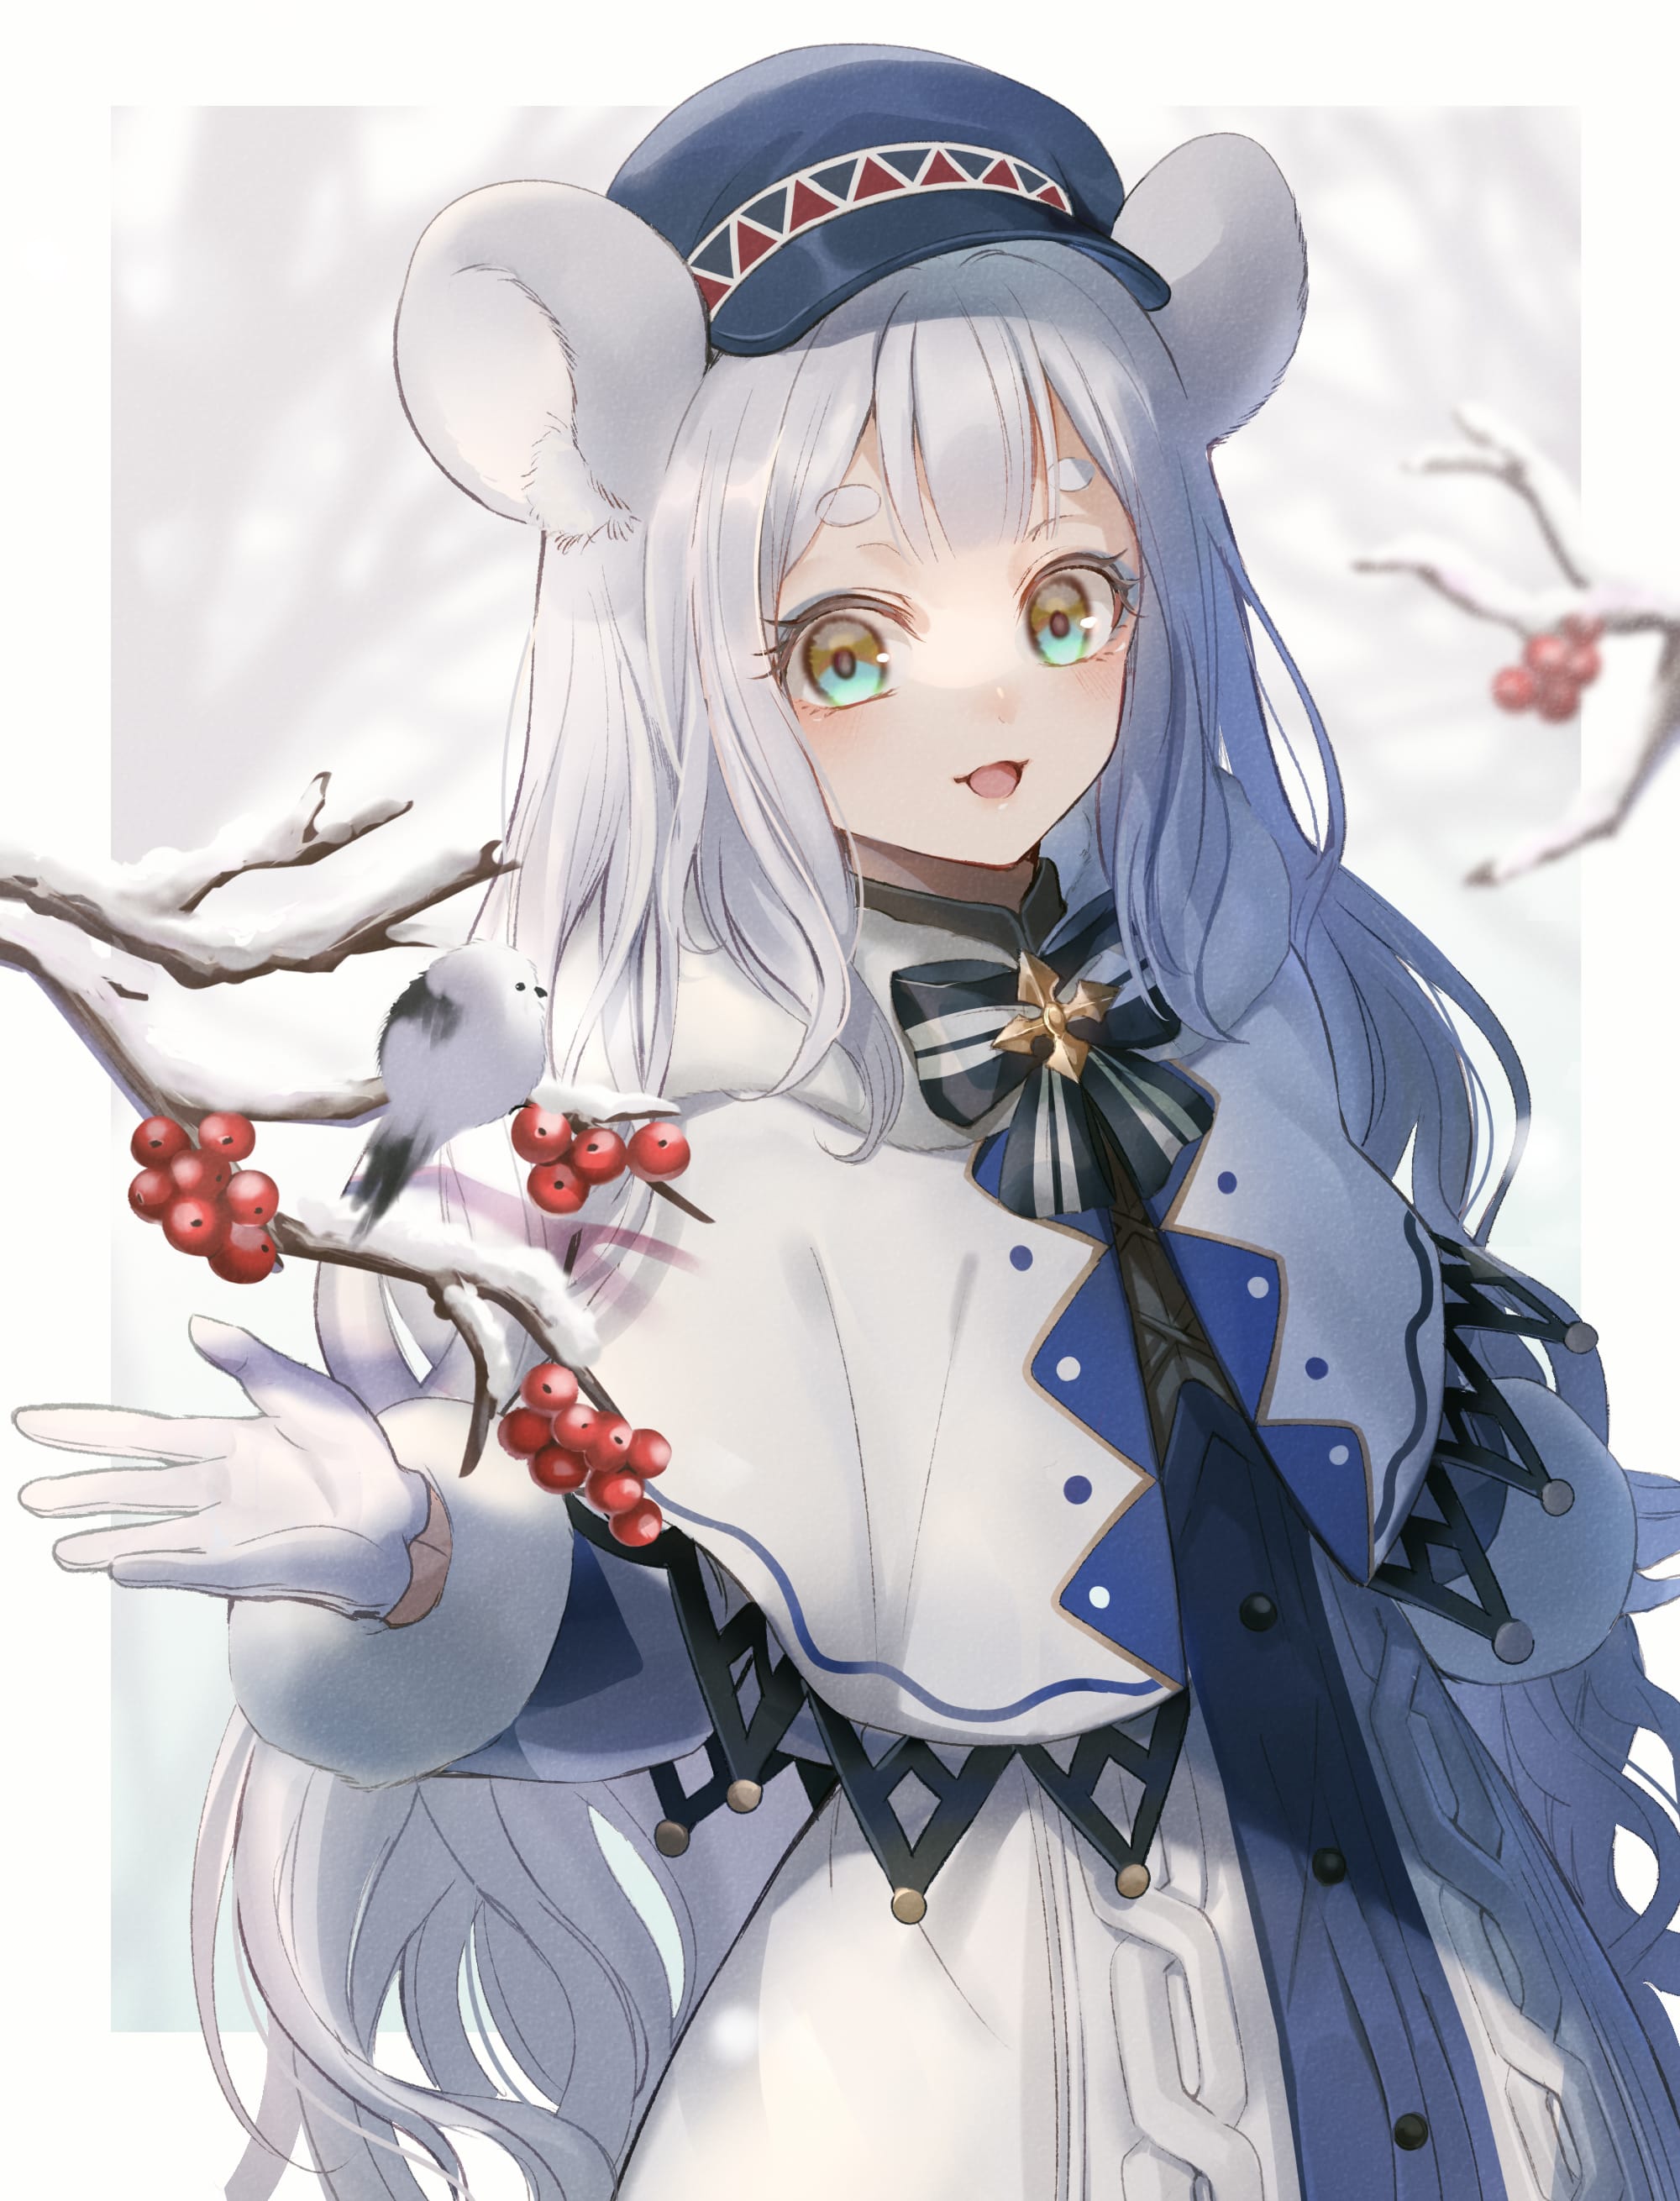
Illustration Making (Mouse Girl in Snow Country)
2021-02-26

Hello, I am Mido and I'm an illustrator. This time, I'm going to show the whole process from 1~10 in SAI!
I have been using SAI for more than 10 years now, which can express the delicate gradation of brushes and watercolors beautifully.
I hope that the making of this page will help your drawing and show SAI’s appeal to you.
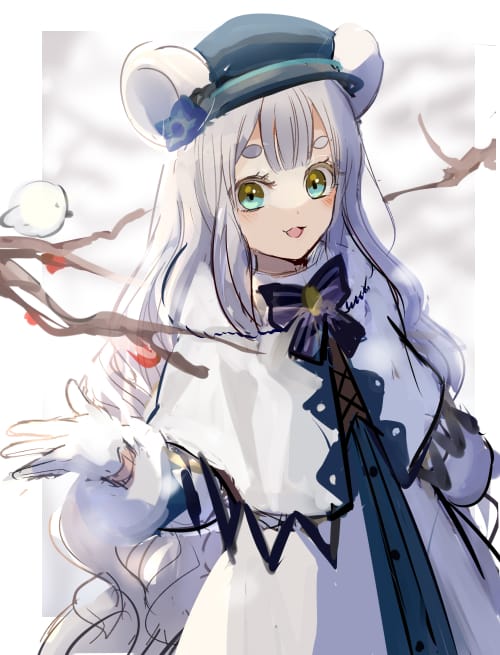
This time I will be working on the theme "Mouse Girl in Snow Country".
The canvas size is about between 2000~3000px (2000x2600px size for this tutorial).
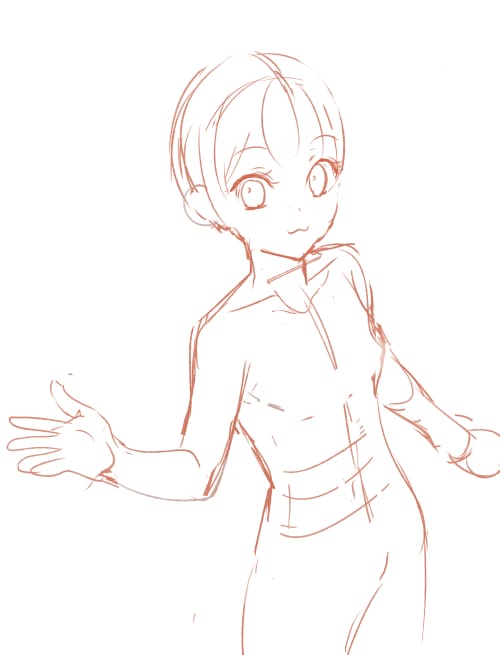
The first step is to draw a rough outline of the person.
On top of that, add a new layer of hair and clothes with different colors of lines.
You can see the shape of the body clearly, so it is easy to dress it.
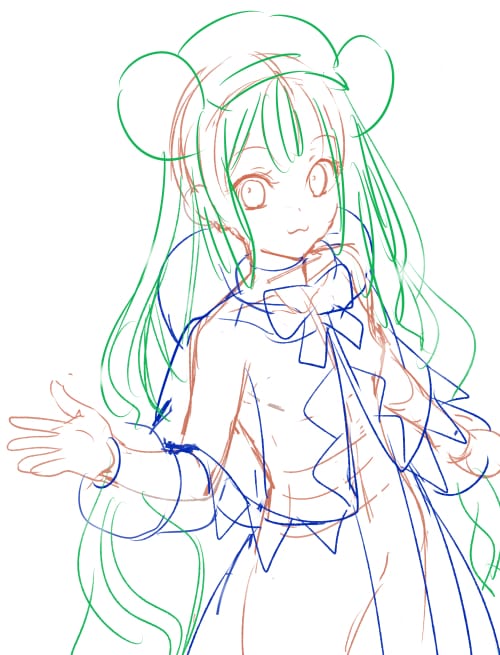
After adding colors and a background, the rough sketch is almost complete.
Since I prioritize the overall image of the finished product, the details are drawn roughly.
As for the details, they are solidified while drawing in the line drawing stage, so I often make up for it by force without tracing the rough drawing accurately (not recommended).
When I am working on a line drawing, I set the image stabilization to a high value, usually around 10, so that I can draw a smooth line drawing. When coloring, I lower the value slightly.
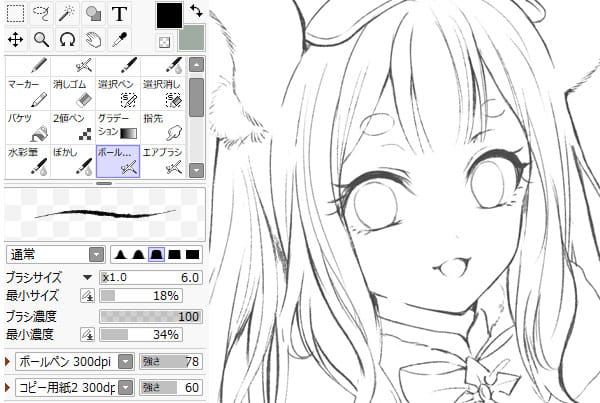
I borrowed the pen settings (https://www.pixiv.net/artworks/44370569) distributed by a volunteer to use for line drawings.
It's very useful for line drawings because it gives a rough, analog texture like a pencil drawing.
Here is a rough sketch. The transparency is reduced to about 10-20% to make it easier to draw.
I draw the line drawing with the rough drawing colored, but as I mentioned above, I hardly follow the rough drawing...
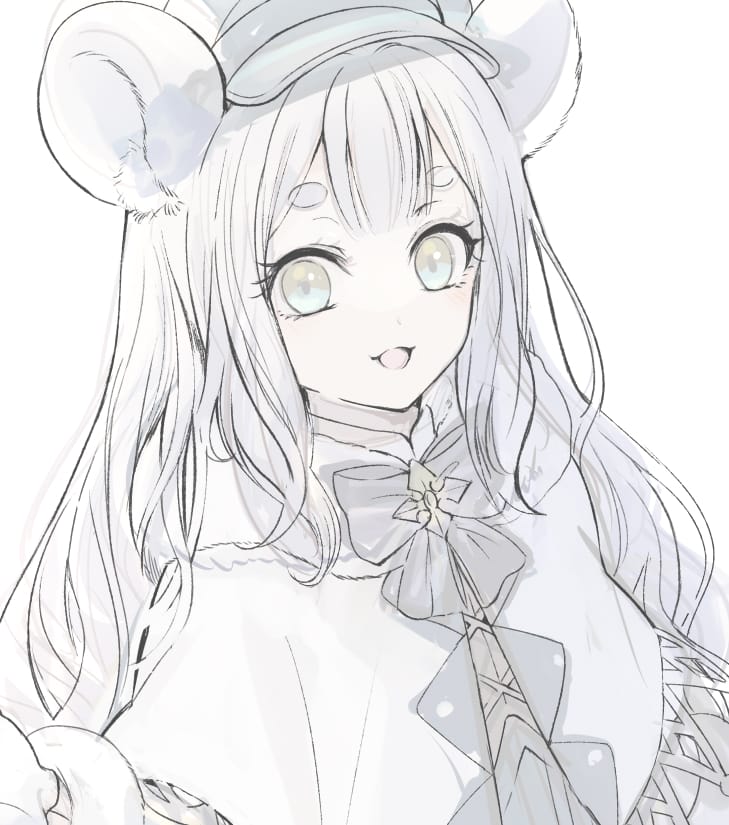
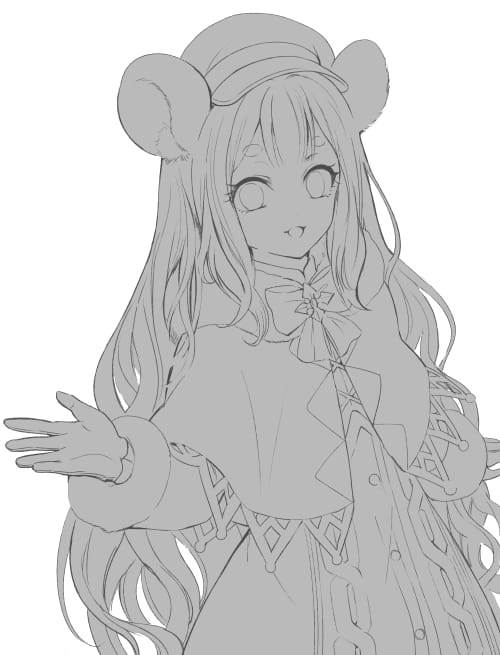
The line drawing is now complete.
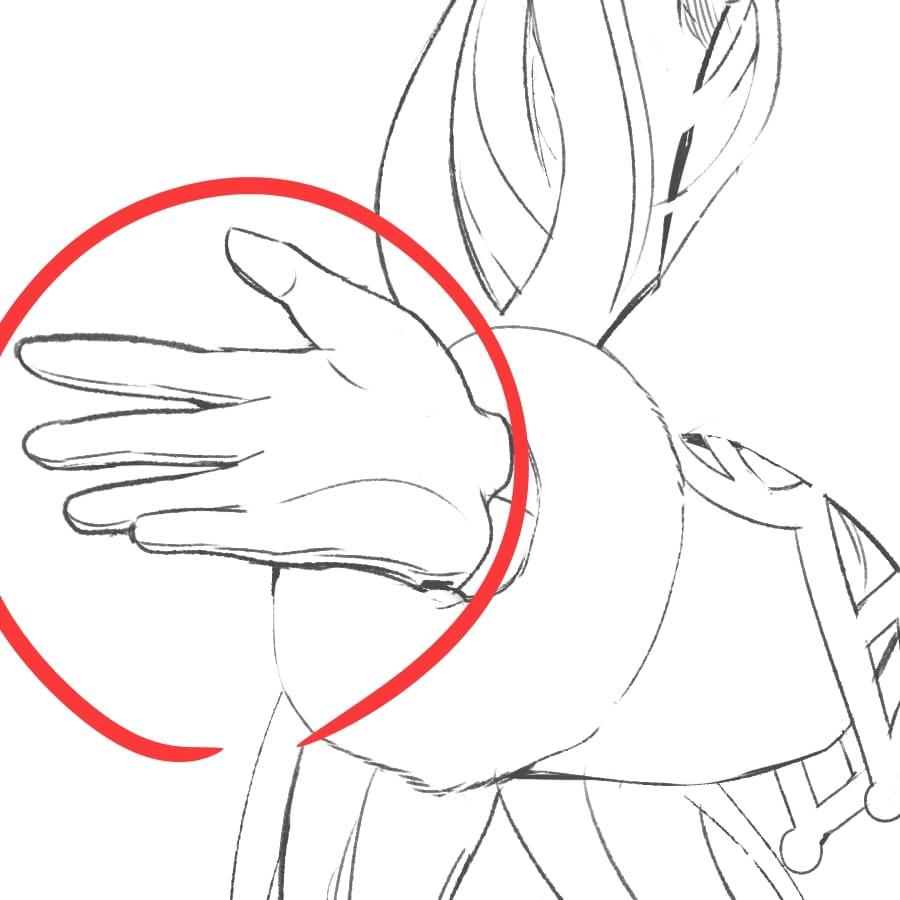
In order to create a sense of perspective, I made the lines a little thicker in the areas where the hand is in front, such as the right arm.
I think that having both thin and thick parts gives the line drawing a crisp and clear finish that looks good as a picture.
↑The part of the line drawing that is made thicker is mainly the outline.
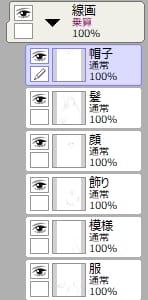
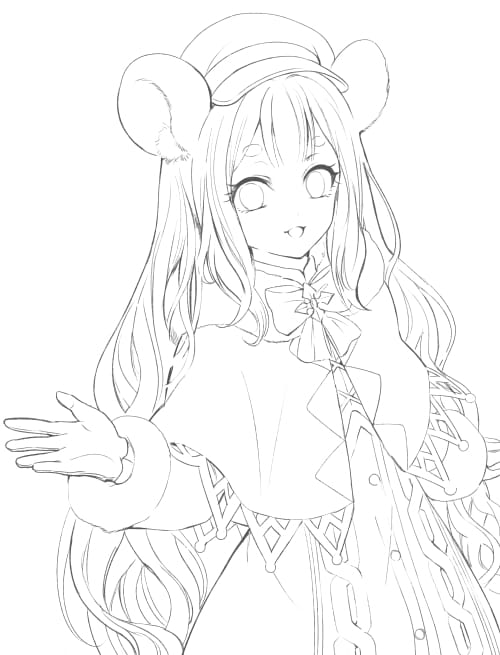
The line drawing layer is organized as above.

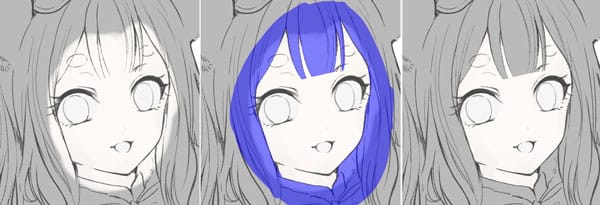
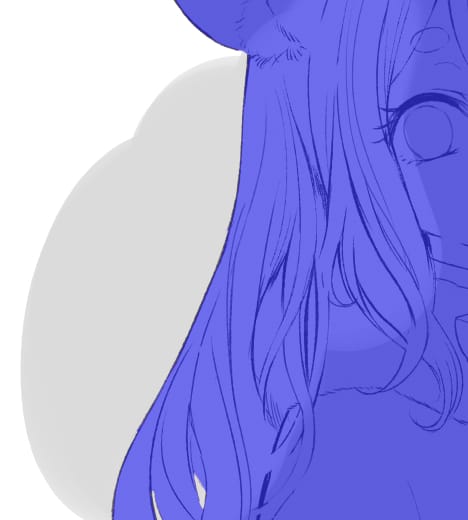
First, select the area outside the person using automatic selection.
Next, "Invert Selection" will allow you to select a person.
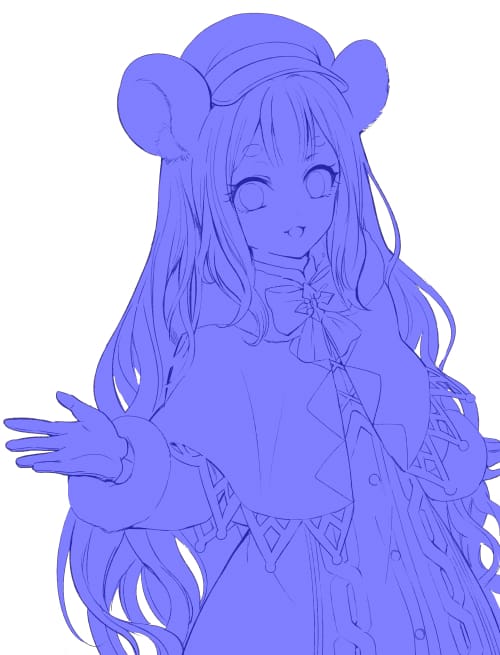
I was able to paint the silhouette of a person by the bucket.
I place color to a little more area than the area of the face.
Then select the outer part of the face and delete it to beautifully apply the color to the face.
For the hair, place a color that extends beyond the line drawing as well.
Then, hold down the ctrl key and click on the person silhouette layer you just created to create a selection on the layer you clicked on.
If you use this to flip the selection and delete it, you can easily erase the part of the image that extends beyond the person.
↑Repeat the above steps to complete the primer coat.

It is also recommended to change or brighten the color of the line drawing to match the color of each part, so that the line drawing will blend in better with the picture.
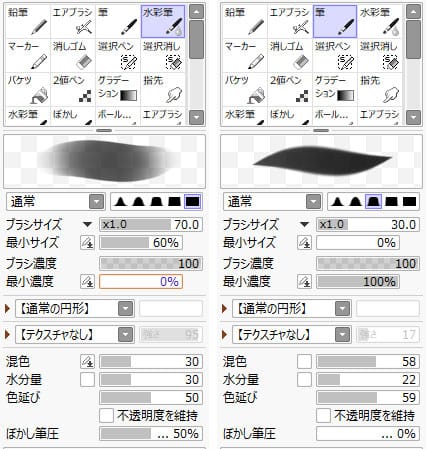
When I paint in SAI, I basically only use the brush and watercolor brush tools.
I'm still working on the pen settings for the brush, but this time I used these settings to paint the colors.
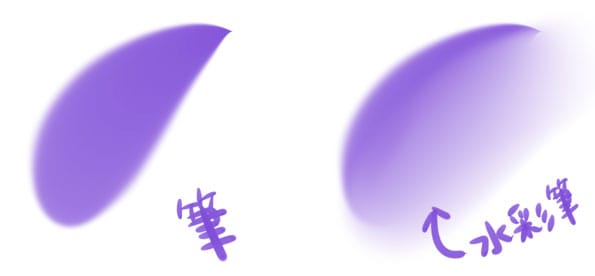
First:Pen Second:Watercolor pen
Just by quickly adding a watercolor brush to the area painted with the brush tool, you can easily create a very exquisite gradation without using blur. That's one of the good points of SAI!
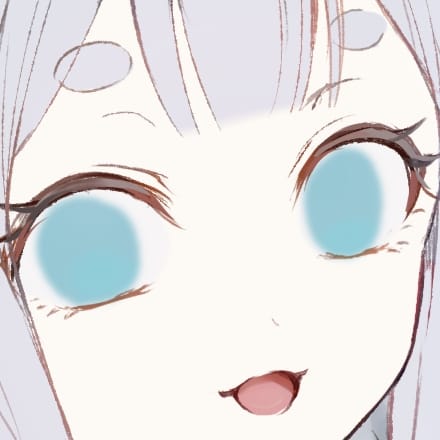
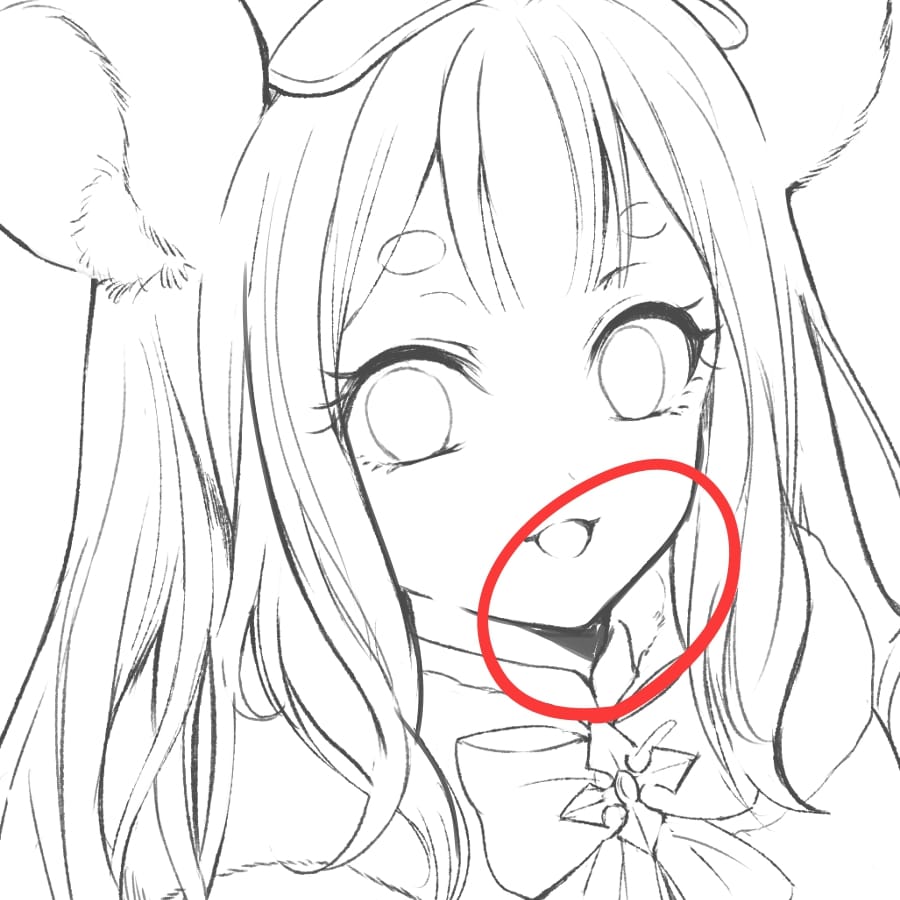
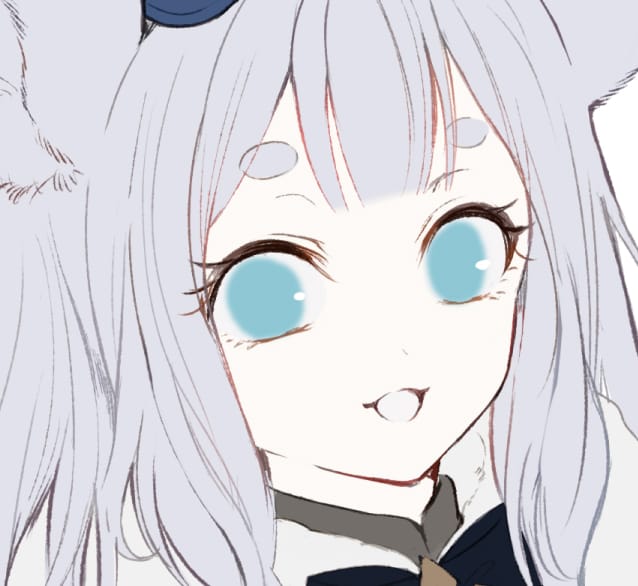
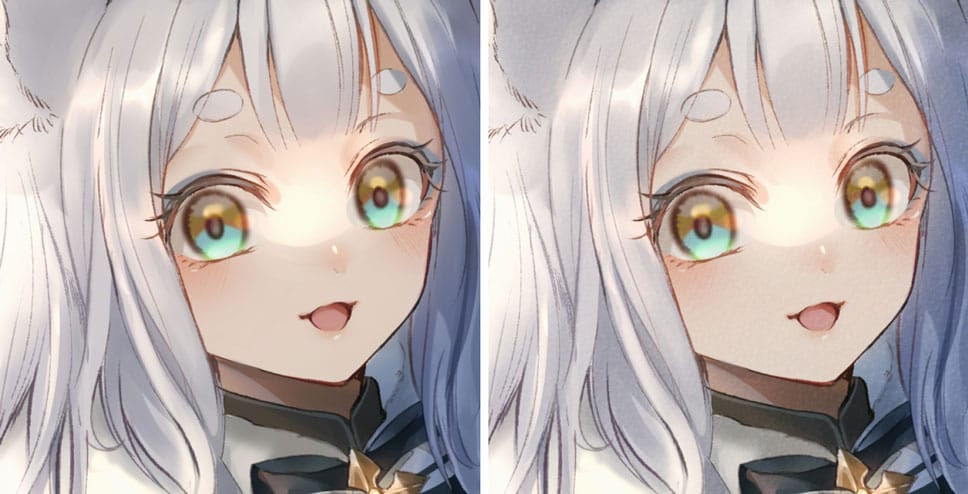
Erase the line drawing around the eyes and blur the eyes with Gaussian blur (around x2.0 to x3.0).

Add one color shadow.
Add a gray color a little lighter than the shadow on top of the shadow you just added.
The eyes now look a little more transparent.
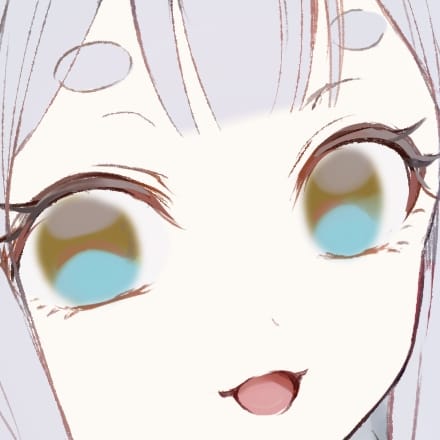
Draw the pupil and the edge of the pupil with a darker color than the shadow you just added.

Use the "Add" layer to add light to the lower part of the eye
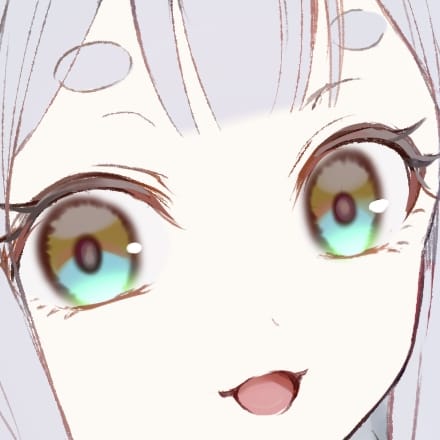
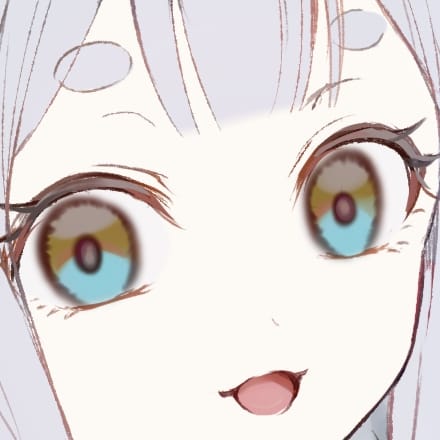
Now we have a rough paint job of the eyes. The last step is to add highlights to bring the eyes to life.
Since the colors will not be coherent, the layers of each part such as skin, hair, clothes, and etc are basically painted with shadows so that they fit within three layers (original color, one shadow, and two shadows).
Apply a thin layer of color all over the nose with one shade, leaving the upper part of the nose.
Use the two shadows to add color to the areas that will be darker, such as the areas that touch the hair and the lower neck.
I used "Multiply" to add a light red color to the cheeks and nose. The addition of the red gives the image a girlish.

I added a small highlighter on the cheeks and around the mouth to make it shine.
This completes the skin.
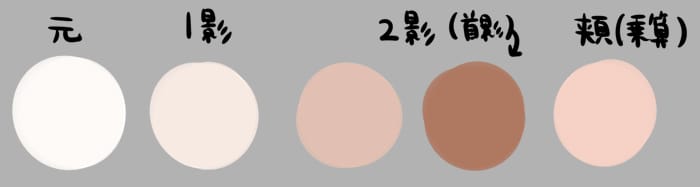
This is the color I used for skin(original, first shadow, second shadow, cheeks “multiply”)
Next, I color hair.
First,I use an airbrush to softly apply a bright color to the left side where the light hits.

Next, I use the first shade to apply the hair roughly, keeping in mind the hair strands.
The last step is to paint the shadows with the second shade. This gives it a 3D effect.
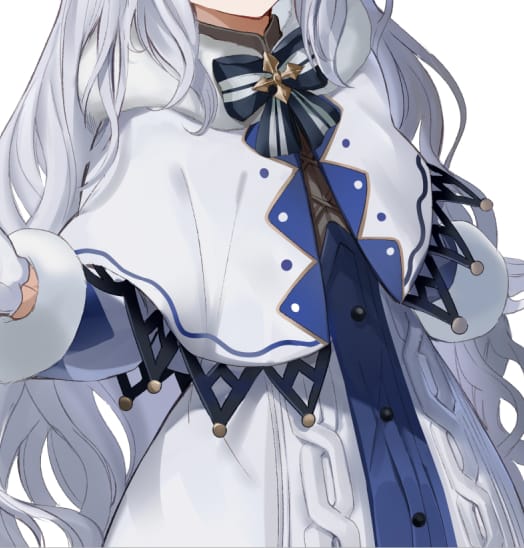
I painted the clothes and hat in the same way as well as the skin and hair, and got most of the person's color.
In my case, I use the normal layers for most of the painting, including the shadows.
I think it makes for a more convincing picture if you paint the different textures of the fur and clothes.
The light source was colored with the upper left corner.
Hint
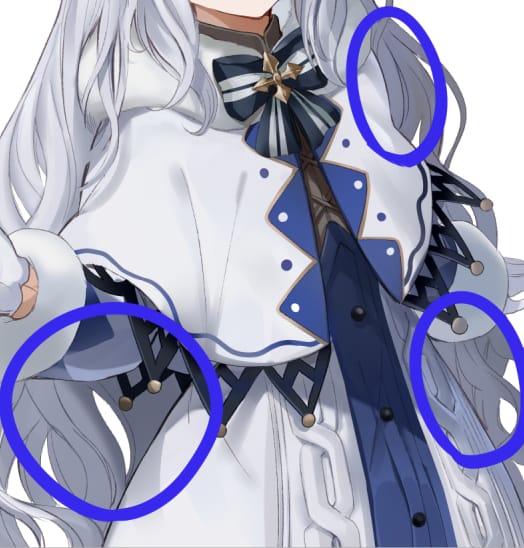
If there are too many areas where the shadows fall deeply, the illustration will have a heavy atmosphere.
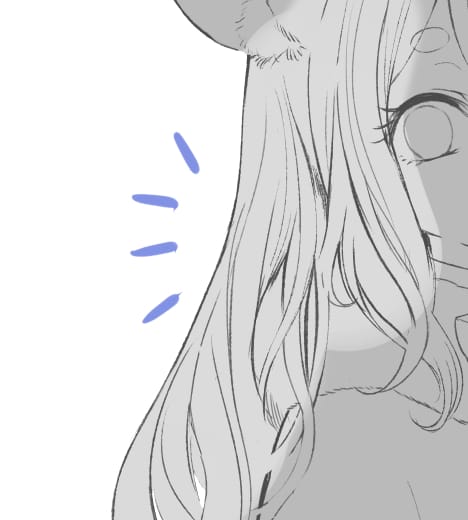
Place a bright blue color in the area circled in blue in the image.
A sense of relaxation was created by simply placing a few bright colors.
This time, the background image is a winter forest.

I roughly draw a silhouette of a tree.
↑Add a layer under the tree drawn in the previous step, and plant more trees in a lighter color.
Add a gradient of darker colors with a multiply layer at the bottom of the canvas.
I merged the background layers and blurred them strongly with Gaussian Blur.
I also drew only a rough silhouette of a tree, but the blur made the background look like that.
Now let's draw the branches in the foreground.
Since it is in the foreground, I drew it in more detail than the background.
First, I draw the silhouette of the branch as well as the background.
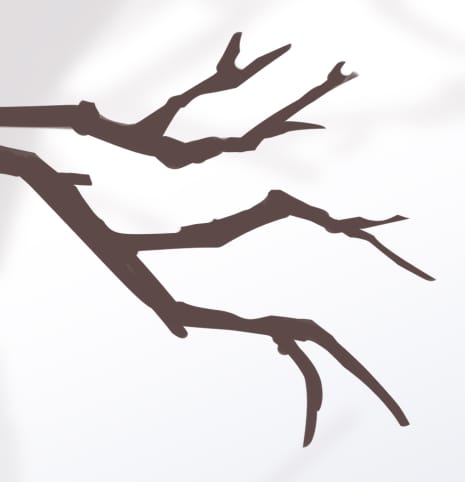
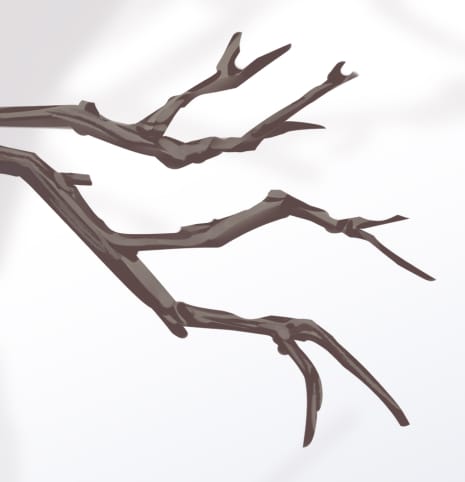
Next, I draw a pattern of branches with bright colors to create a 3D effect.
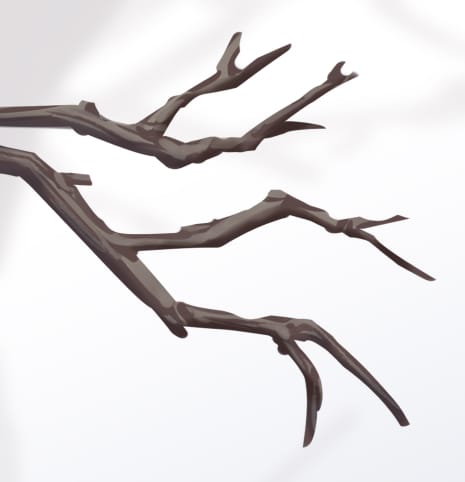
I use dark colors to shade the branches.
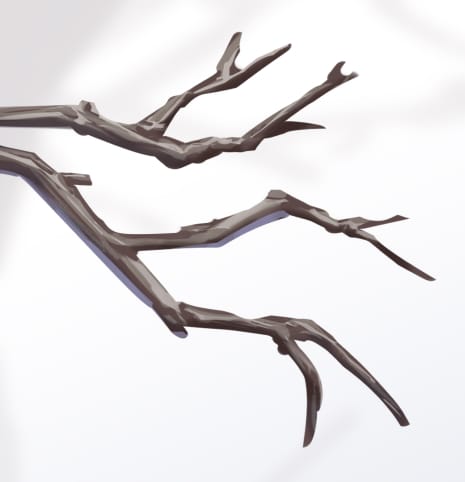
Next step is adding partial bright colors and reflected light as highlights.
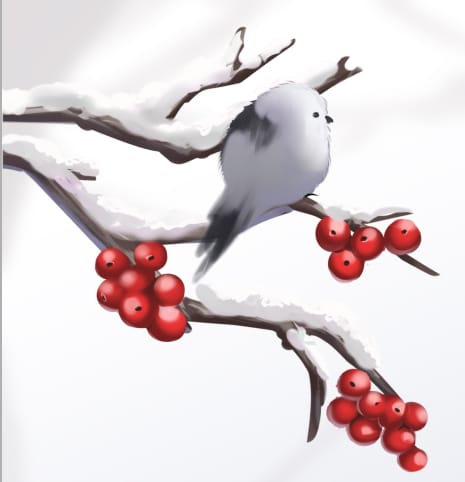
Finally, add nuts, snow, and birds, and your winter tree branch is complete.
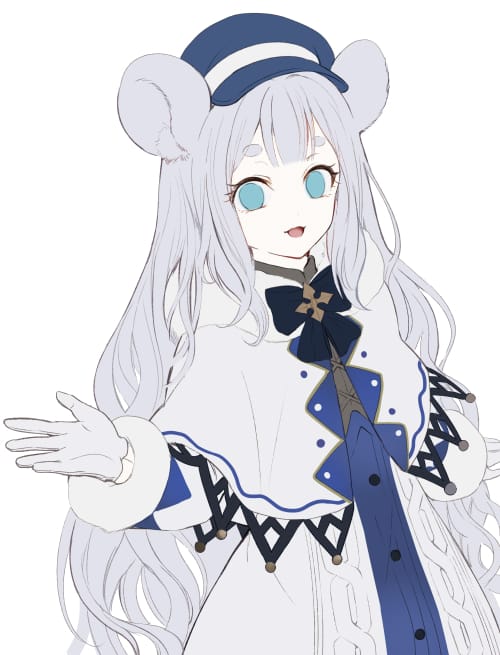
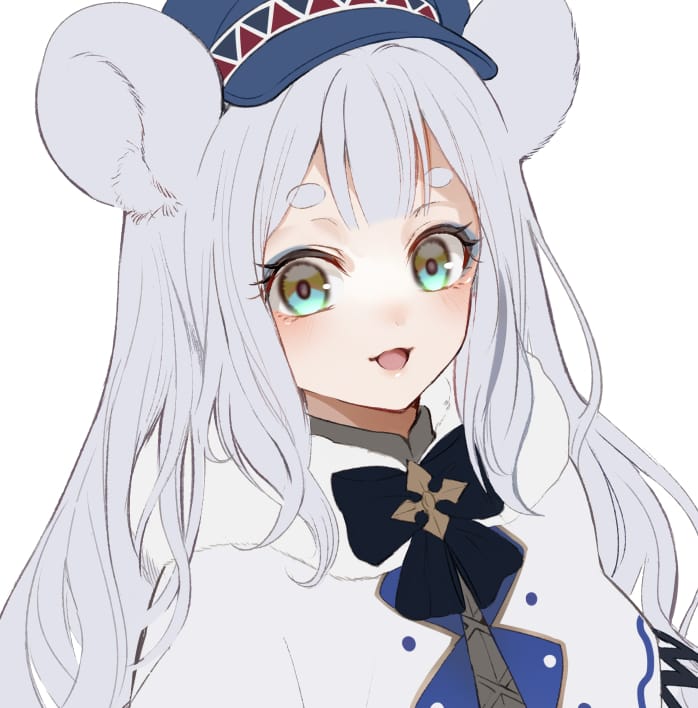
I blend the person and the background together.

First, put this color (H:24 S:48 V:190) on the character with a multiplication layer of 30%.
The next step is to use an additive layer to add warm colors to the areas where the light hits.
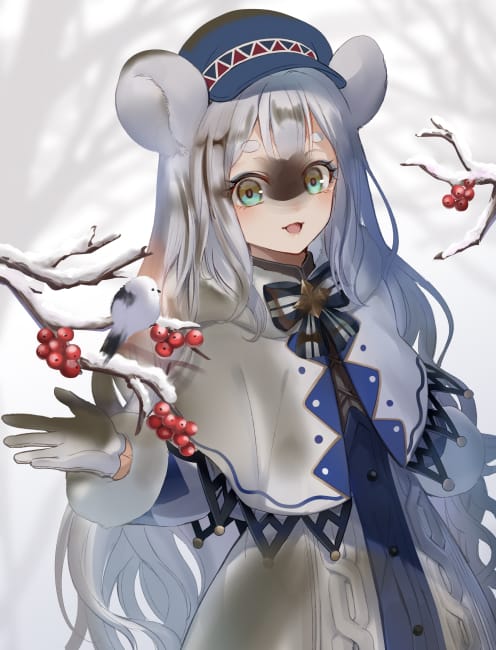
On the normal layer, the area with the color looks like this.
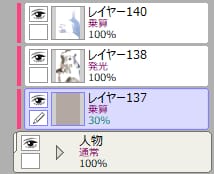


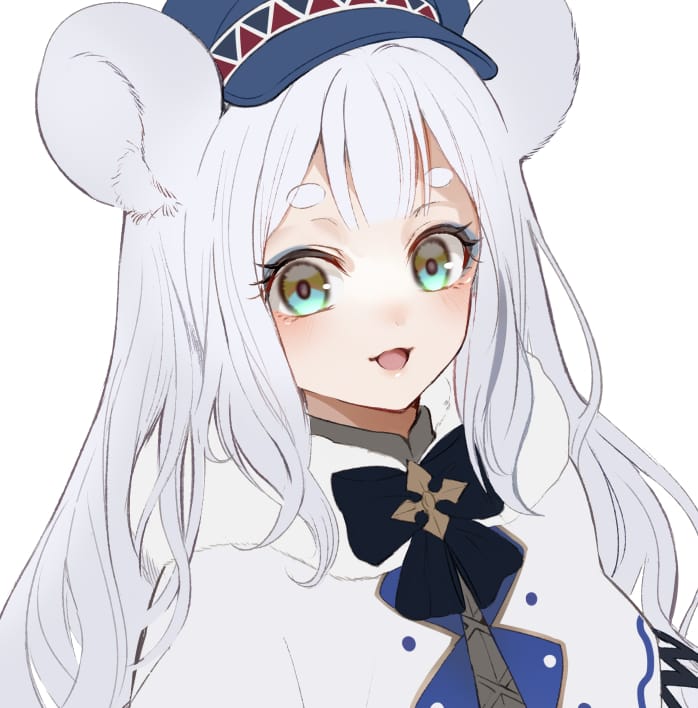
The right side of the image, which is darker as a shadow, is further colored with a multiplication layer to make it more light and dark.
The shadows of the branches are also added here.
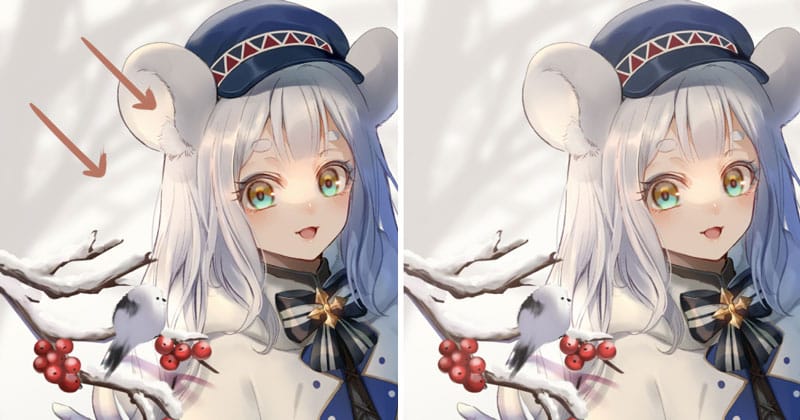
Airbrush a thin layer of color onto the outline of the person on the screen layer.
It blends in with the background and creates a fluffy atmosphere.
The layer structure for processing looks like this. A clipping mask is used to process the image on top of the layer folder that contains line drawings and coloring.
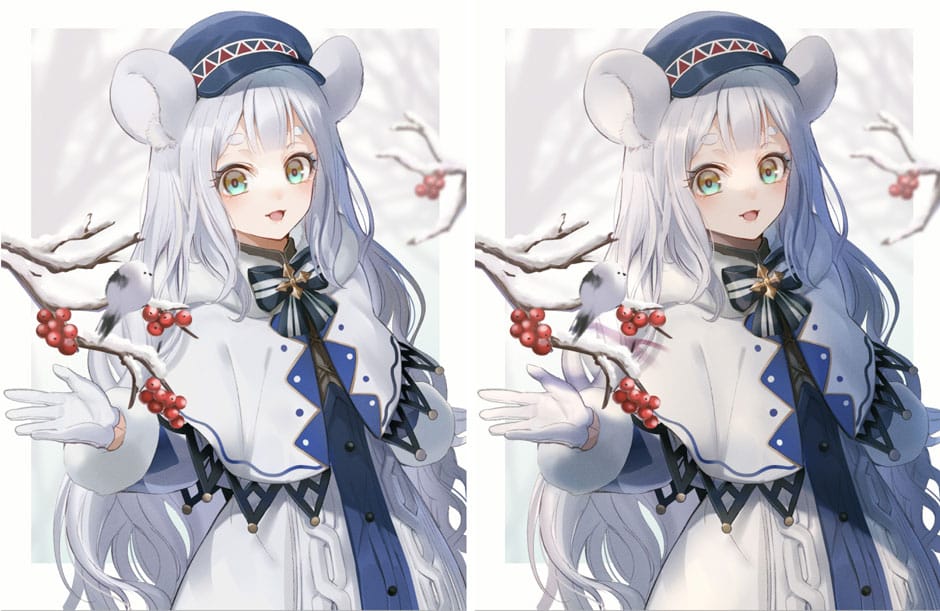
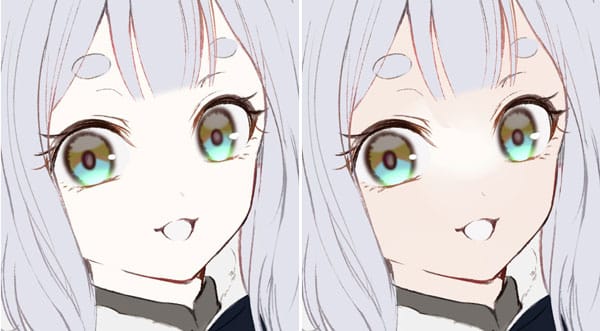
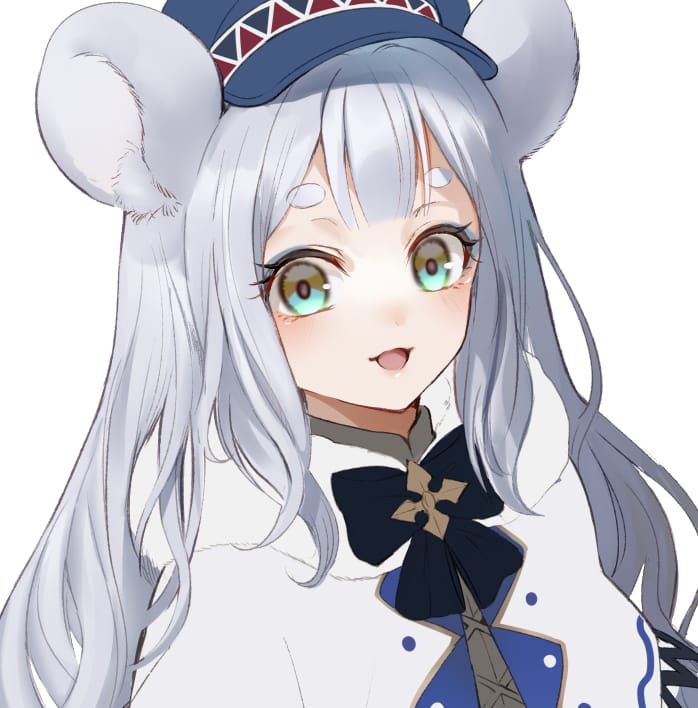
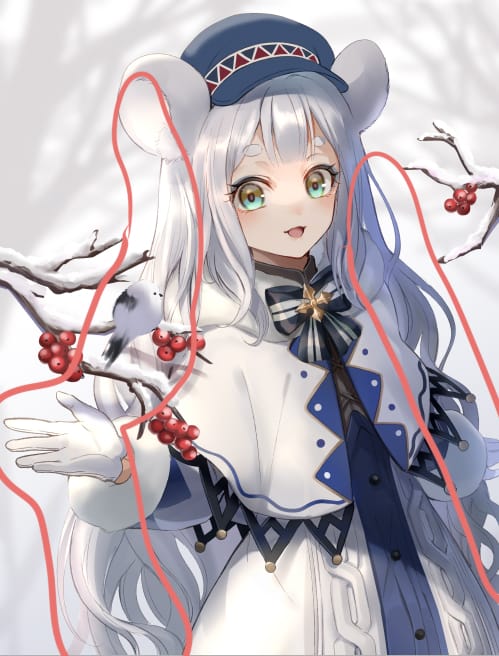
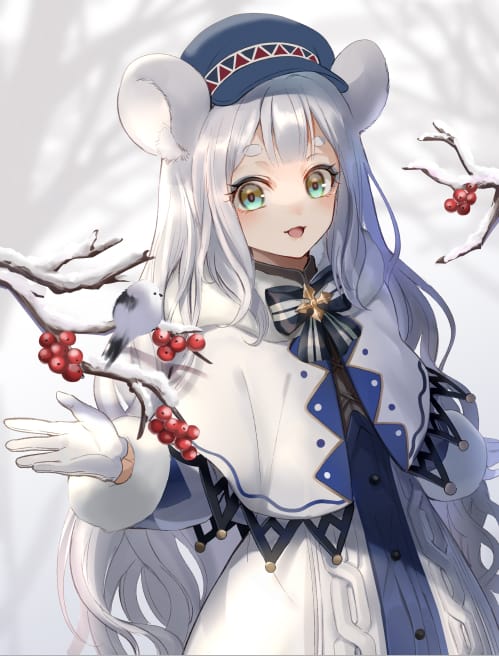
Comparing before and after processing, we can see that a warm atmosphere and lightness and darkness have been added.
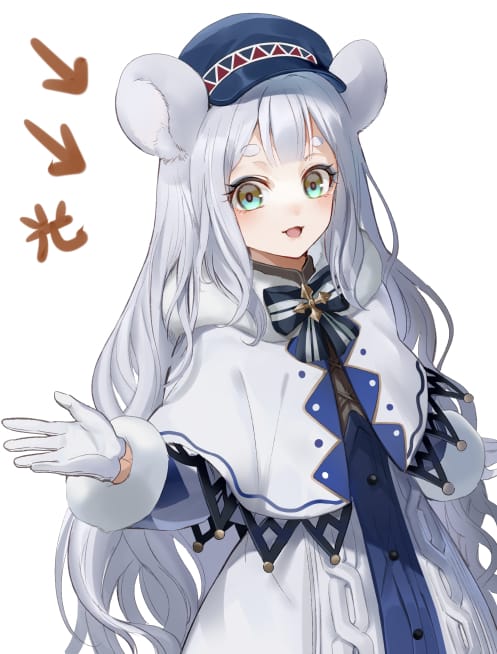
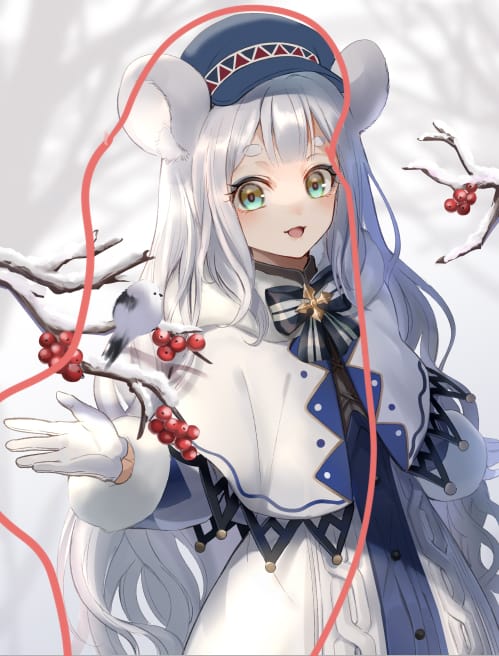
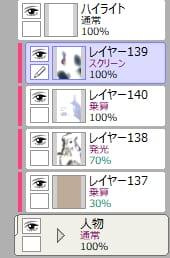
Add ambient light over the background and people.
I added a warm color gradient in the screen layer to match the arrows.
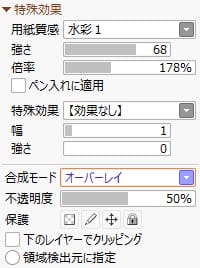
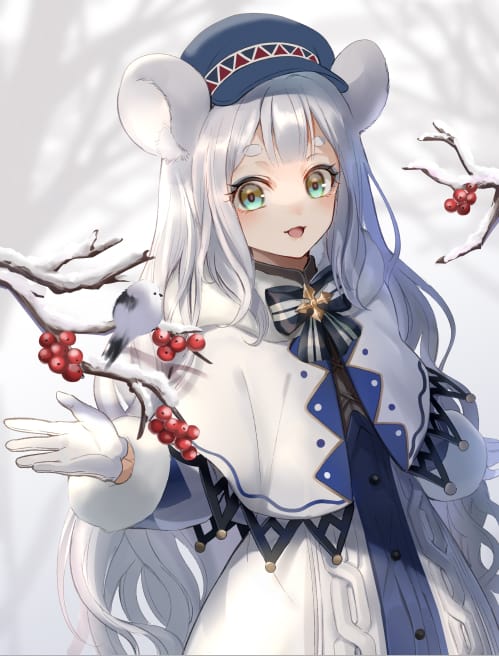
Cover the top with a texture.
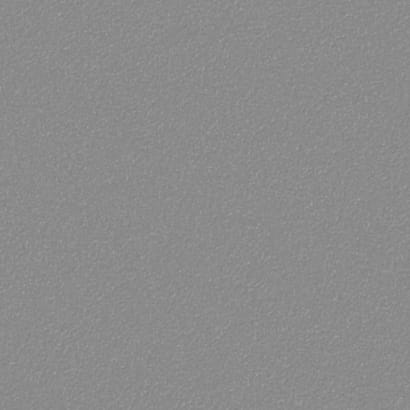
Select Paper Texture from the Special Effects on top of the Layers function, and set the layer mode to Overlay.
Comparing the illustration before and after the application, the paper-like texture has been added slightly.
Finally, blur the branches behind the character to create a sense of perspective.
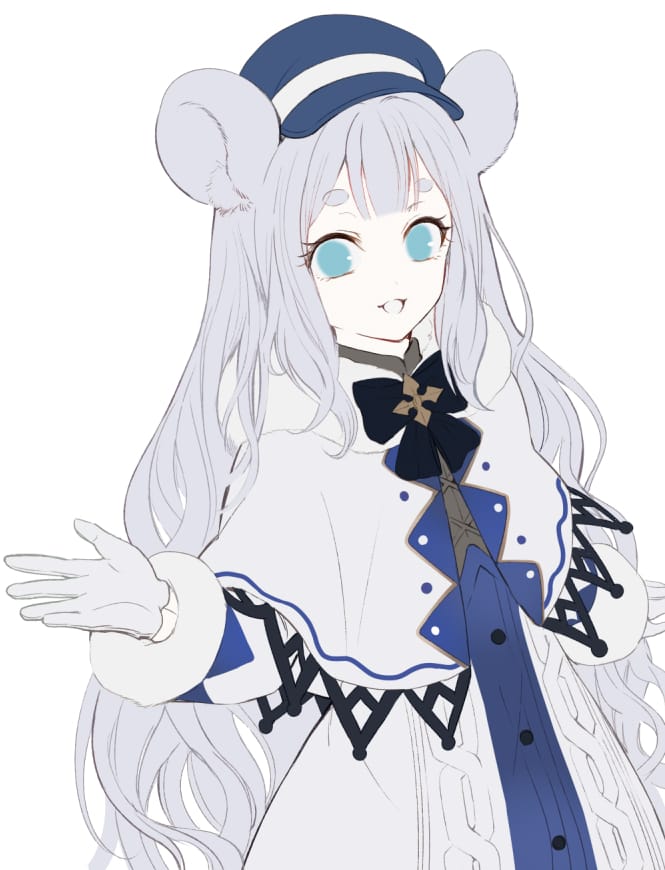
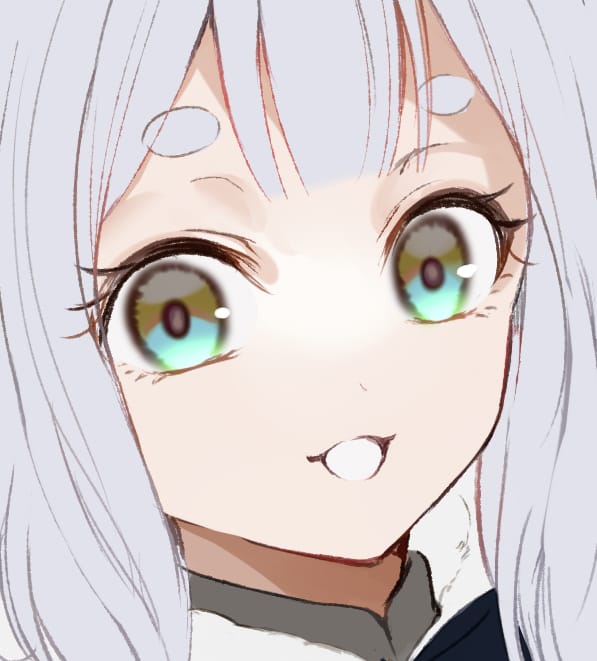
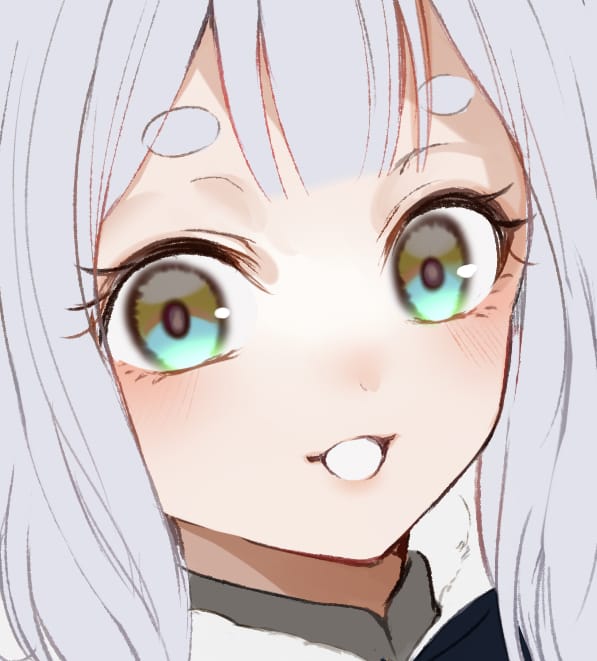
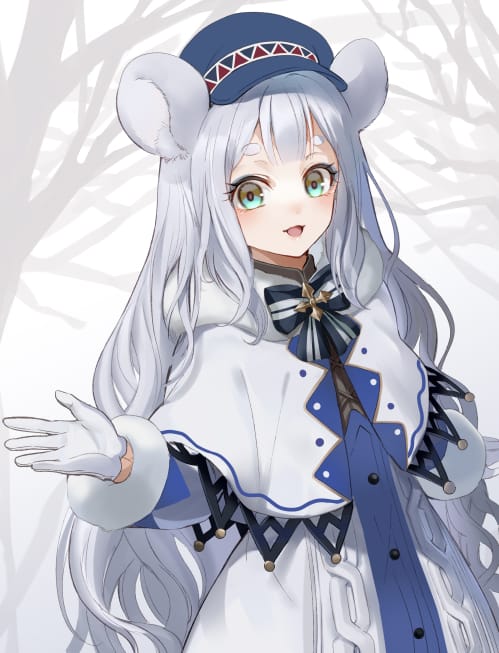
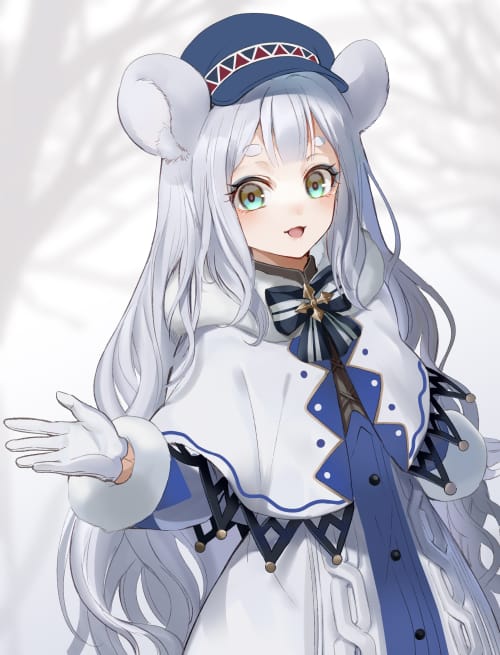
Merge all the images together and complete!
How did you like this making guide?
SAI really brings out the texture and feel of the brush beautifully, so it's a perfect fit for thick painting.
With the new features in SAI 2, there are even more things you can express on the canvas.
I hope I was able to convey the appeal of SAI and how to draw with it in this making guide.
Thank you very much!


