
How to use bokeh brushes
2020-12-25

It's the holiday season! Let's glow up our illustration using bokeh brushes.
The brushes used for this tutorial is "Bokeh (Abstract) Brush" and "Bokeh (Heart) Brush".
They are available for purchase on ART street Resources.
Please take a look!
Software used: MediBang Paint Pro
Bokeh Brush Set
ART street Resources
Let's create a Christmas like illustration!
Timelapse video is available here.

To use the brushes, you need to add them to the brush panel.
[PC]
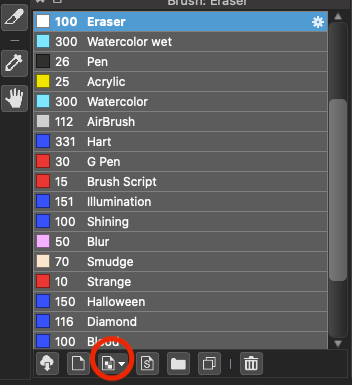
1. Select "Add brush (Bitmap)" from the brush panel.
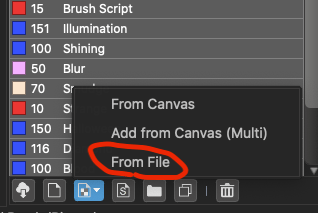
2. Choose "From File" and select the MDP or PNG brush file.
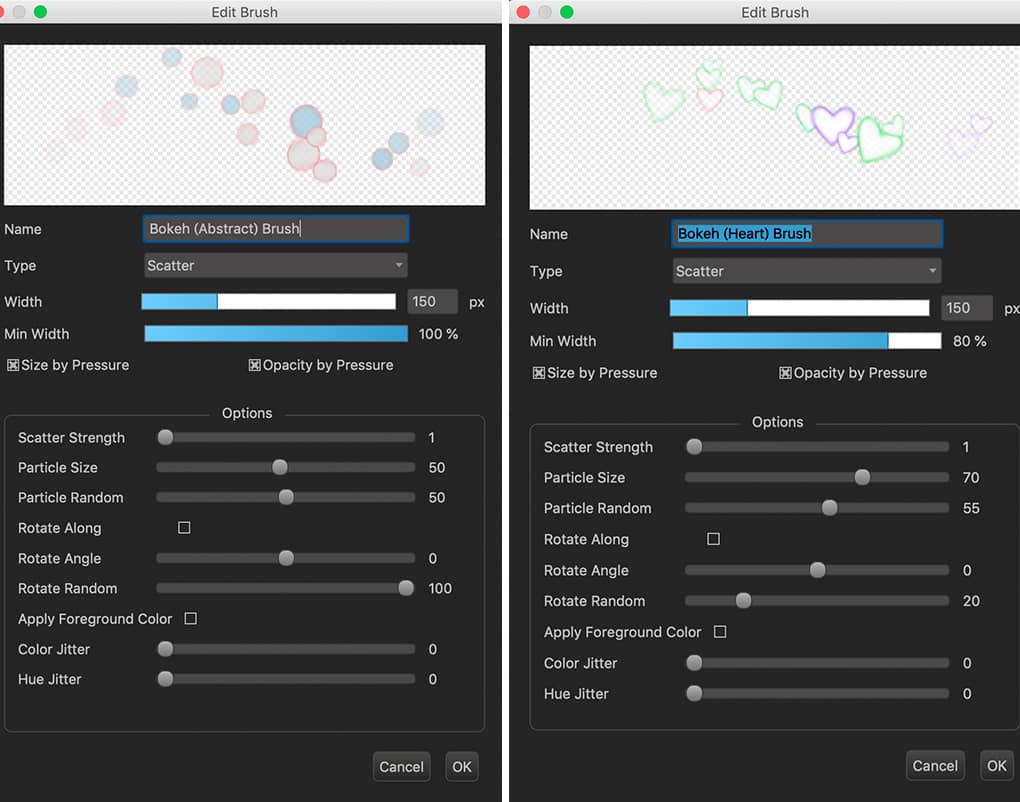
3. The brush settings will appear. You can change settings such as name, type, width, etc.
You can create a brush and customize it to your liking.
Try creating your original brush to speed up your process!
Example settings of "Bokeh (Abstract) Brush" and "Bokeh (Heart) Brush".
[Important!]
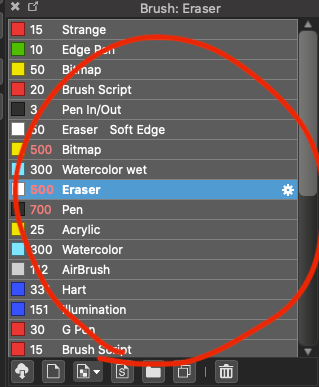
You could also drag & drop the brush file to the brush window.
This is an easier way to add brushes.
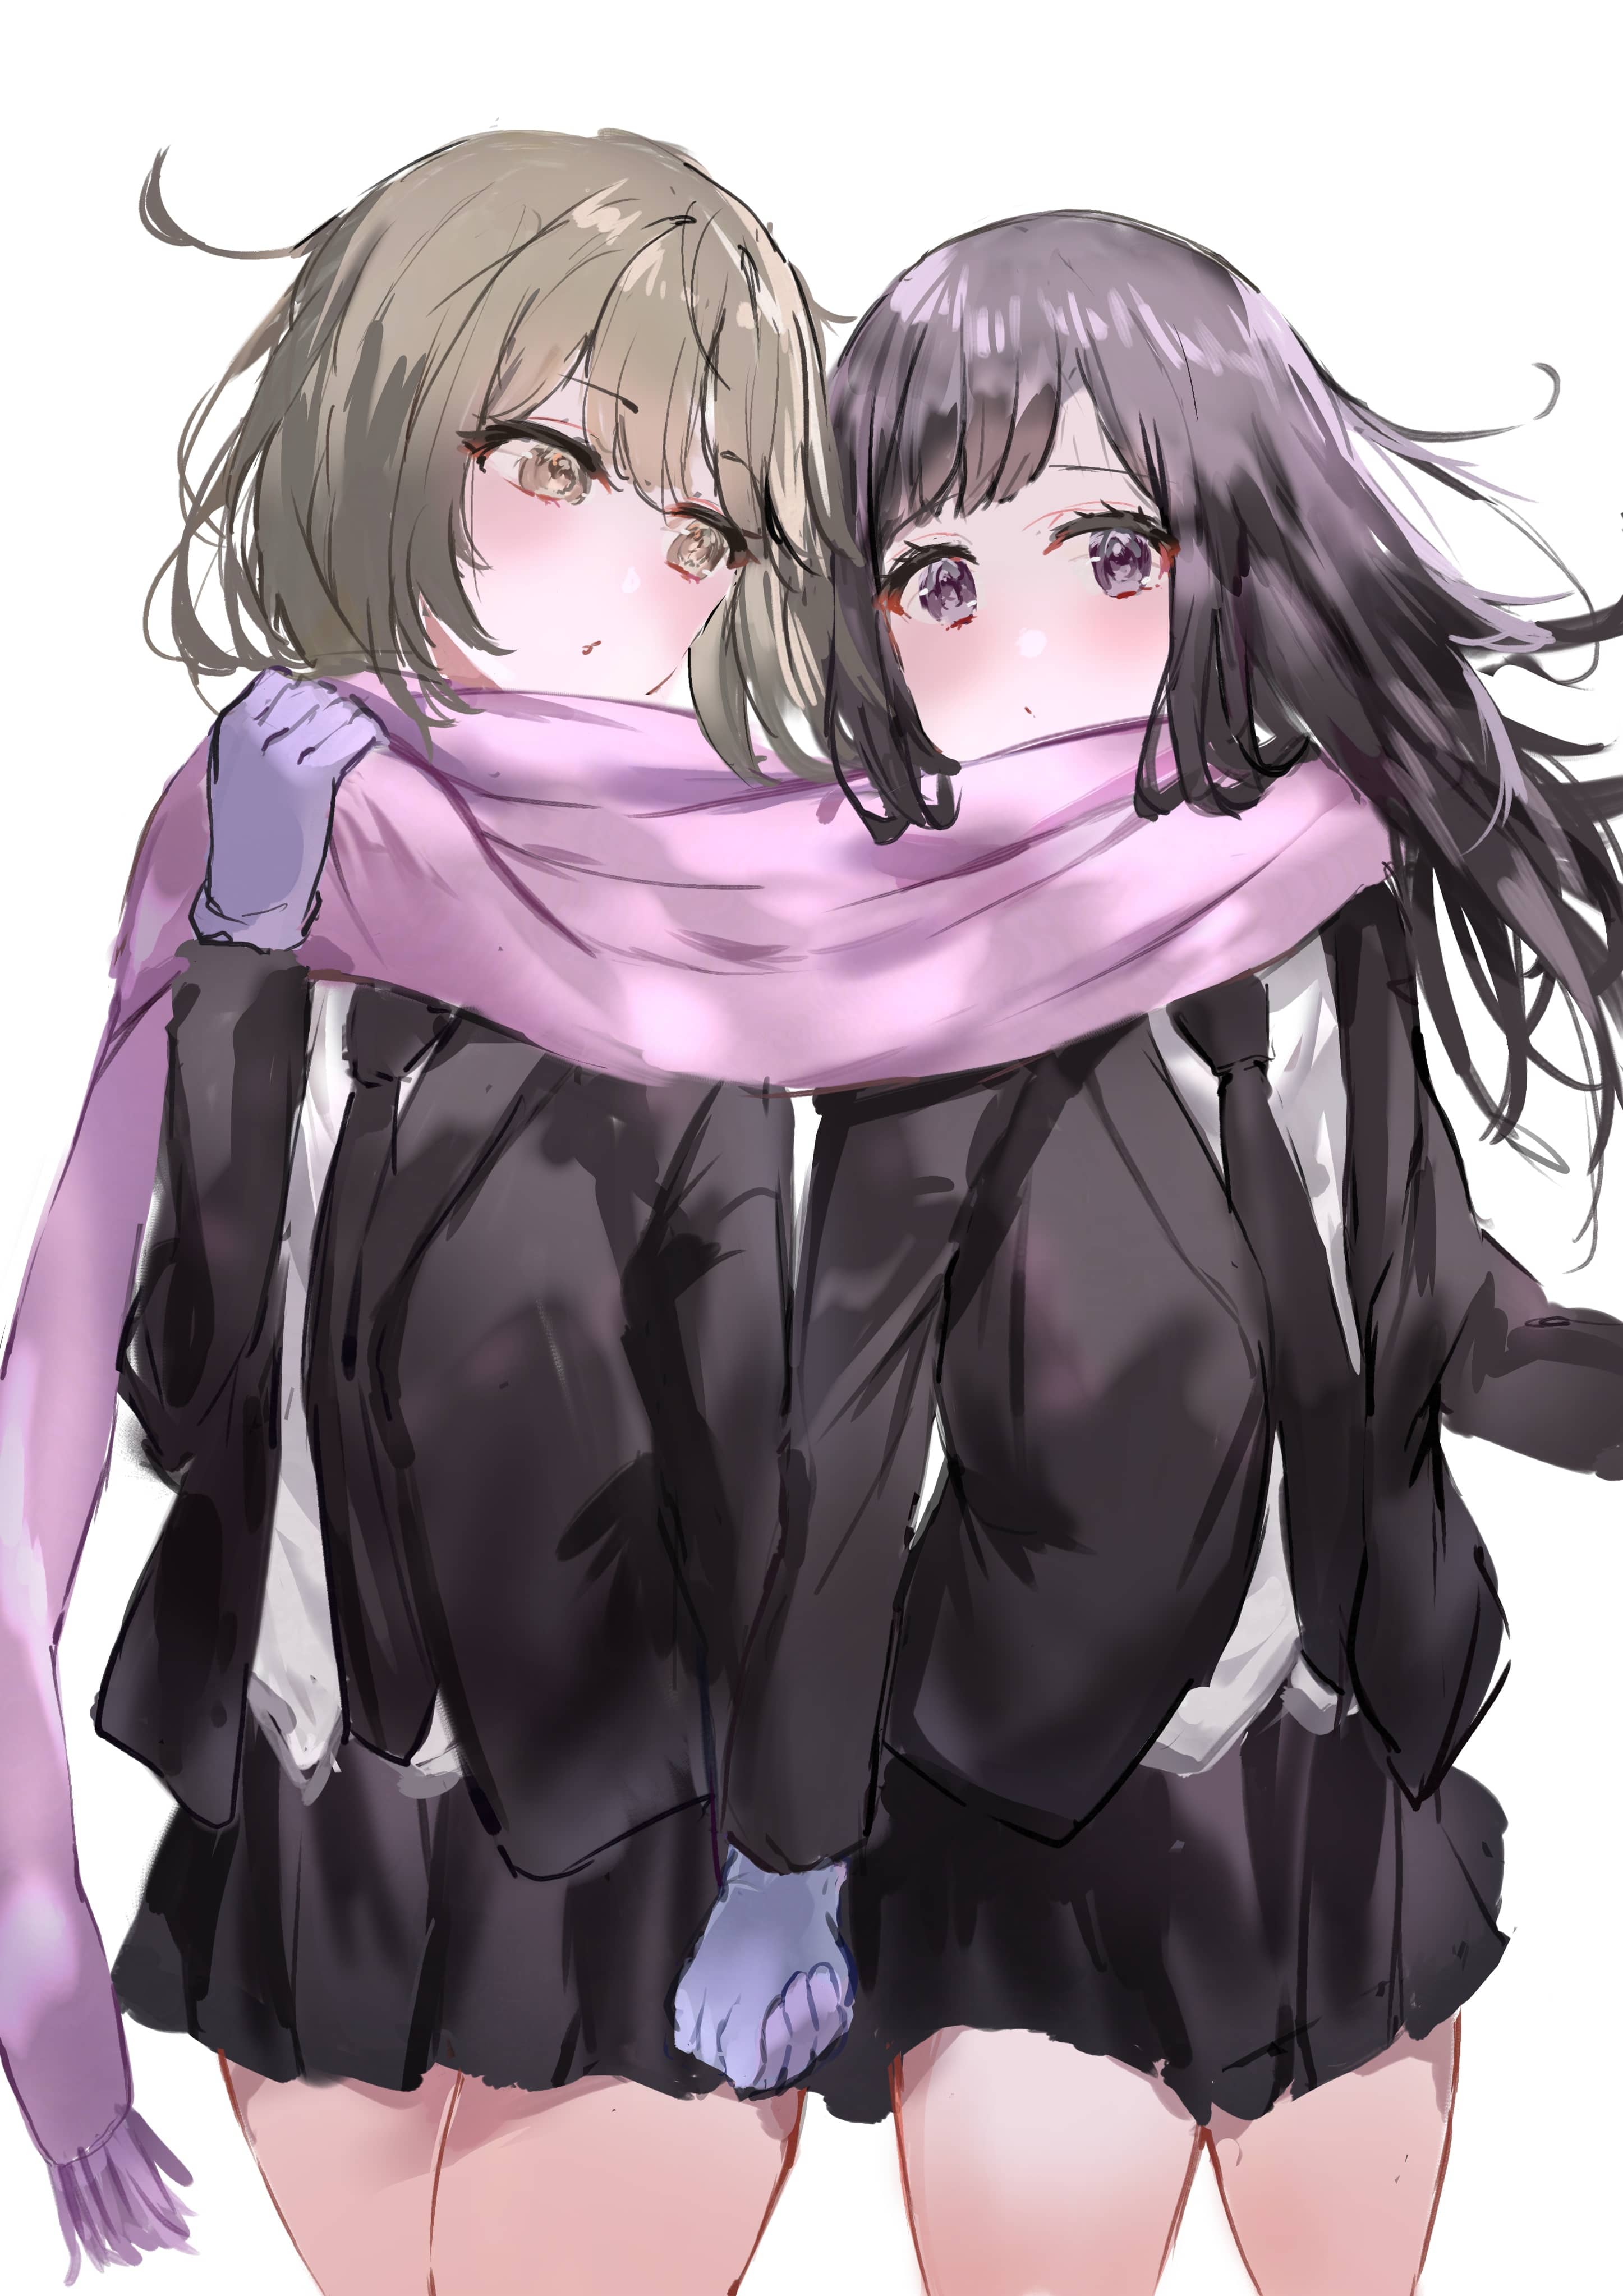
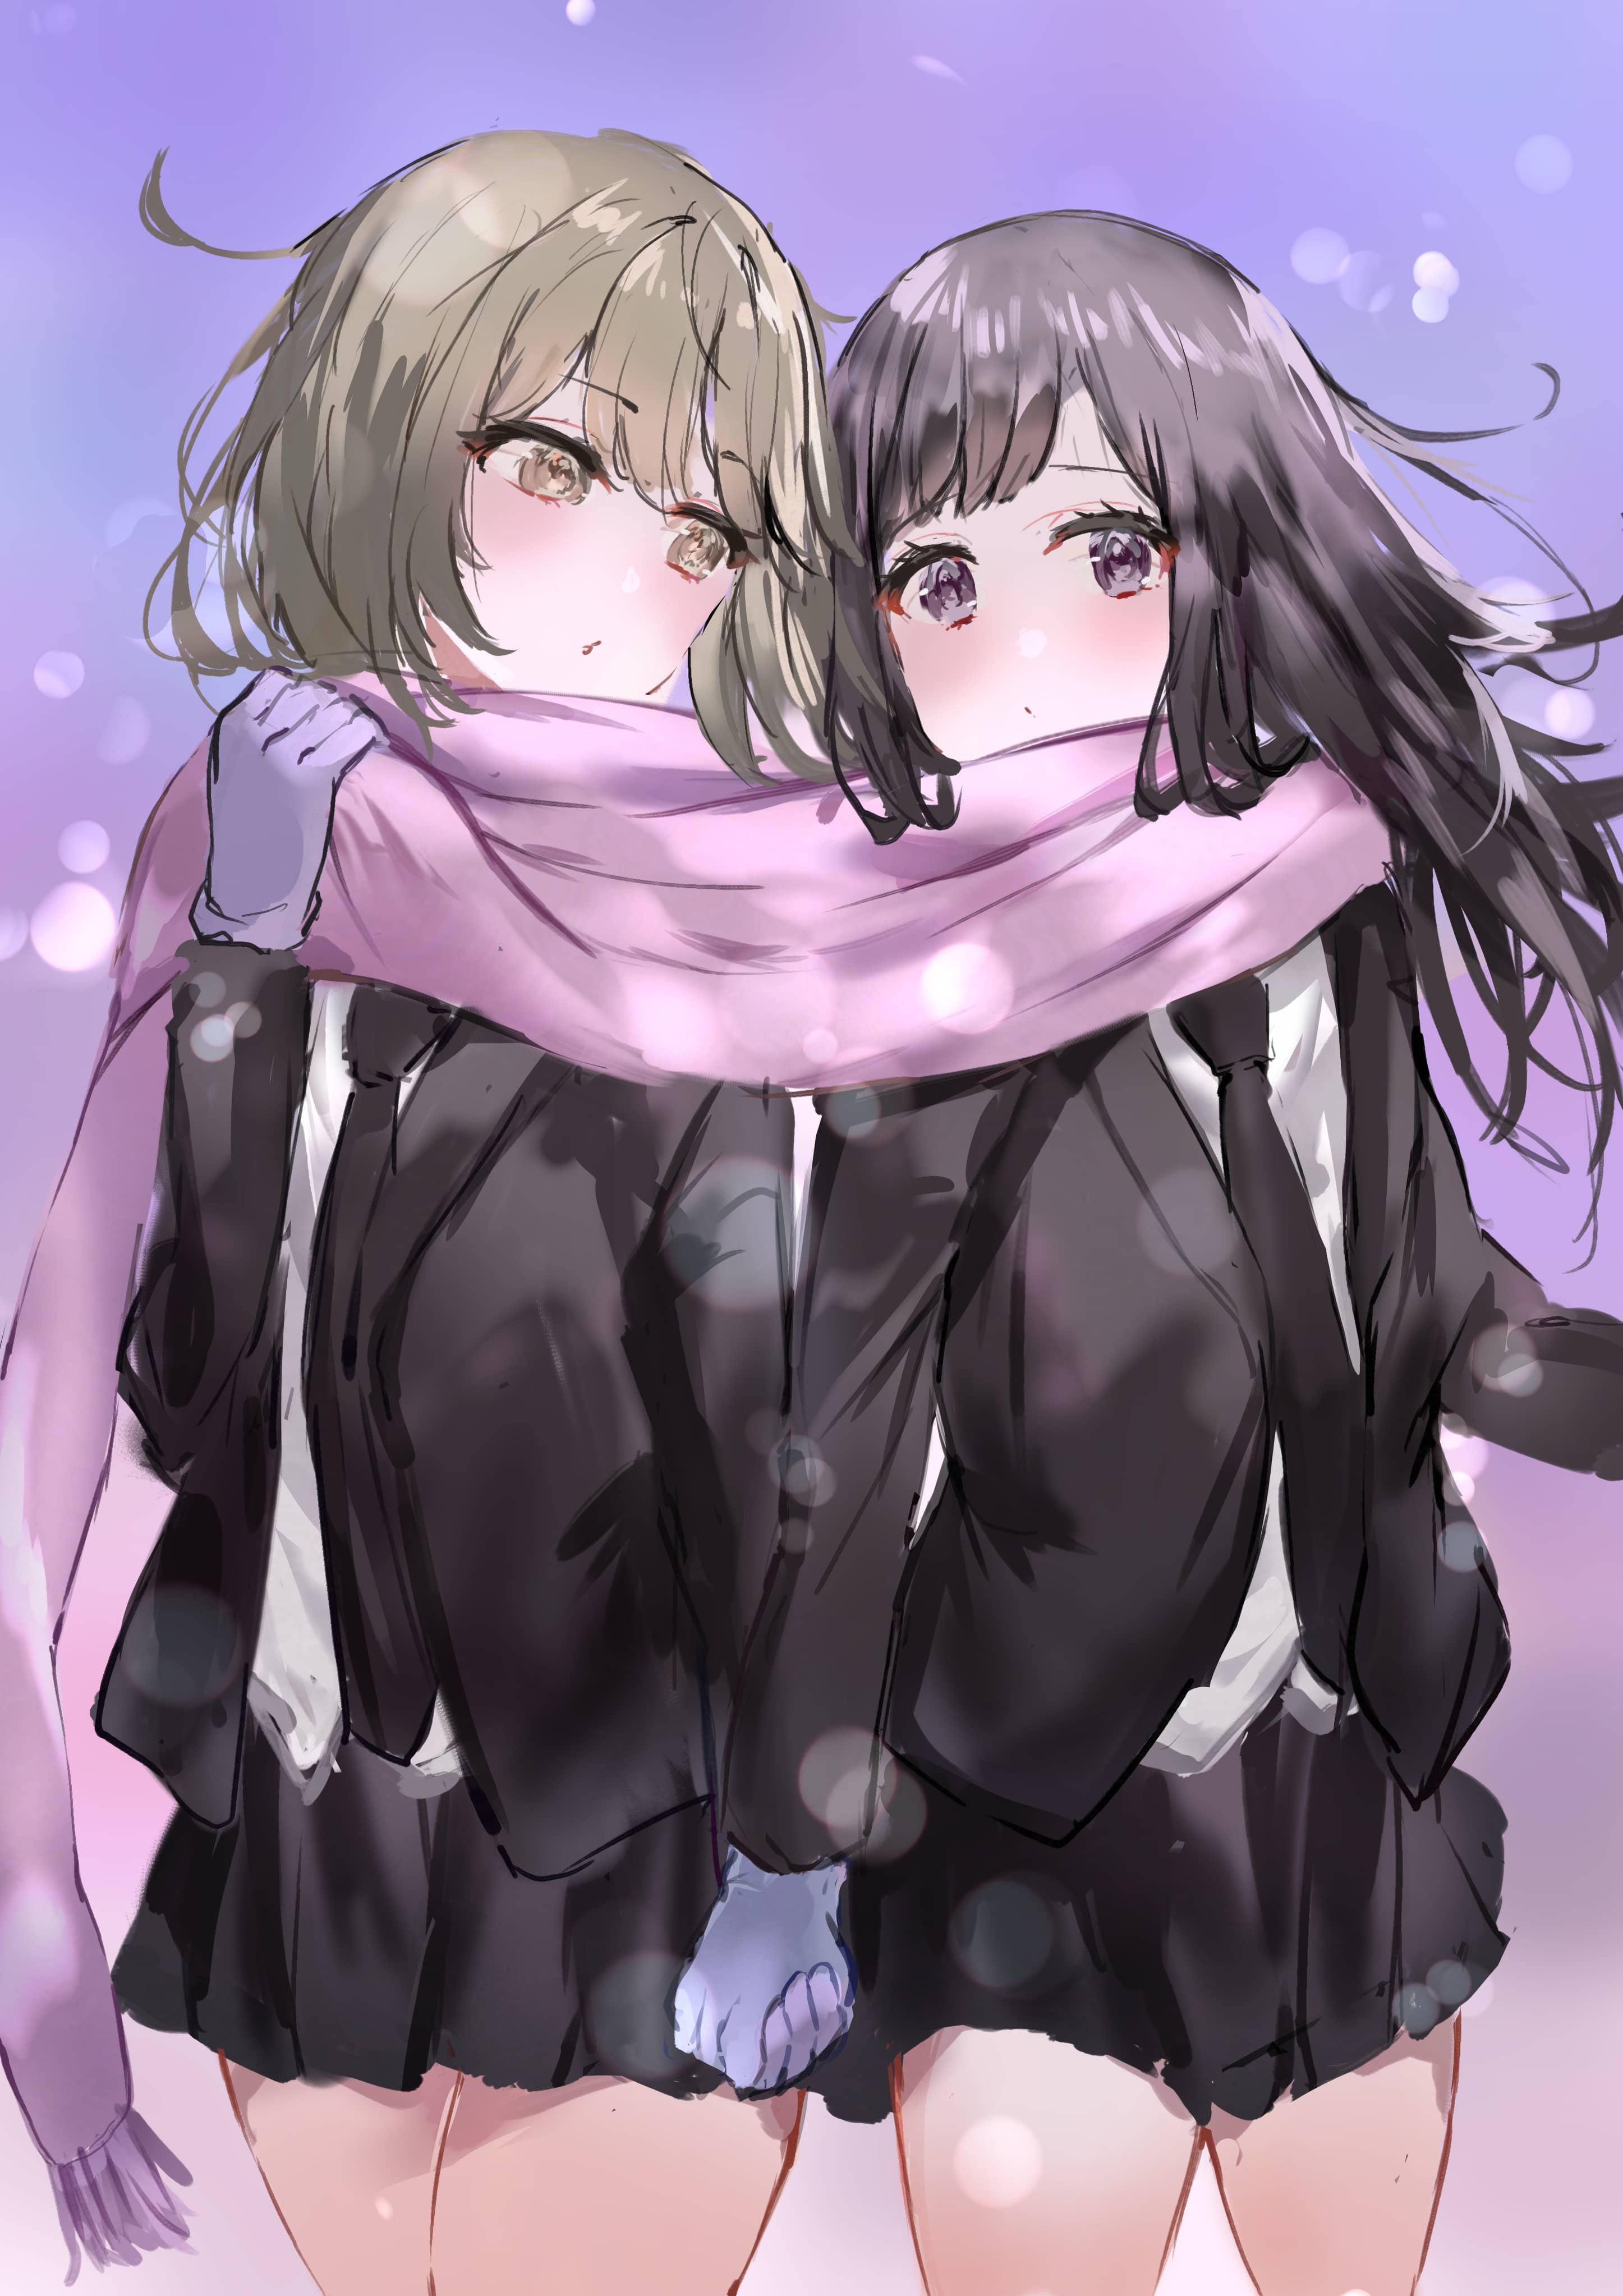
When I see the illuminations in the streets in December, I really feel the year is ending.
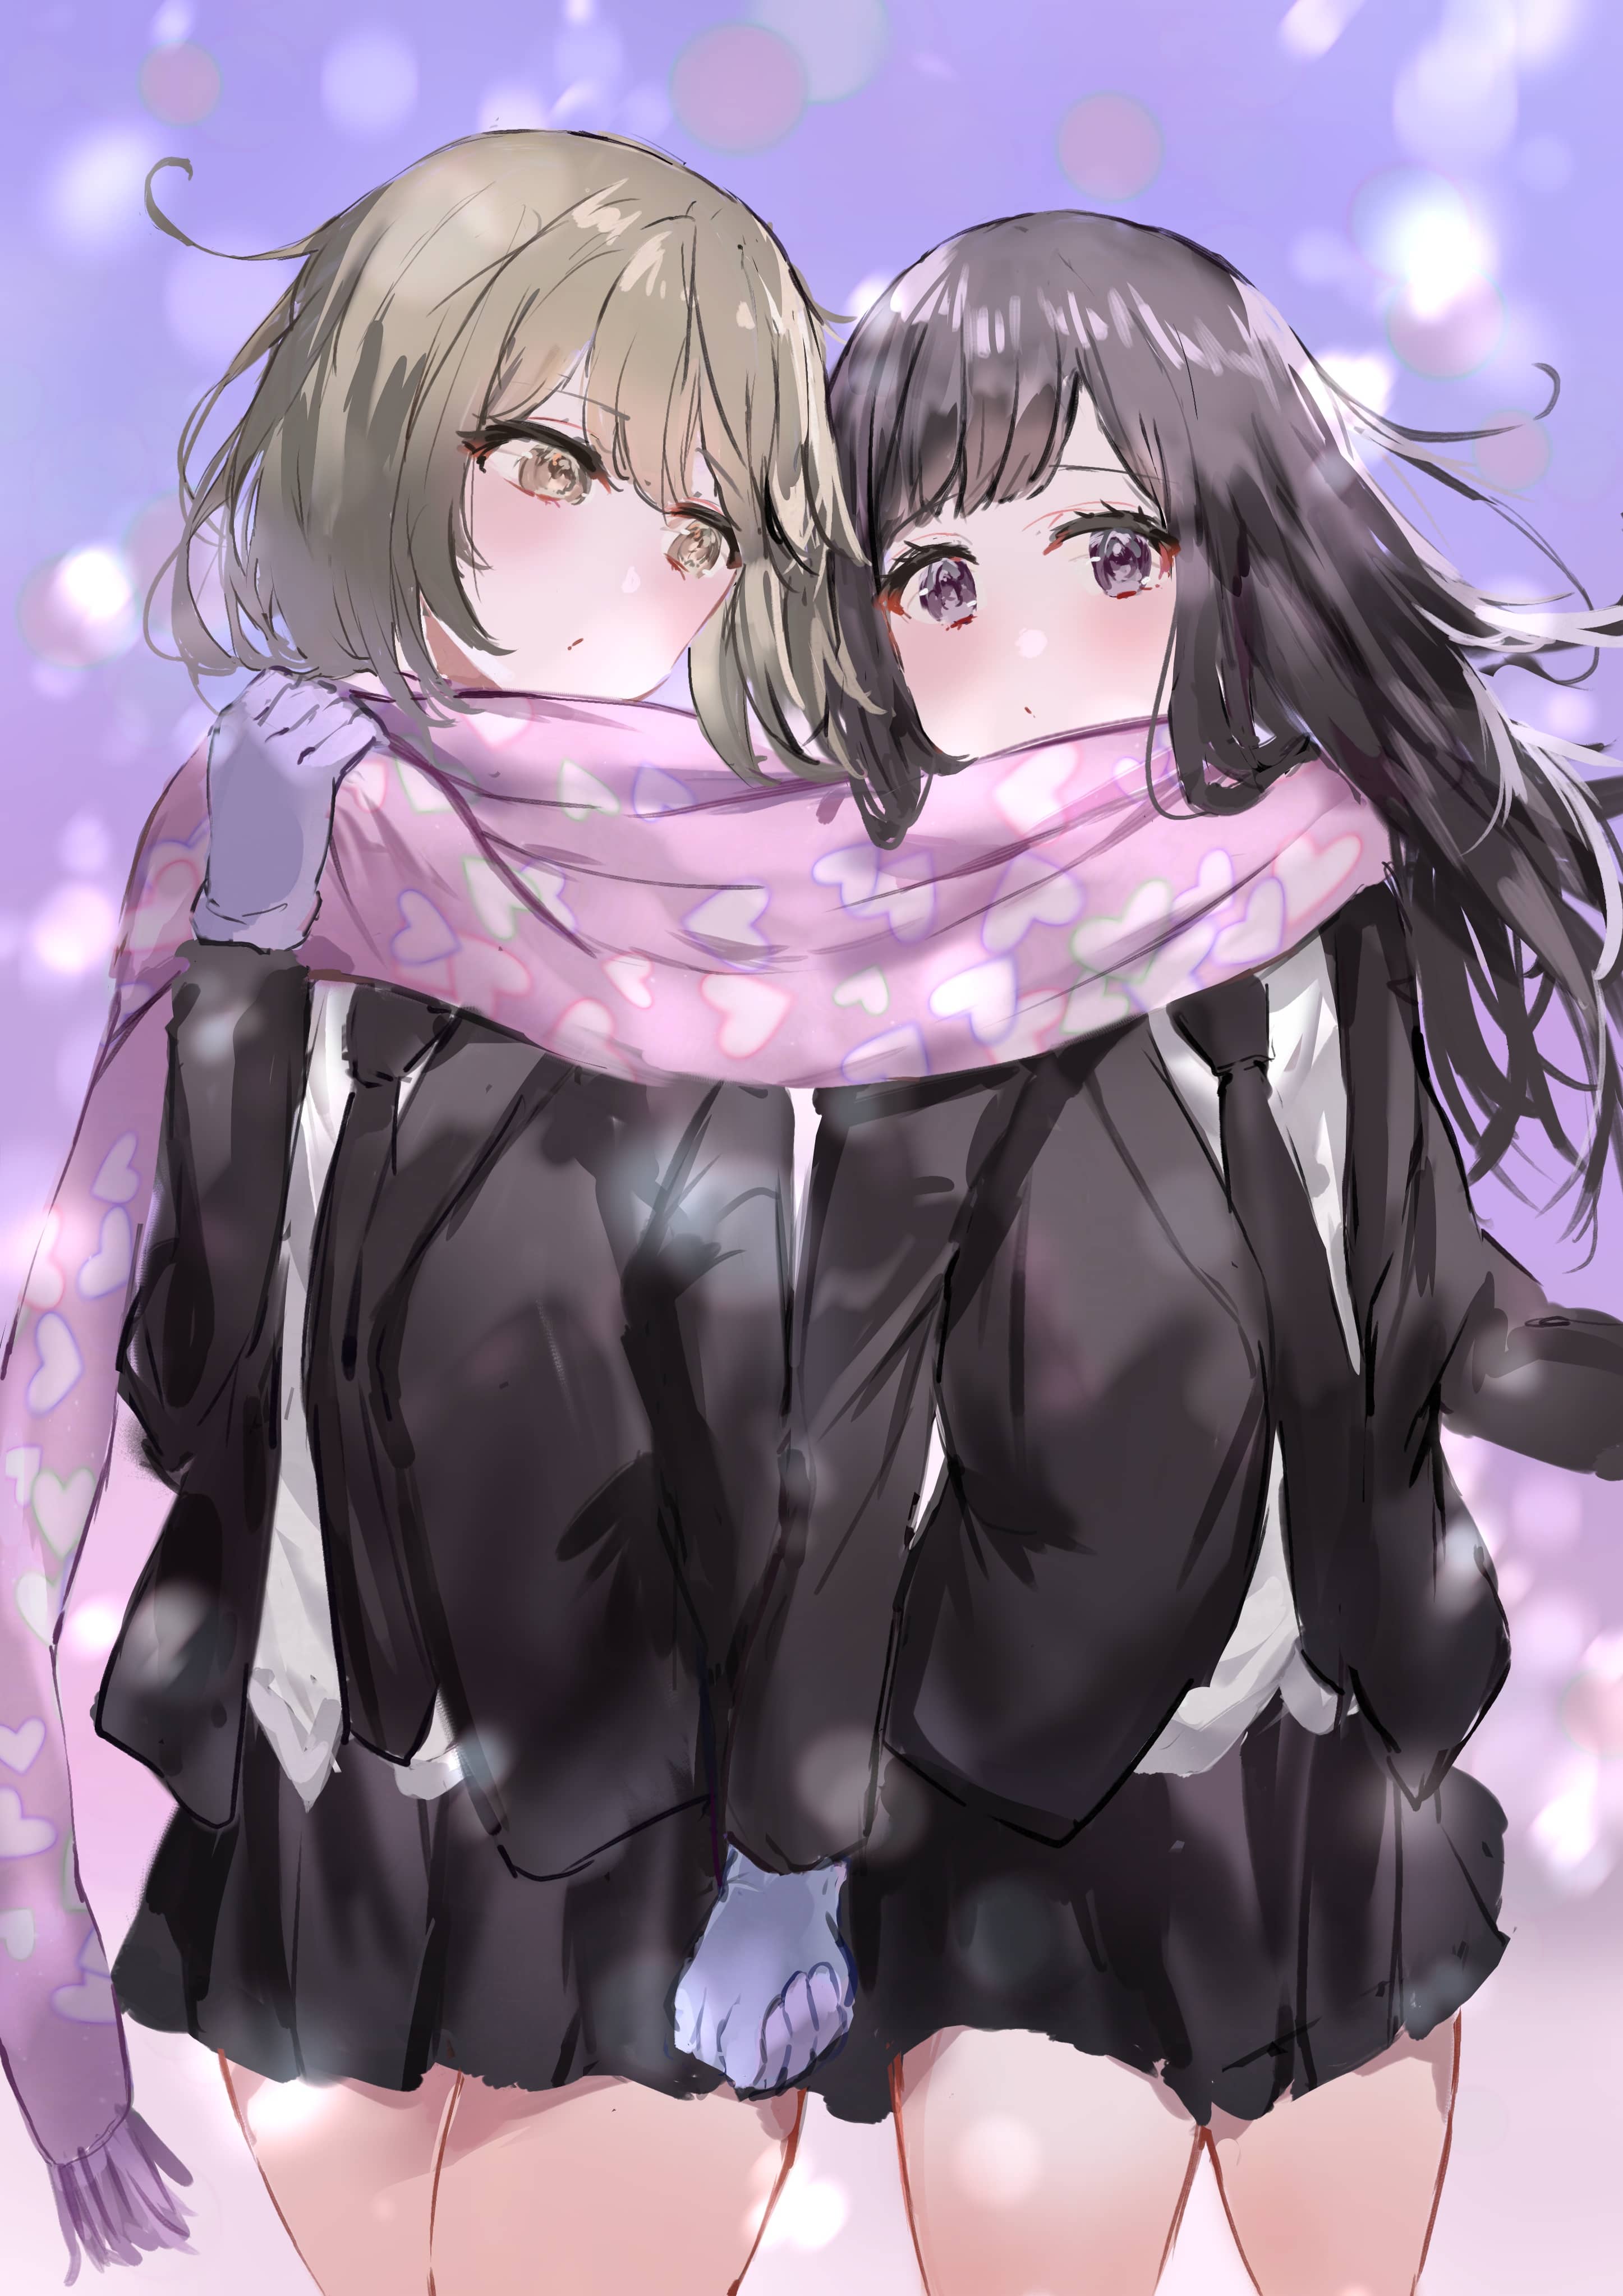
For this tutorial, I created 2 cute girls that are sharing a scarf in Christmas!
I tried to draw a soft, oversized scarf that is hugging the two.
Let's use brushes to enhance the illustration!
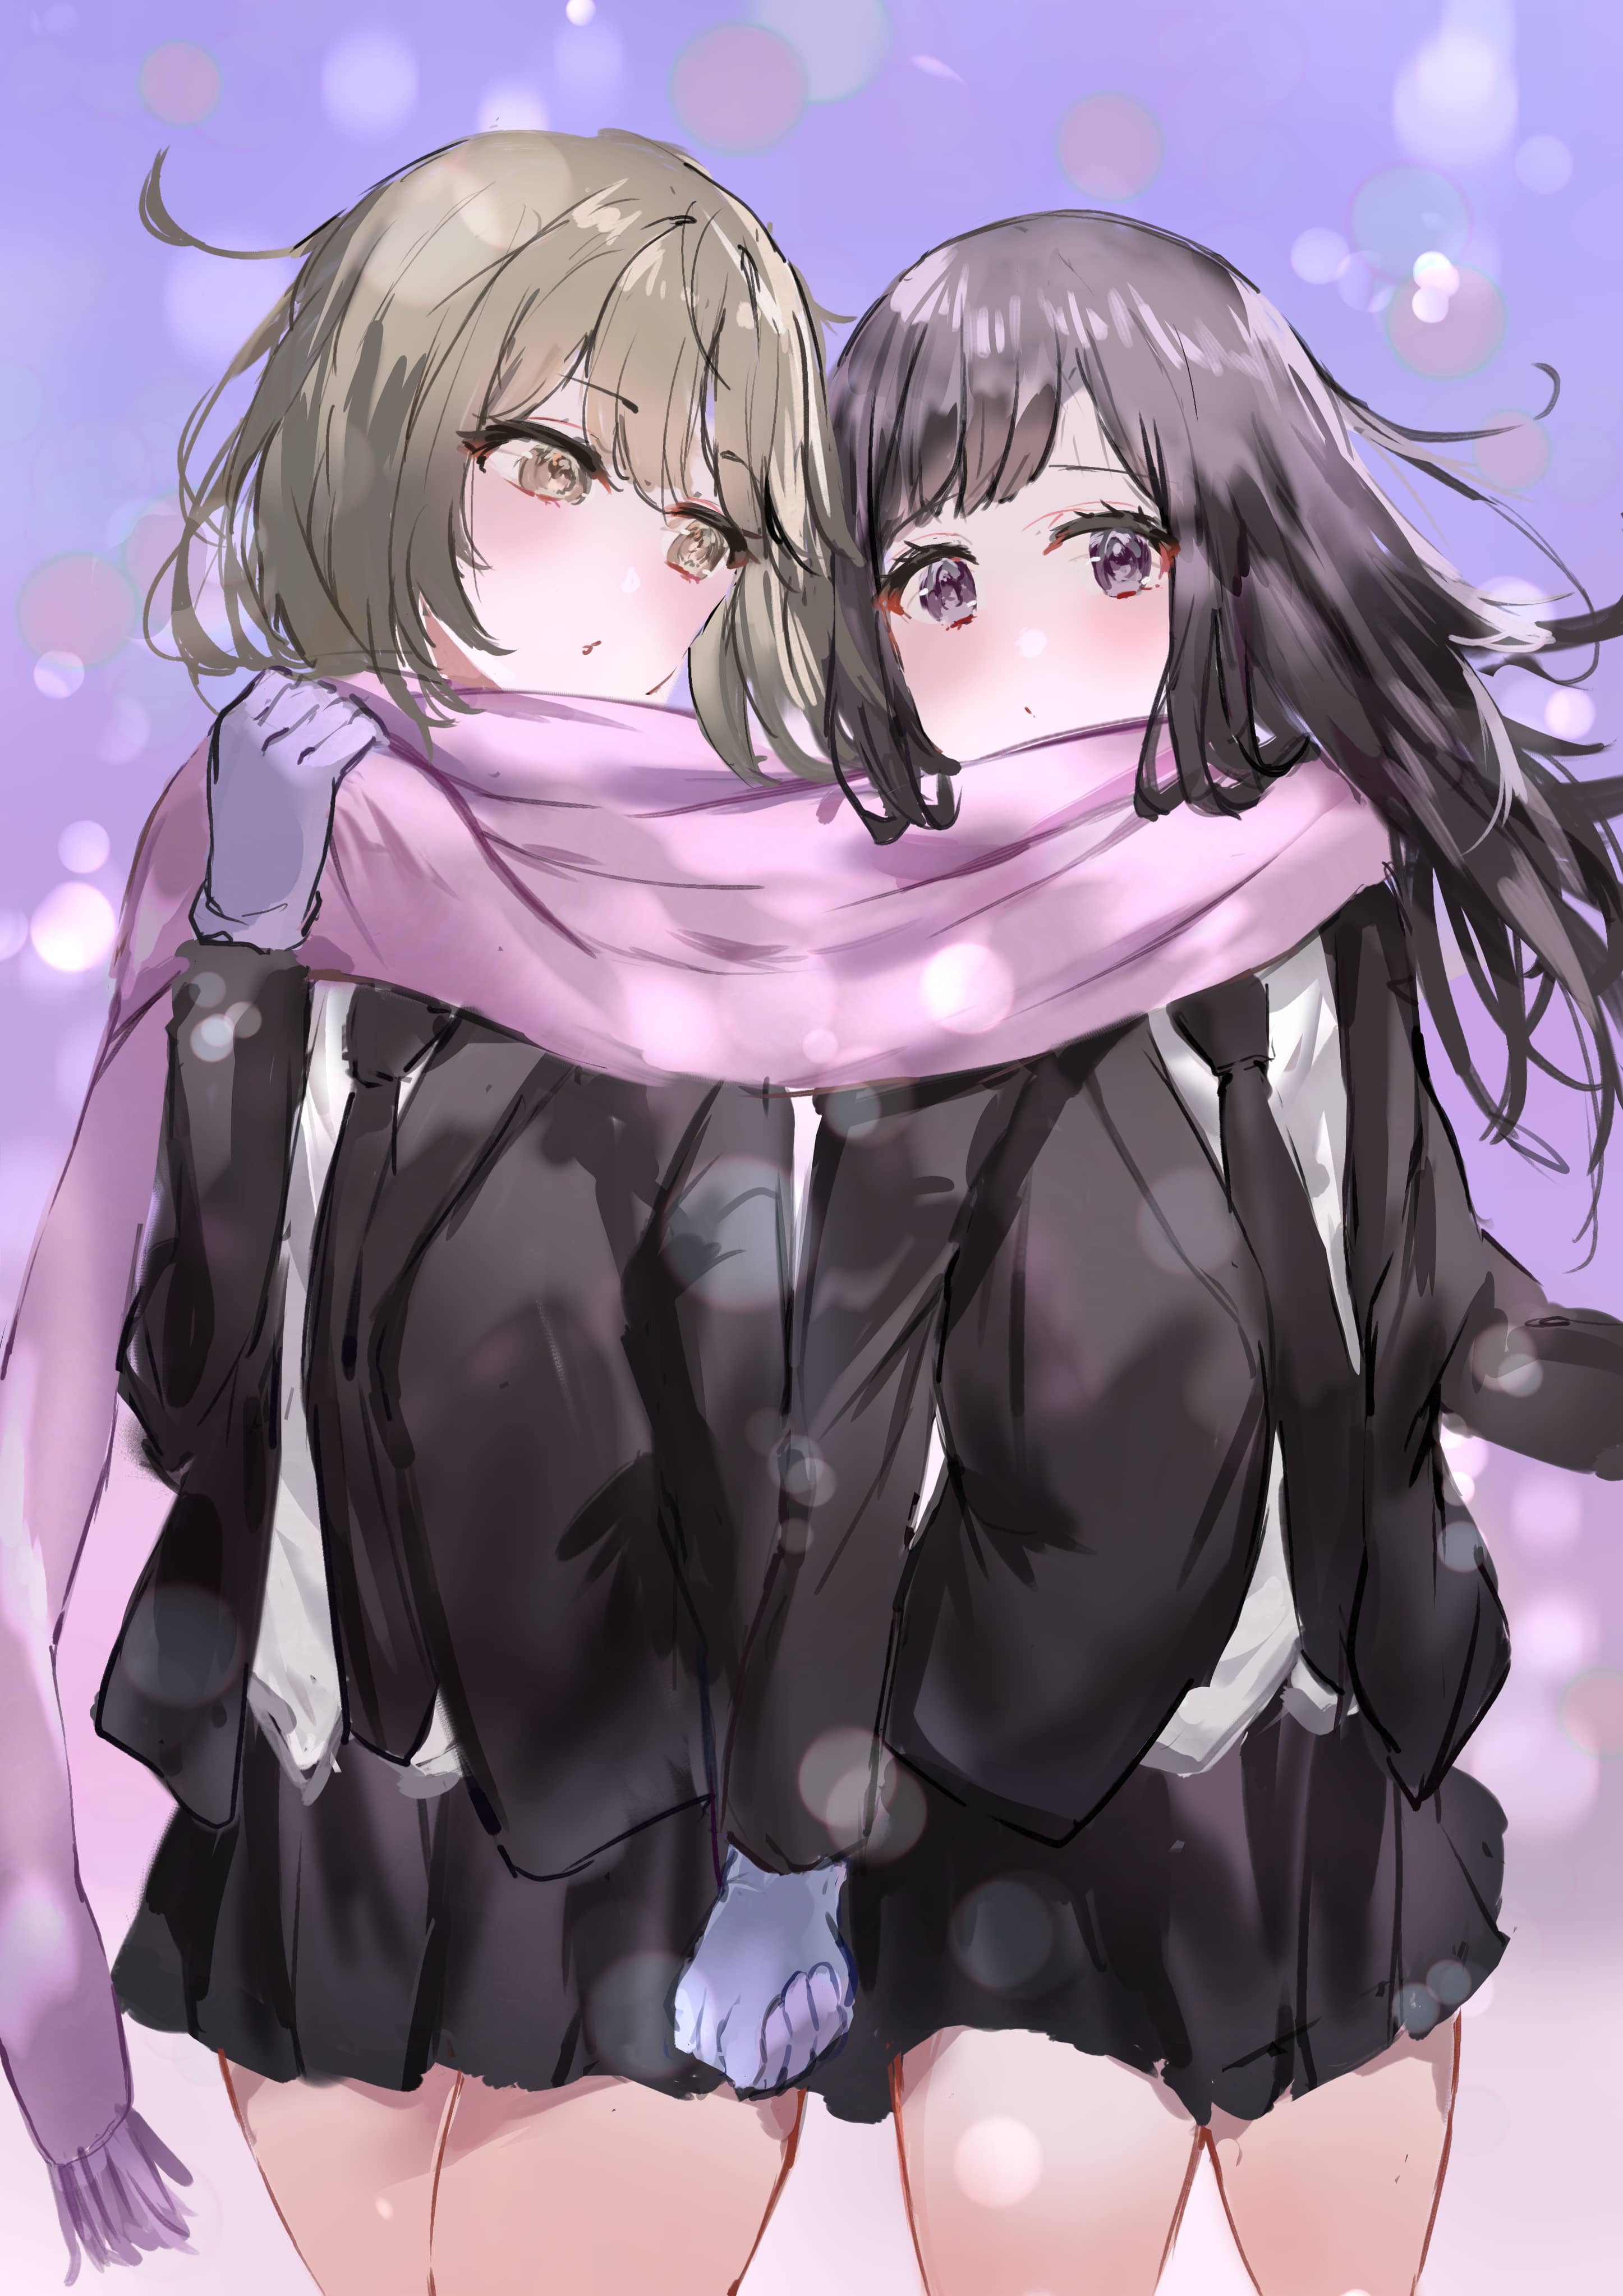
Now I will use the Bokeh (Abstract) Brush.
I placed them randomly above the girls.
At this stage, I think about how I want to use the Bokeh (Abstract) and Bokeh (Heart) brushes. The size, amount, do I want it to look like snow, or street lights, etc.

I added colors to the background so it's easier to see the bokeh lights.
I used purple (#C49AE3).
Then I set the blending of the bokeh layer to Add, to make it look like snow.
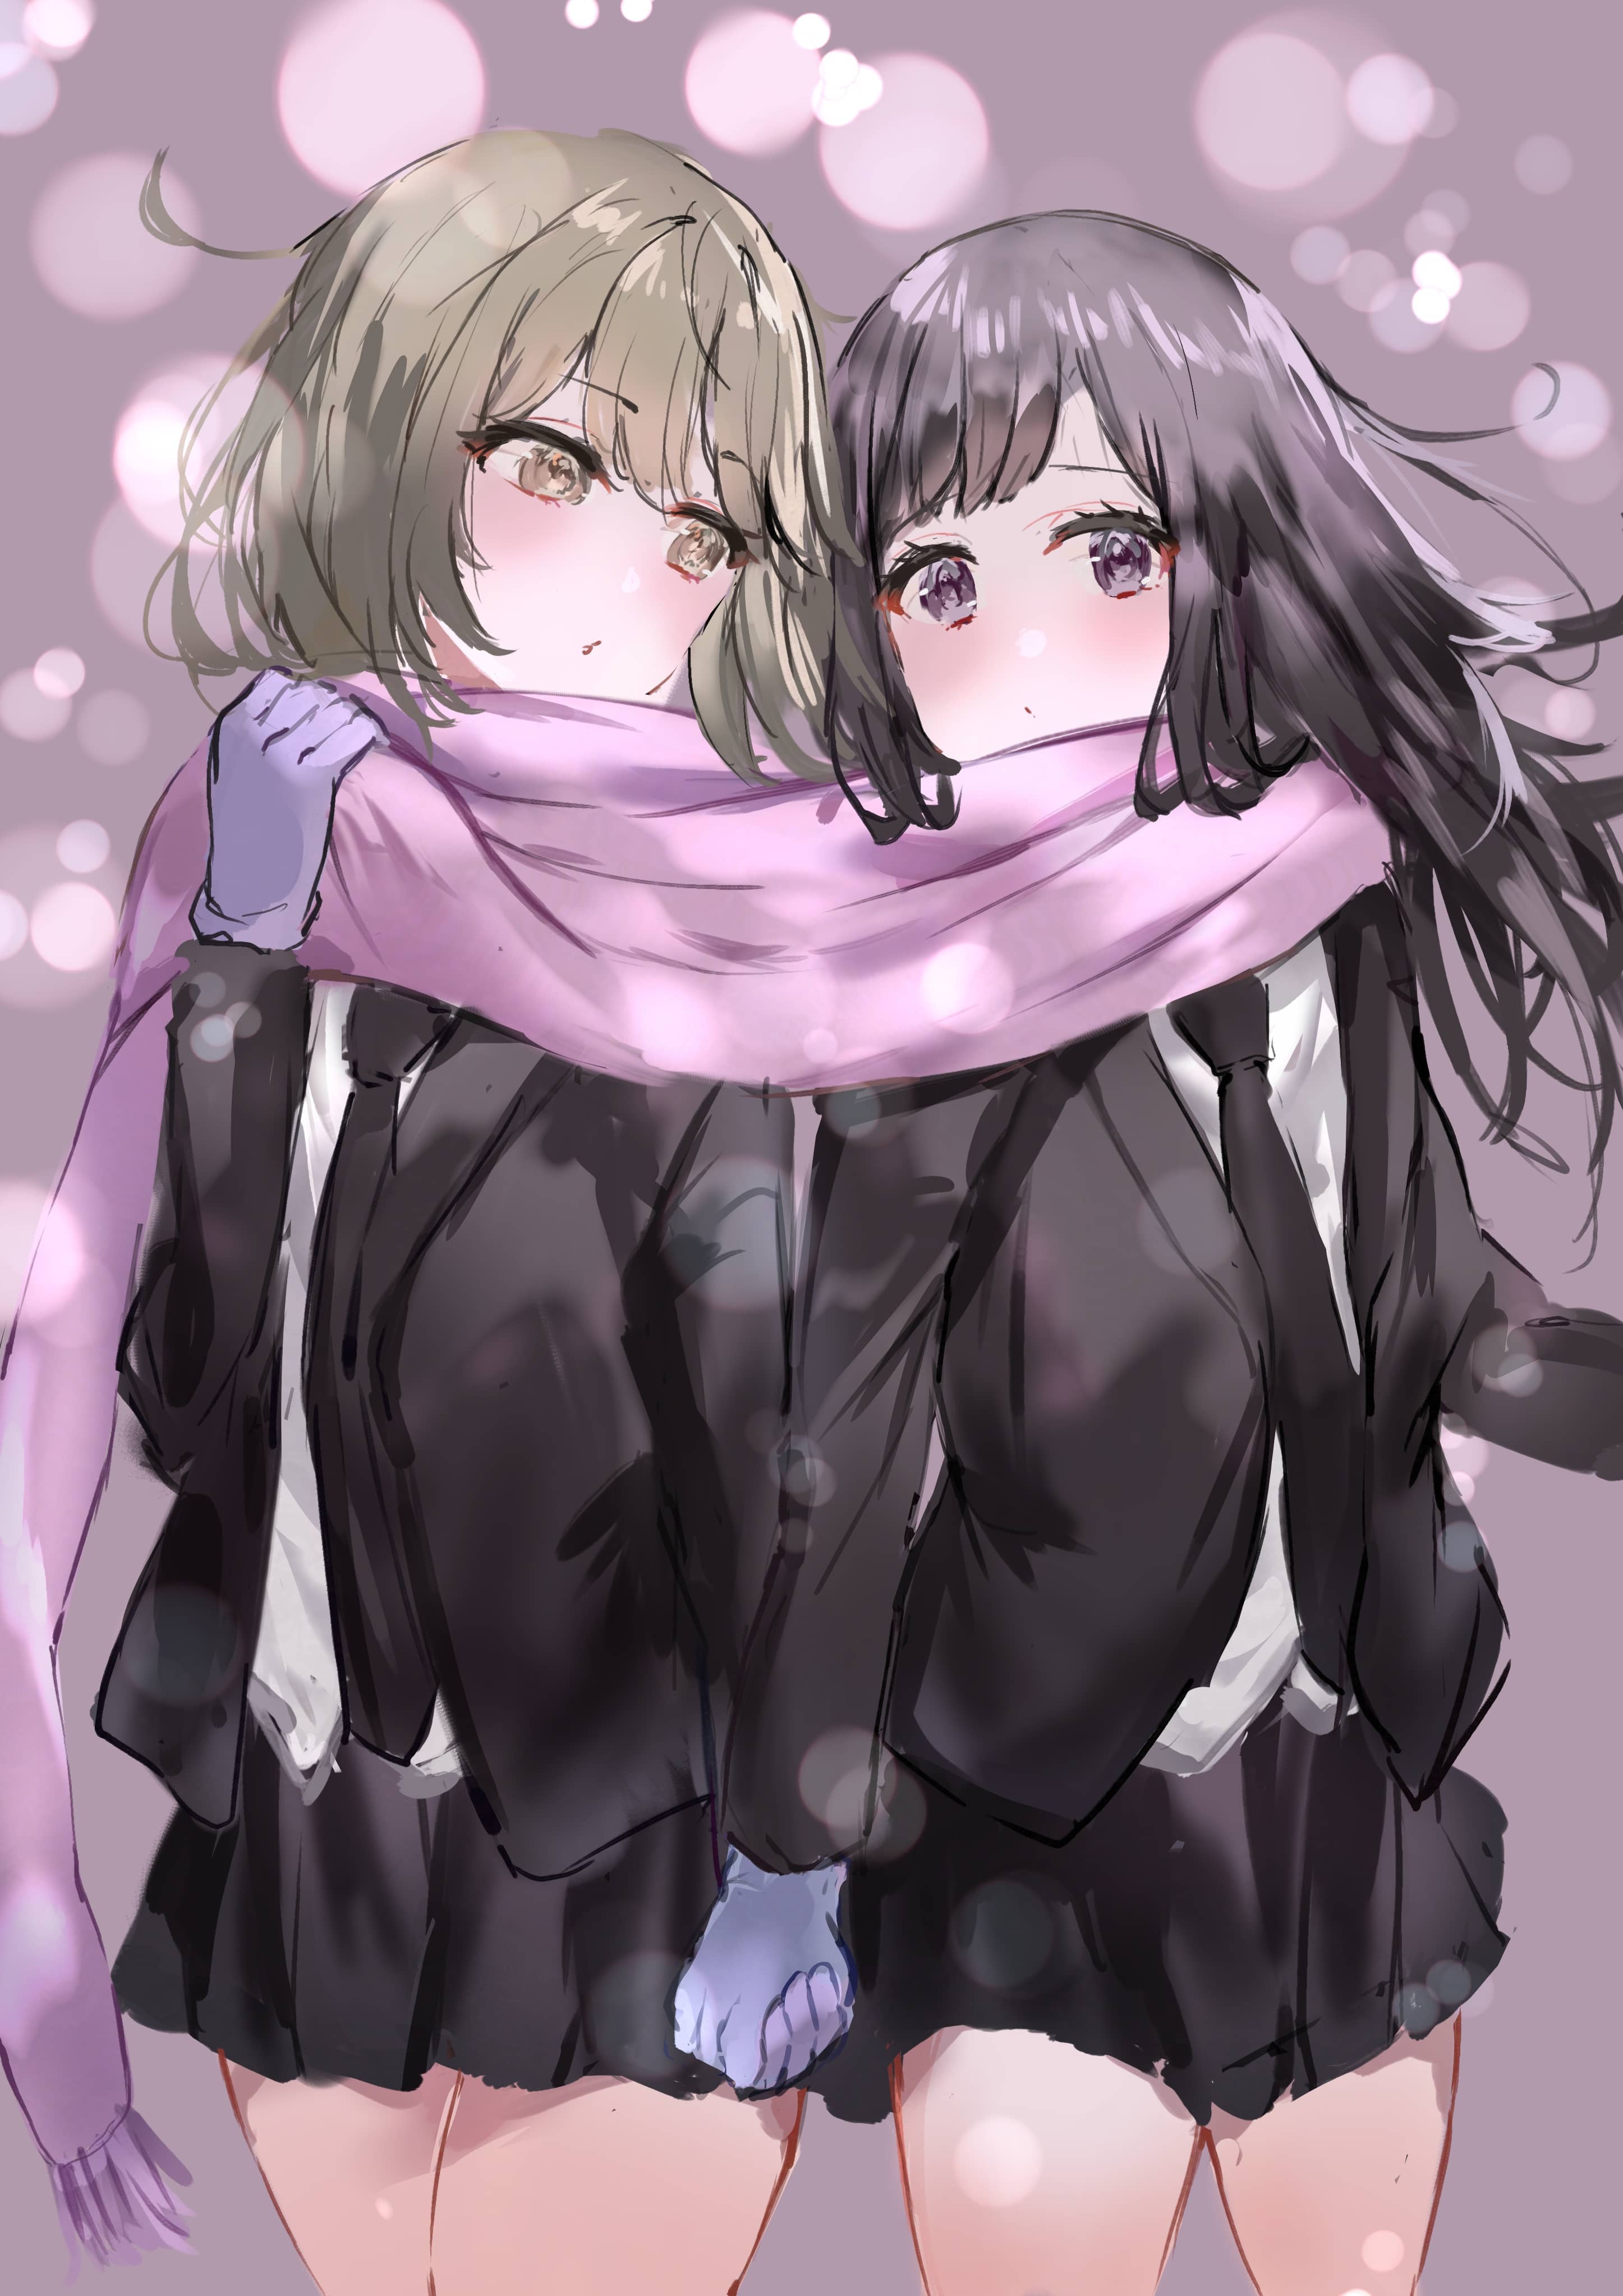
If there is too much bokeh, it looked messy. So I erased the lights that are not touching the character.
By keeping the bokeh near the character, the image looks like it has depth.
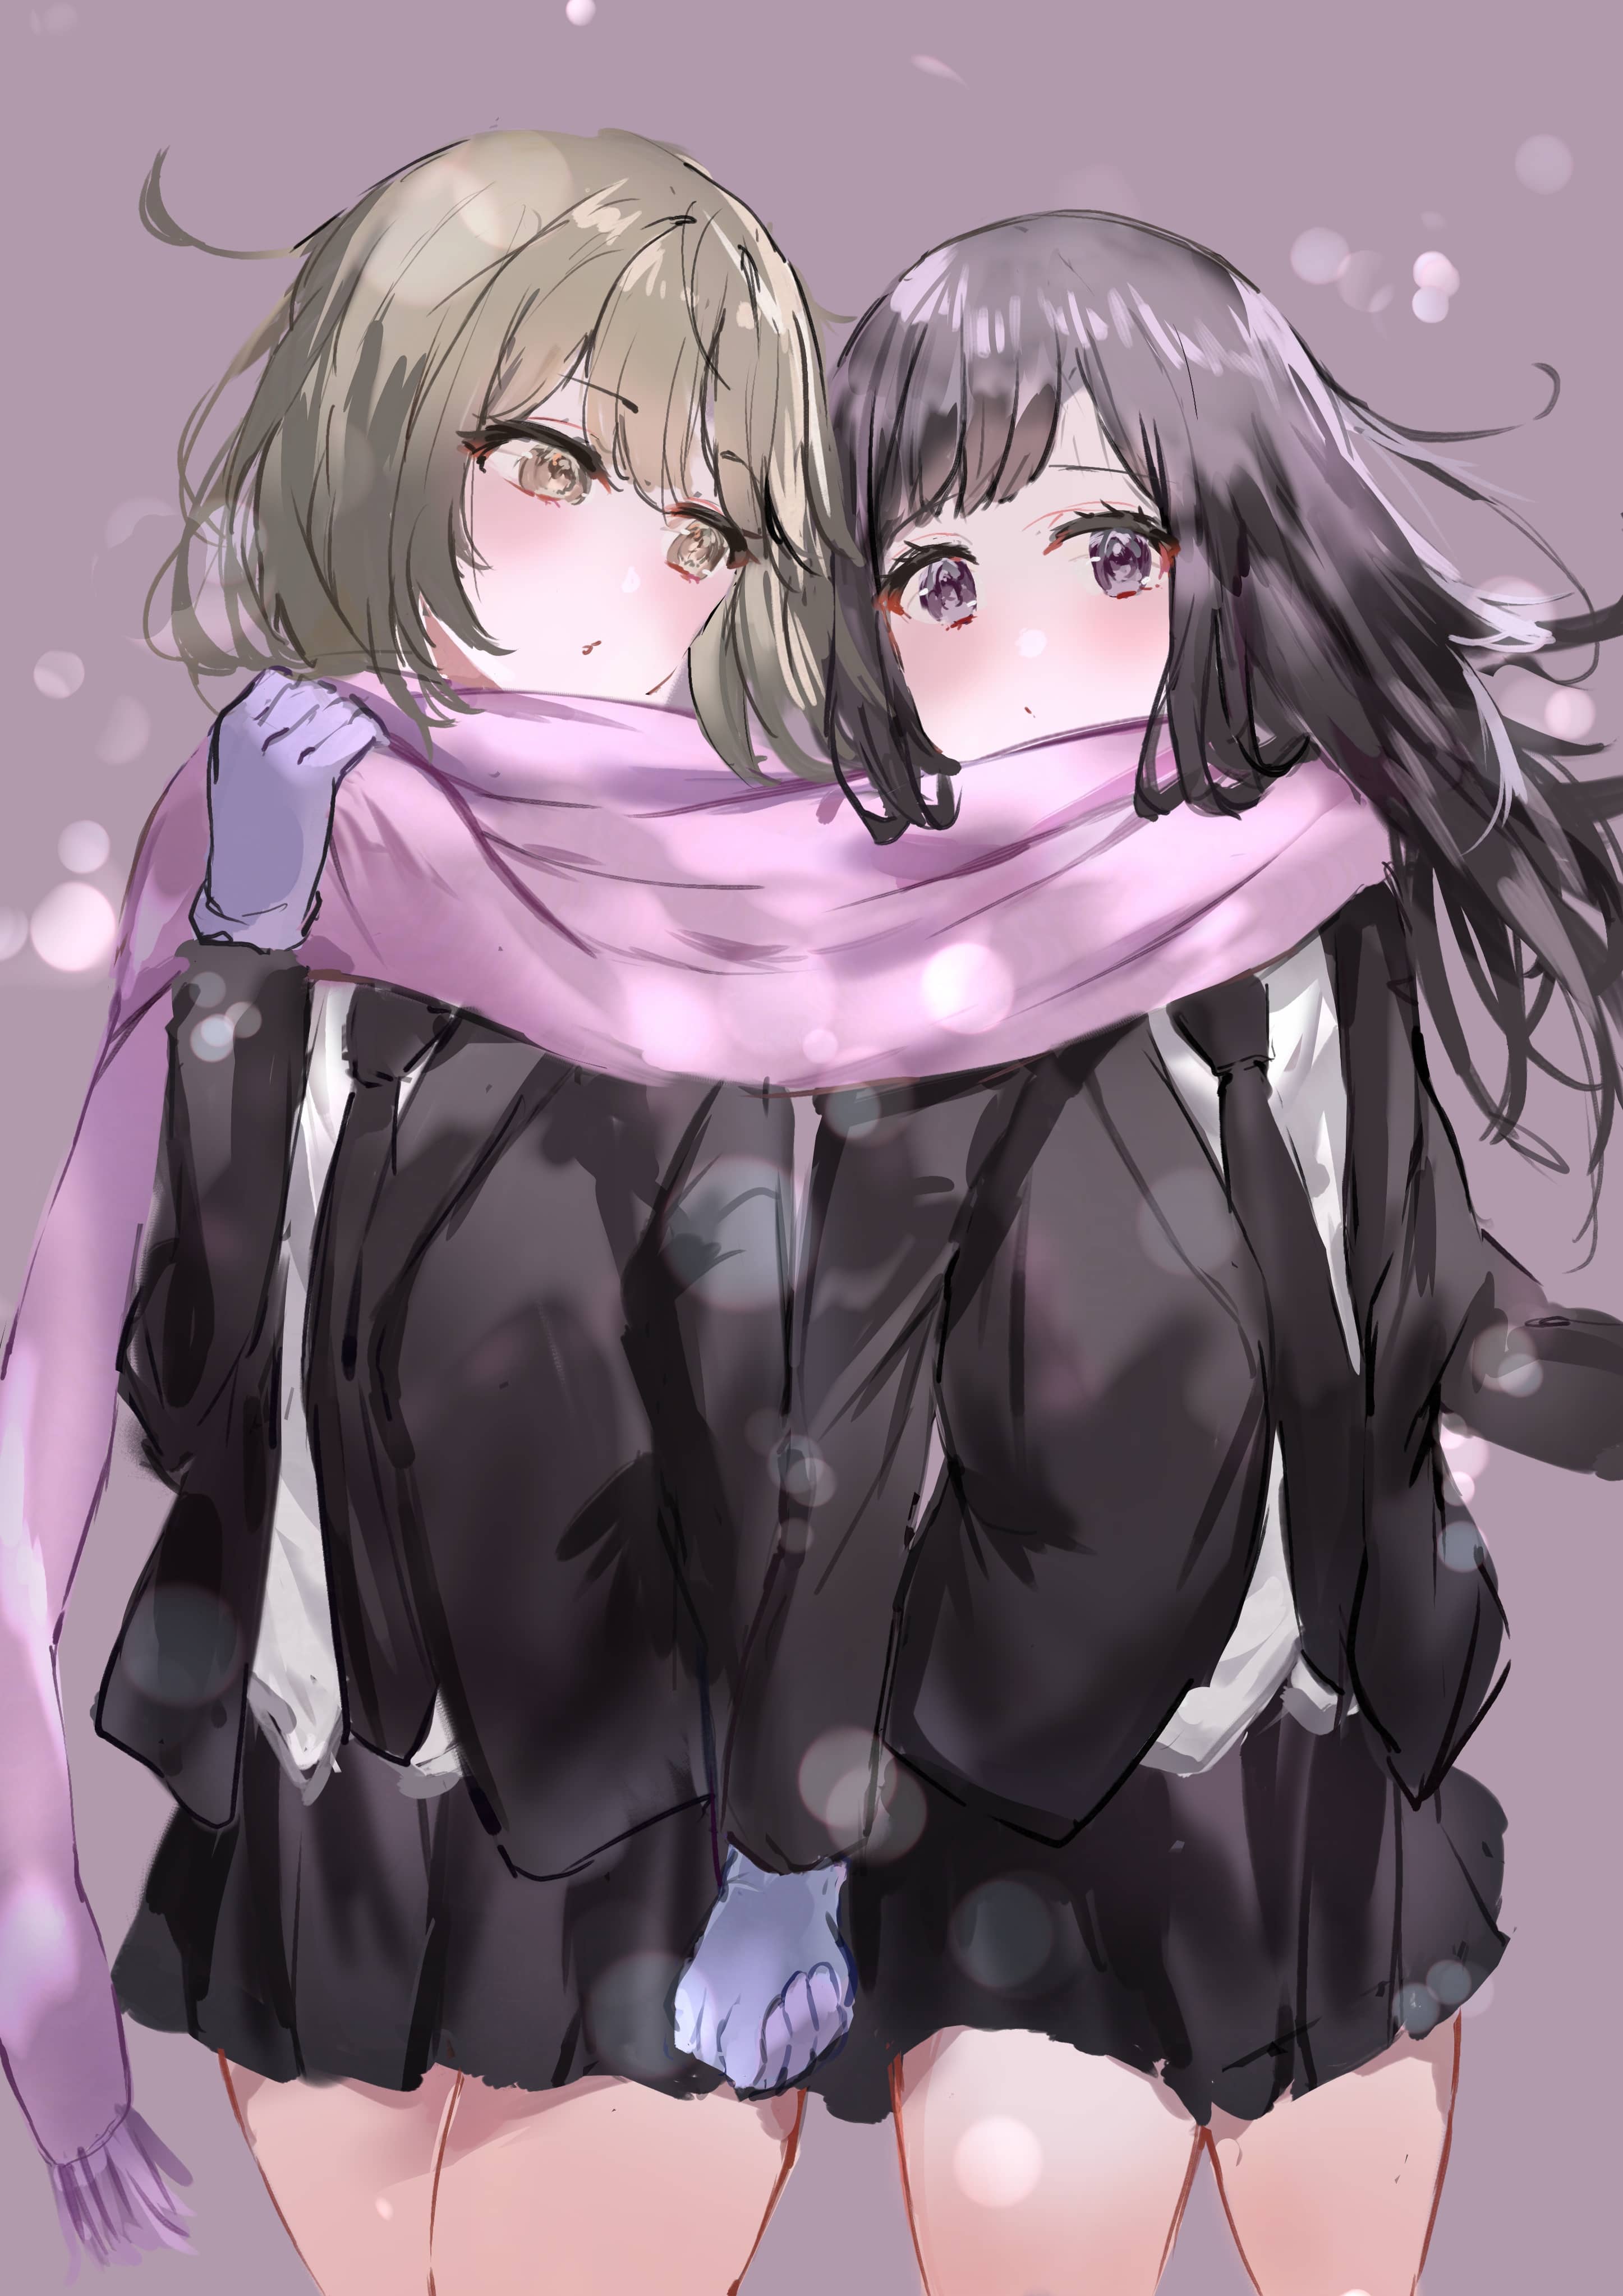
The image felt too dark, so I lightened the background.
I added some colors with the brush tool to make it colorful. Then I applied a gaussian blur.
It's better to match the background colors to the characters, so I added purple and pink.
If I only use a normal layer for the bokeh, it looks too simple. So I used the Add layer for some areas.
[Important!]
You can change the color of the bokeh by going to Fiter > Hue.
Try playing with the Hue/Saturation/Brightness settings on the bokeh layer and find a color you like!
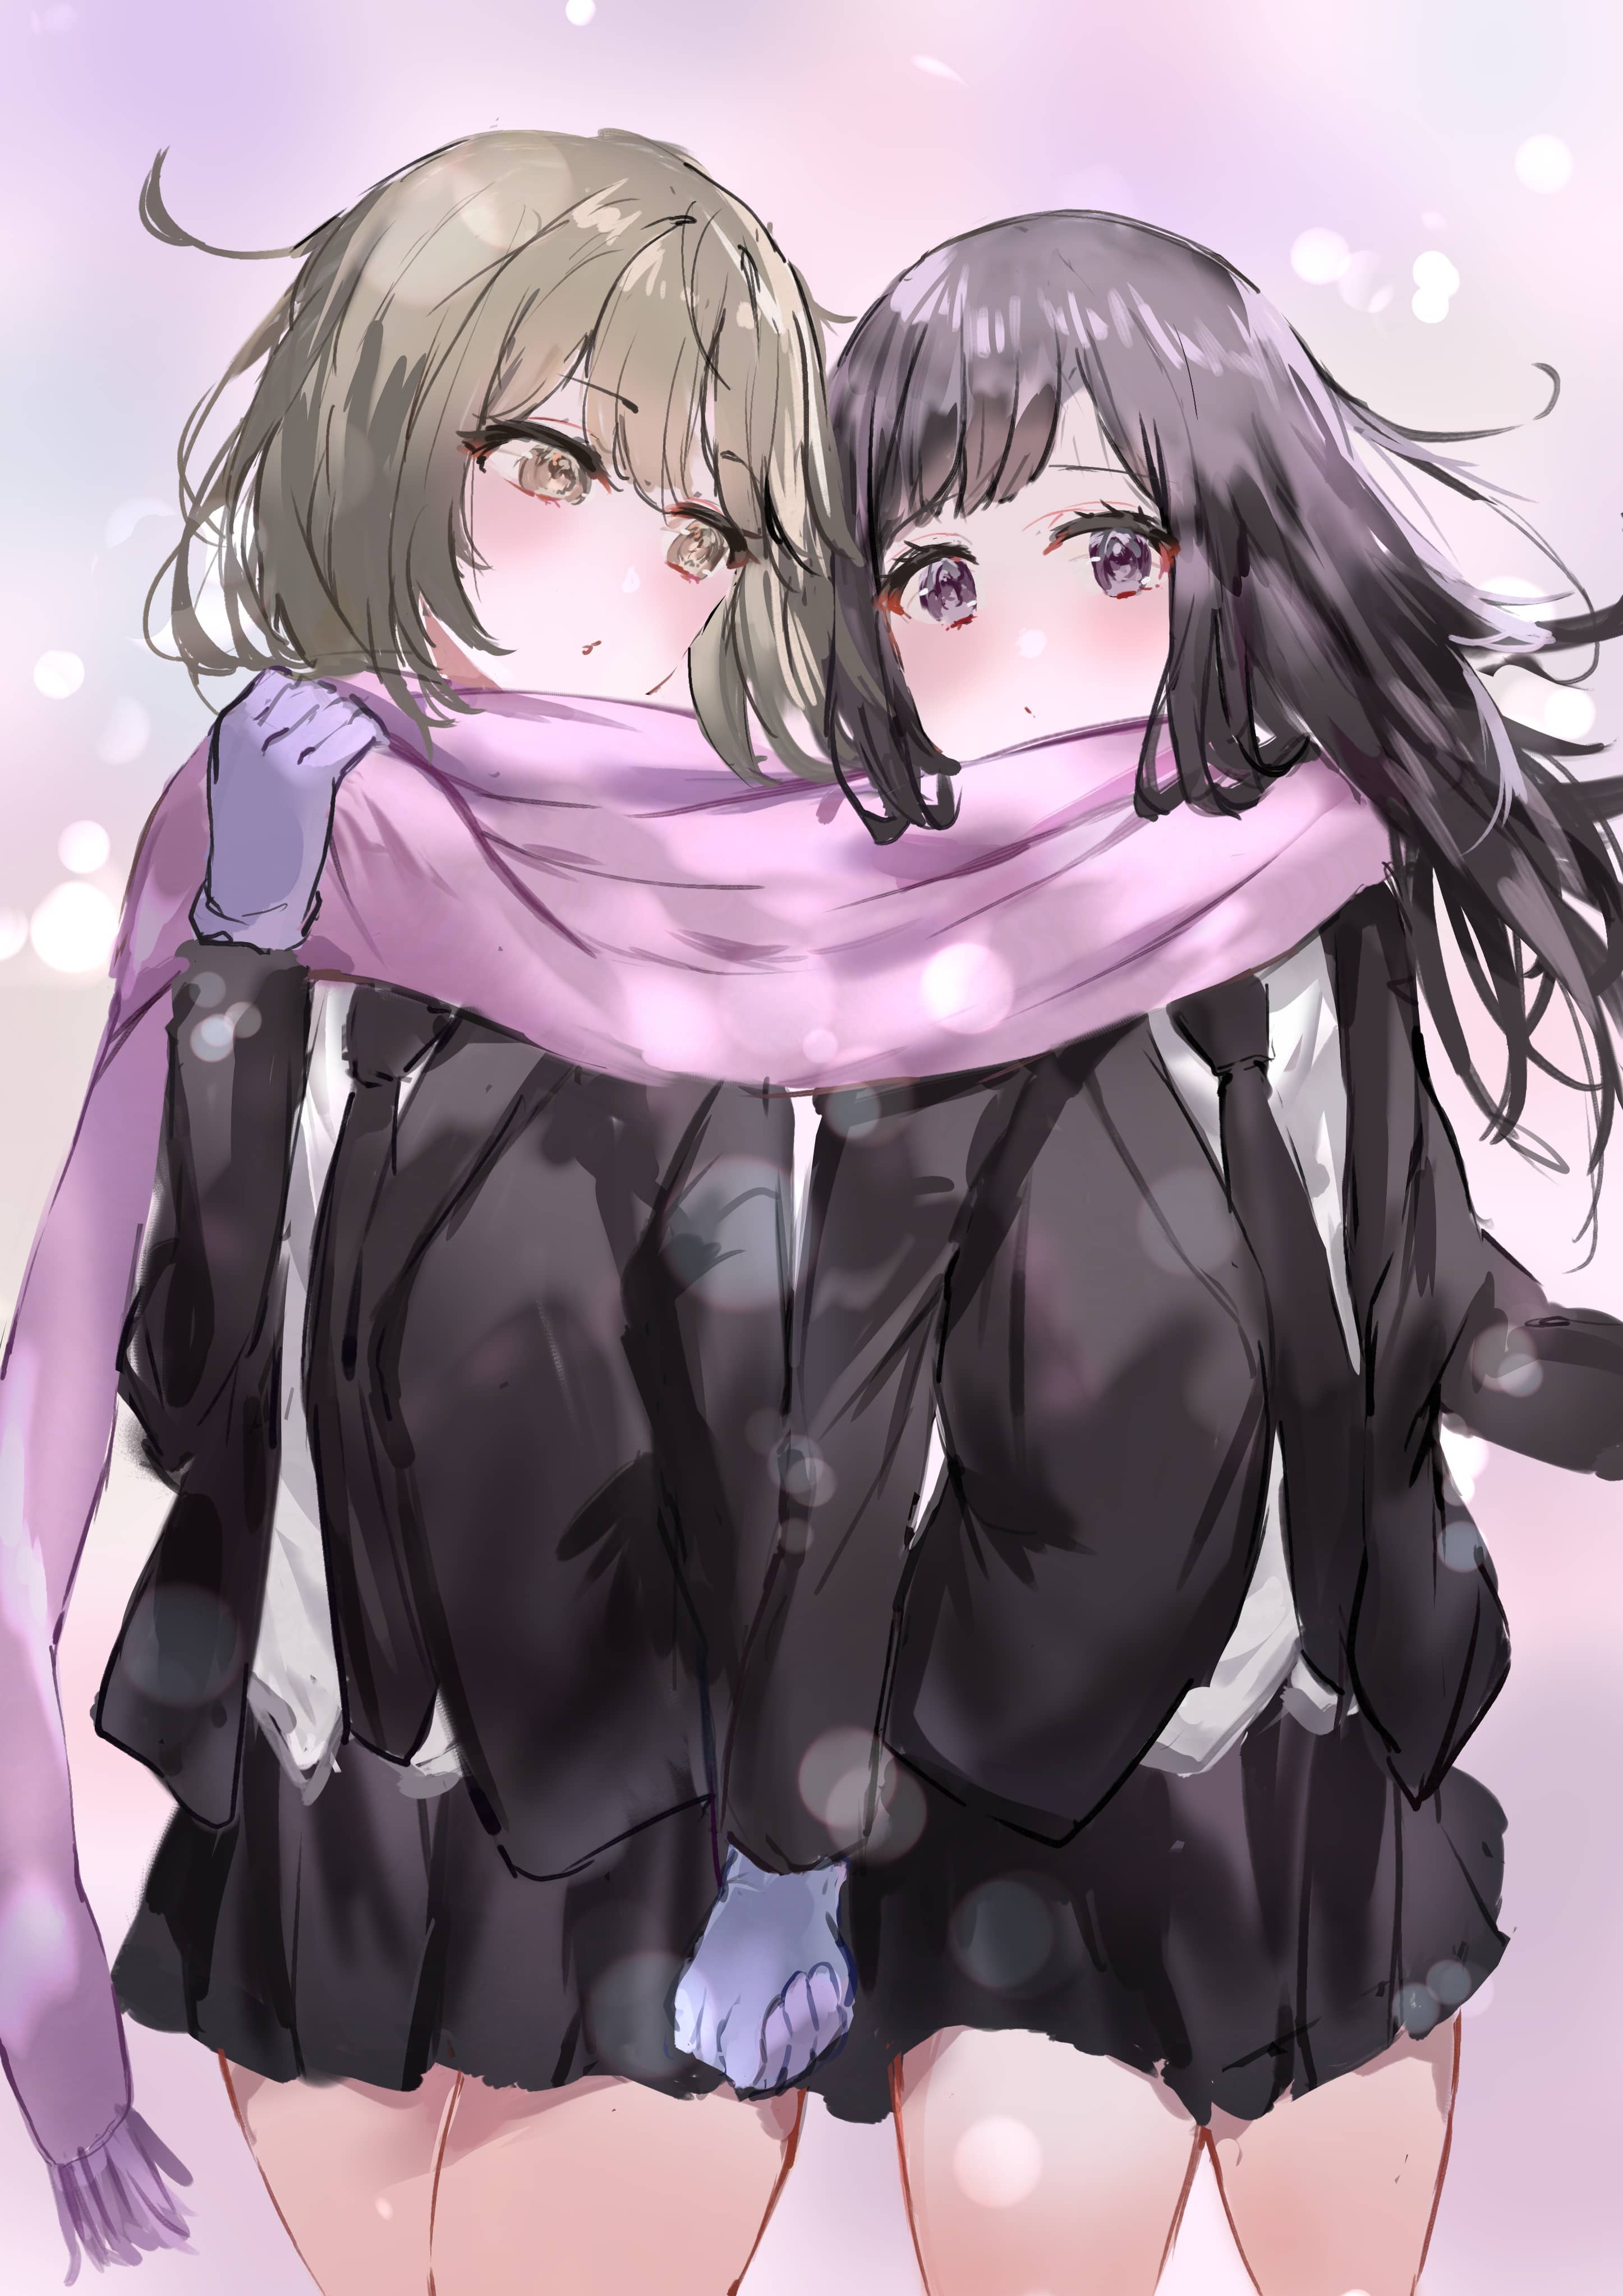
Add more snow with the Bokeh (Abstract) brush to make it look like winter.
I also added a small amount of blur with Filter > Motion blur. This way it looks like the snow is falling.
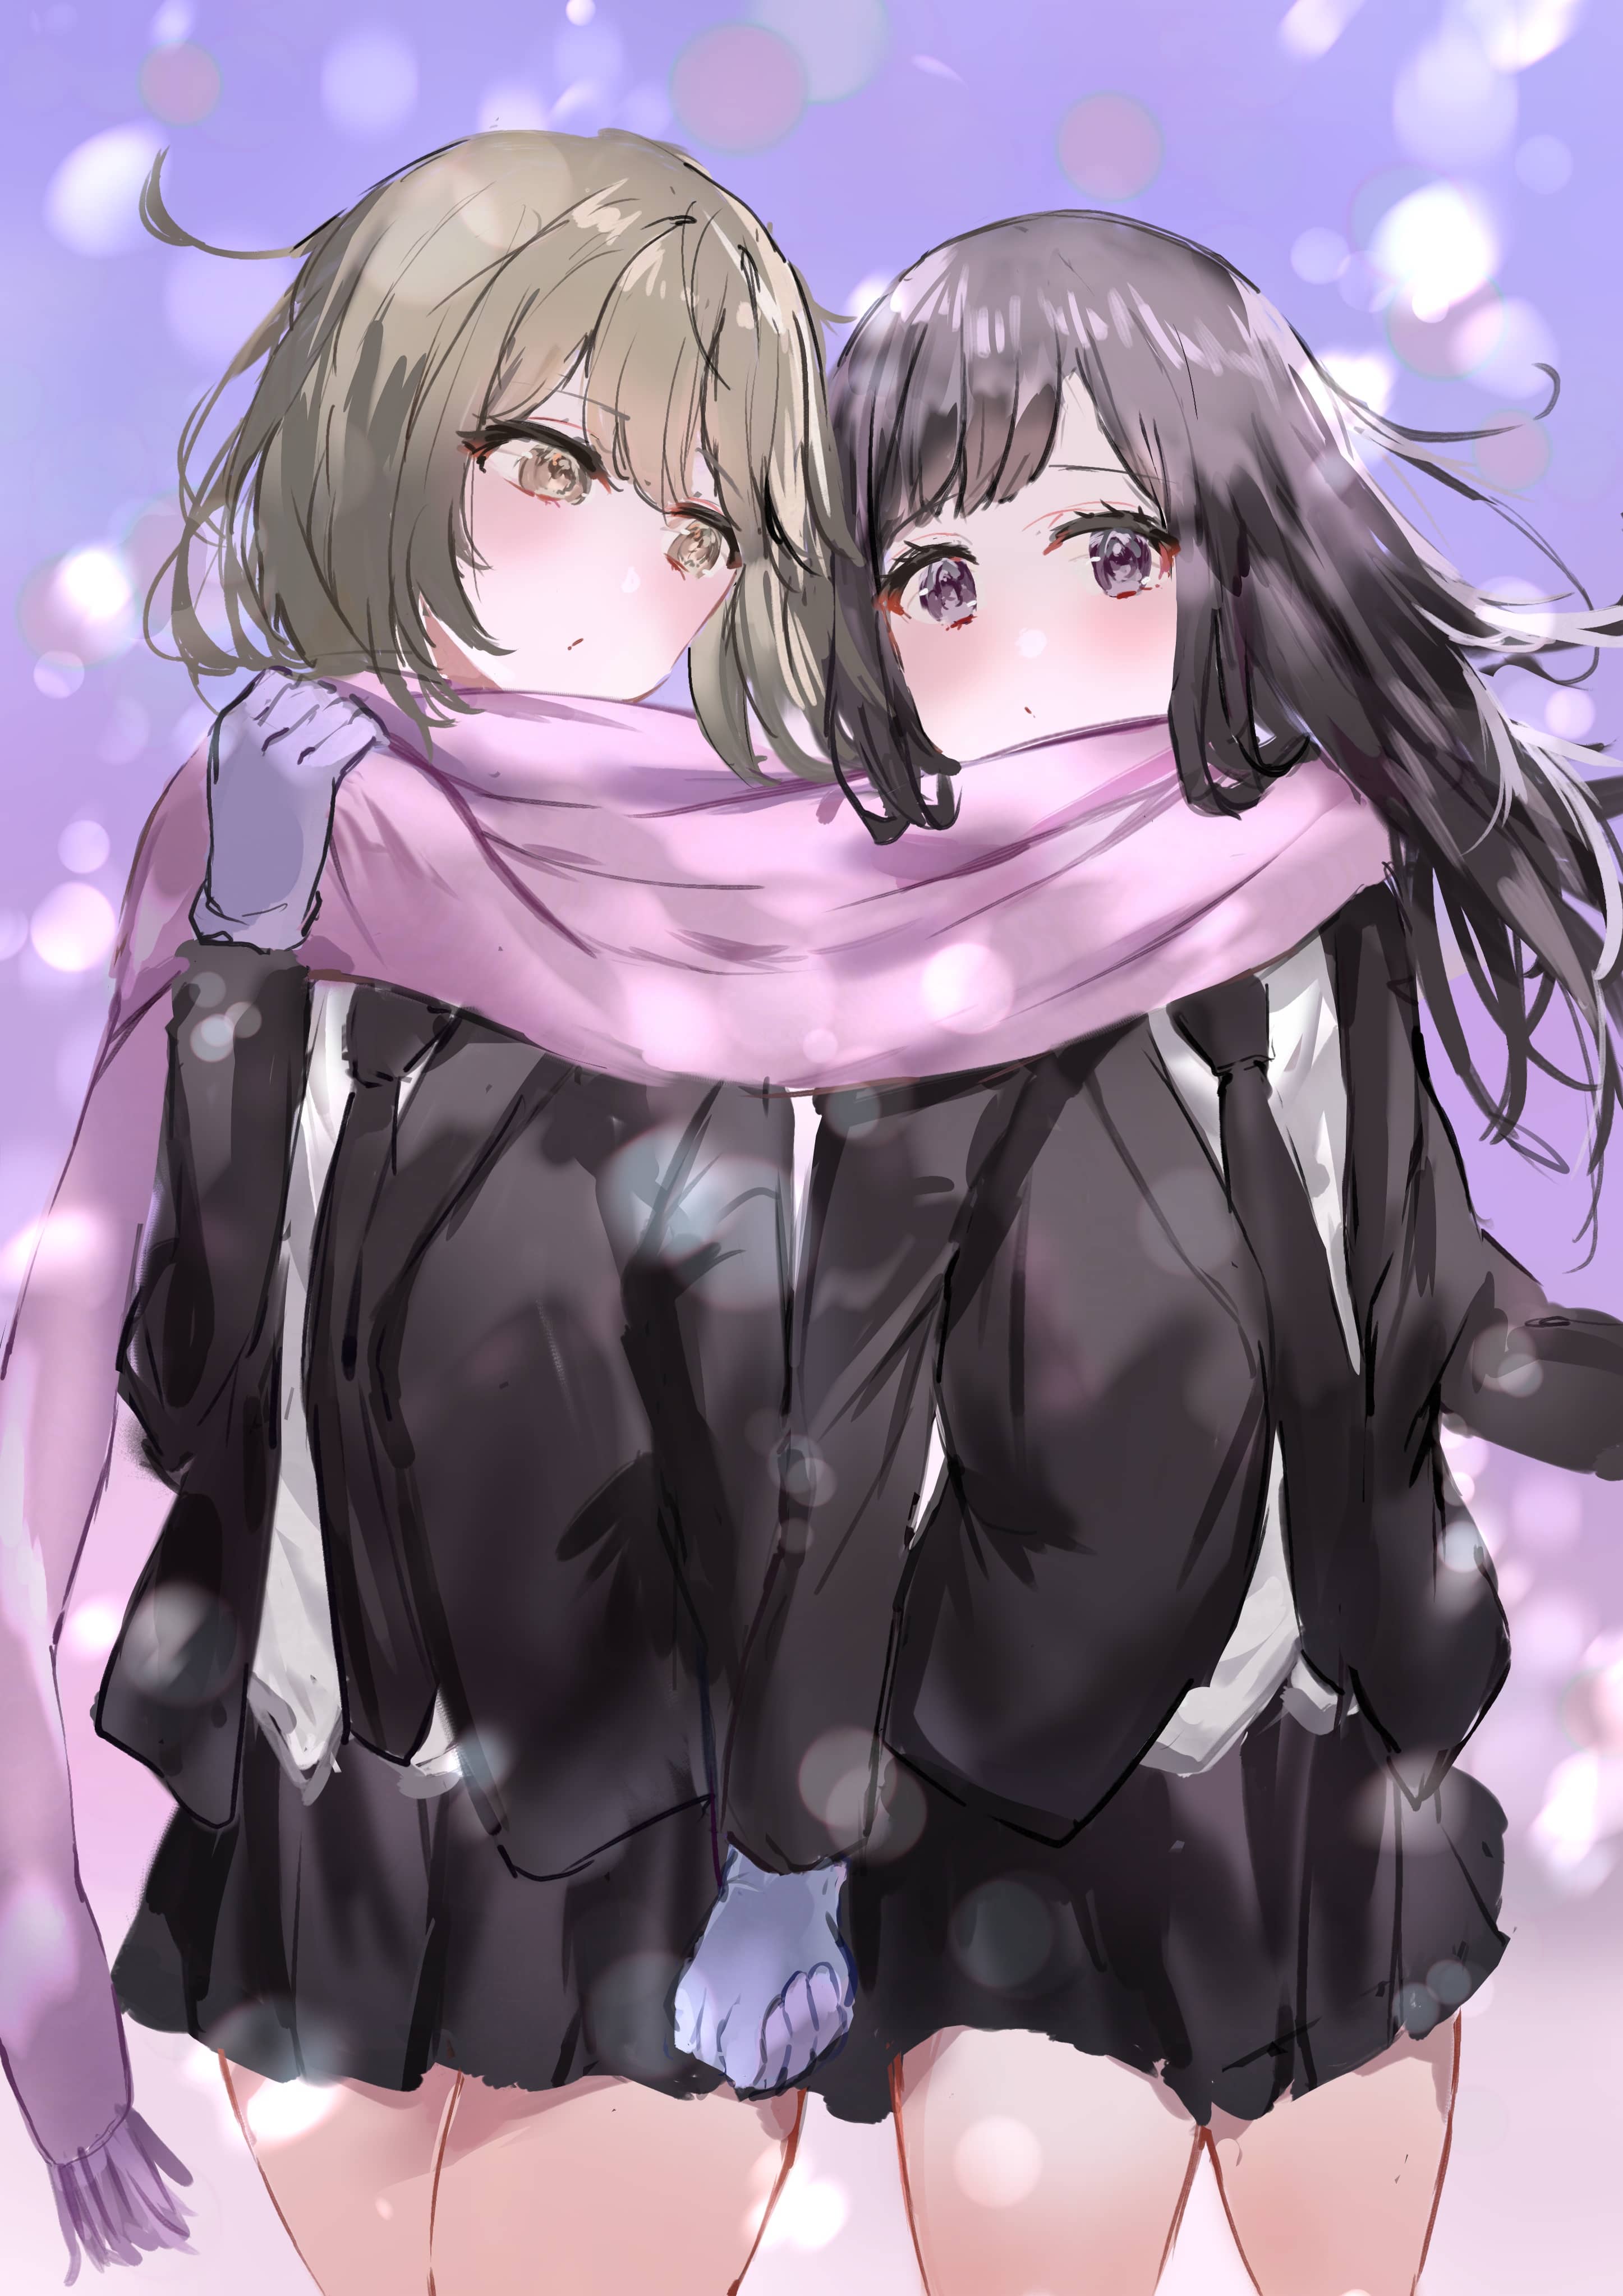
Blur all the bokeh to blend with the background.
I will use the Bokeh (Heart) brush to add patterns to the scarf.
If your brush settings are the same as the screenshot on step 1, you can easily draw lots of hearts.

Go to Select > Mesh transform. You will see a grid that you can move around to transform the selected area. Match the shape of the heart pattern to the shape of the scarf.
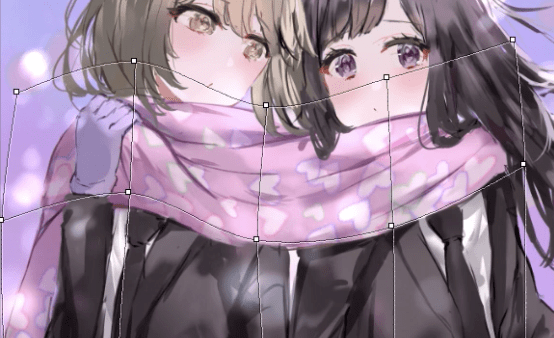

Keep adjusting, and make sure that it looks good when you zoom out. Then it's done!
That's it for this tutorial!
I walked you through one example of using "Bokeh (Abstract) Brush" and "Bokeh (Heart) Brush" on your illustration.
Bokeh Brush Set
There are many resources that can be used to enhance your artwork on ART street Resources.
Please see what we have!
ART street Resources
Article / artwork: Mile
Mile is accepting comissions.
Contact: off8mile@gmail.com
Twitter: https://twitter.com/o8q


