
Official Drawing Lessons on ART street Vol.20
2020-07-17

Here is a tutorial on how to paint clouds in MediBang Paint Android! Bonus tutorial to turn it into a night sky at the end of the video!! Watch the tutorial video and try it !^^
How To Draw Sky and Clouds!
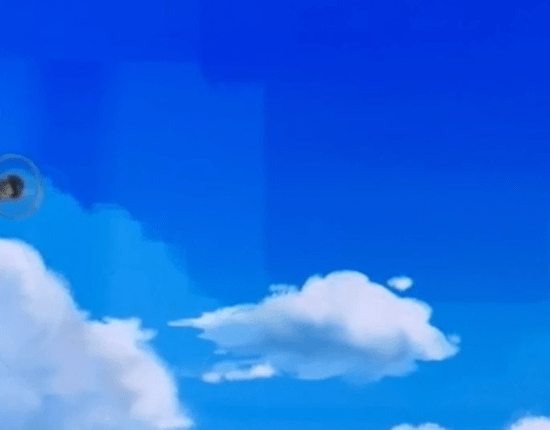
First, we will draw the blue area.
Use the fill tool and make the canvas blue.
Then use a light blue color as the foreground color, and add a gradation from bottom to top.
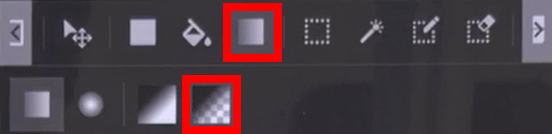

This is too plain, so we can use the watercolor (square) brush to add some texture.
* You need a MediBang account to download the brush.
Use the brush with an opacity of 5 - 10%, and draw up and down.
The colors should be a slightly dark blue, and it needs to be darker at the bottom.
It is a good idea to leave the strokes of the brush, because it adds texture.

When the sky is done, let’s start adding clouds!
Add a new layer on top of the sky.
We will use the following brushes for the clouds:
1.Cloud brush - main
2.Watercolor (square) - to fill in
3.Smudge
4.Blur
You need a MediBang account to use brushes 1 and 2.
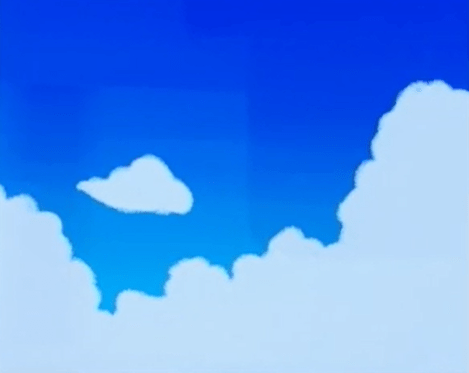
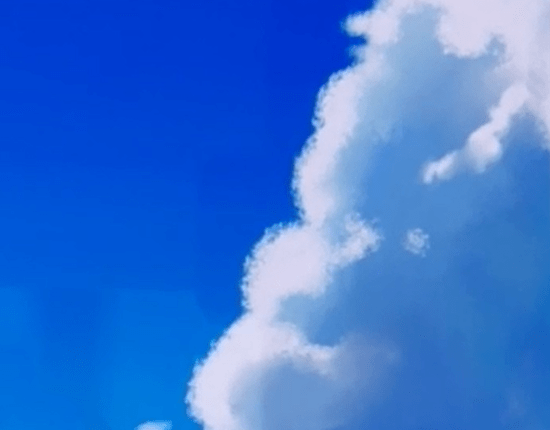
First, block out the rough shapes with the cloud brush.
Think of it as a gathering of circles.
The color for the clouds should be a light blue.
After drawing the rough shapes, add the smaller clouds, or separated clouds.
Use the smudge and blur tool for some areas. It will make the clouds look soft.
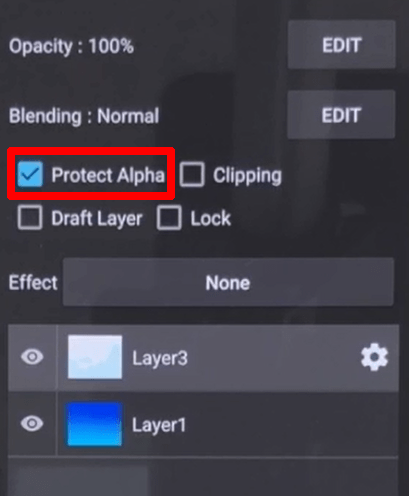
Check "protect alpha" on the cloud layer.
* This way you can avoid painting over the edges.
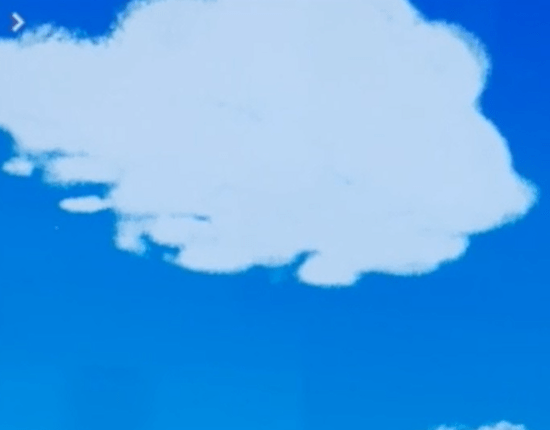
Use the cloud and watercolor (square) brush to draw the big shapes of the shadow.
Use a blue that is darker than the base of the cloud.
Use the watercolor brush to blend the shadows.
By blending, the clouds will look softer.
Add a darker shadow to give depth.
It’s a good idea to blur and smudge some areas.

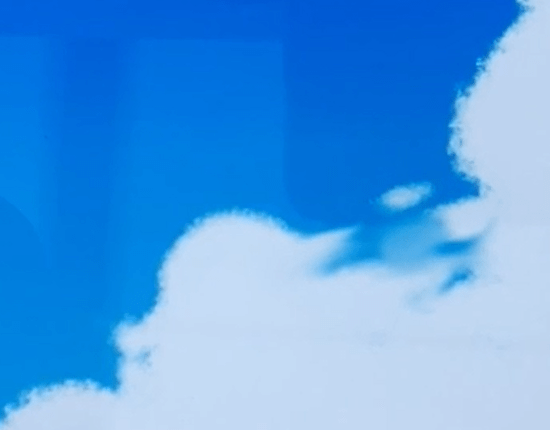
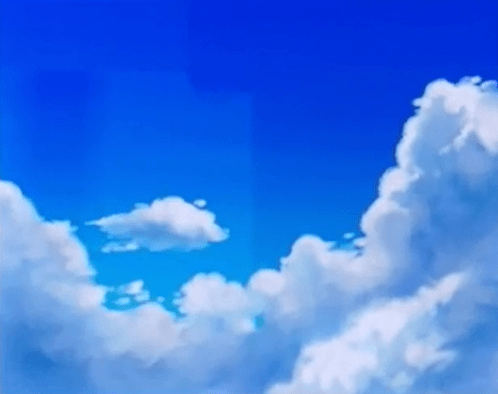
Next, let’s draw the highlights.
Use white on the cloud brush and paint the areas that the light touches.
Keep in mind that the shape should be round.
Blur some areas. Use smaller strokes compared to the shadows.
To give it a sense of depth, we will draw more clouds in the back.
Add a new layer between the sky and the cloud.
The color should be slightly lighter than the sky.
It should not stand out more than the front clouds.
Use basic and rough shapes.
Use a strong blur for more depth.
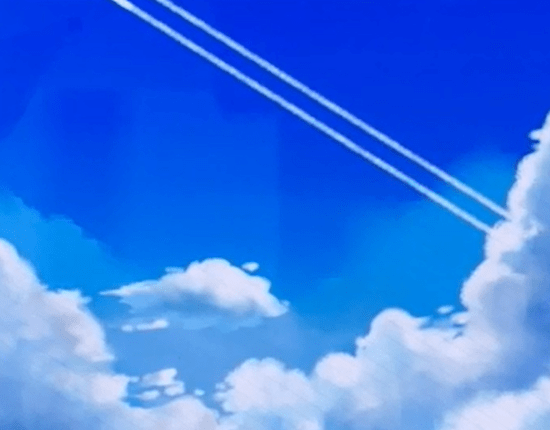
Use the parallel snap tool. You can add a parallel line with any angle.
The angle can be changed from the menu at the top right.
Select “move snap”.
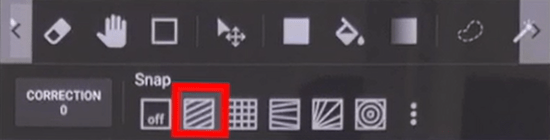
This way you can easily draw a straight line for the trails.
At this point, the canvas feels it is lacking colors.
Add a new layer on top of the cloud, and check “clipping”.
* If you check this, you will only draw on top of the layer that is clipped on.
Set the blending to overlay.
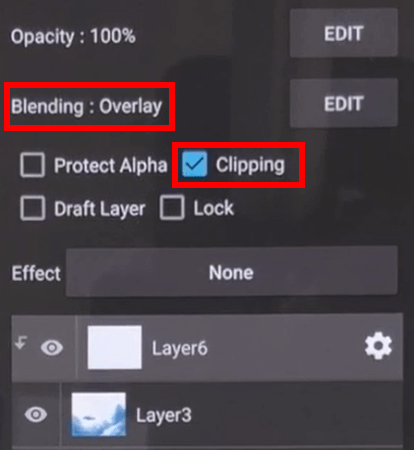
Use warm colors such as pink or orange, and blend them in.
Then add another overlay layer, and use a strong pink and color over the clouds.
Keep repeating until you are happy with the colors.
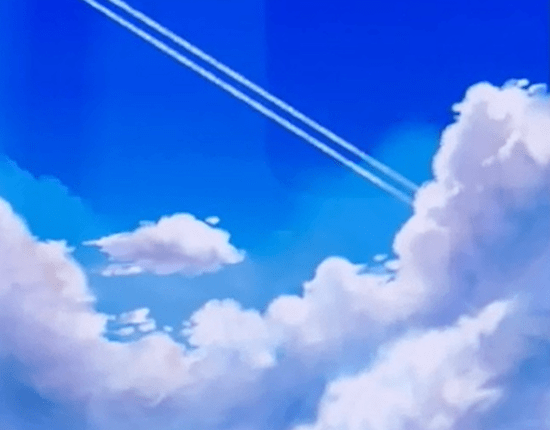
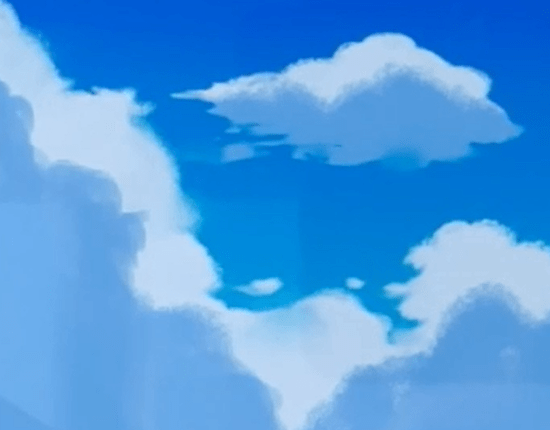
Add some light particles, adjust the shapes, and it’s done!
Try drawing different kinds of clouds!


Finally we will show you how to easily change it to a night sky, or change the mood completely.
Add a layer between the sky and cloud.
Set the blending to multiply.
Use the fill tool, and fill it with purple.
See, you can easily change it to a night sky.
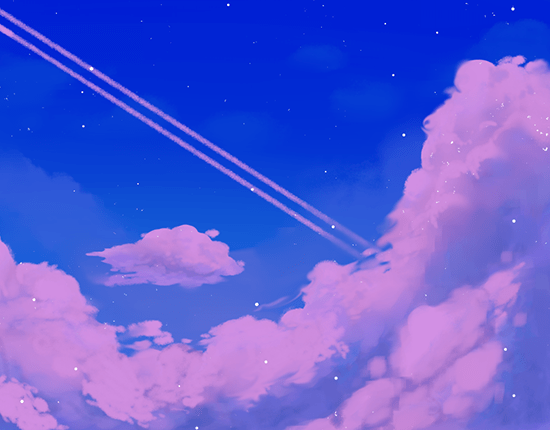
If you use pink instead, it will have a completely different mood!

Please experiment with the colors!


