How To Color Black and White Background
2020-10-16

We are going to show you how to color black and white background in MediBang Paint! We will go through the basic tools such as buckets tool for beginners.
How To Color Black and White Background
Hello! This is a coloring tutorial using MediBang Paint Android.
Check out the "Using our background image contest" on ART street!
We have a Coloring division for beginner artists.
The contest provides 4 different lineart that you can use.
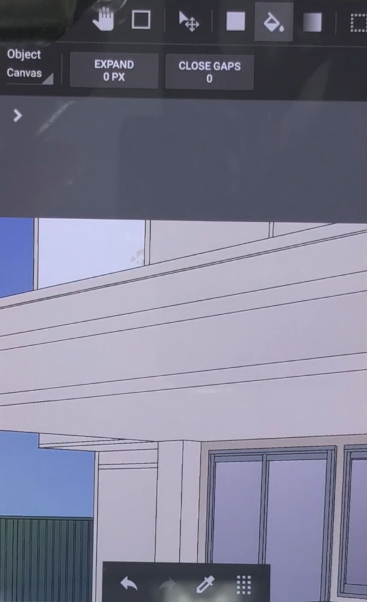
First let's add the base colors with the bucket tool.
Select "Layer" on the bucket tool, so we can fill in the entire canvas and ignore the lines.
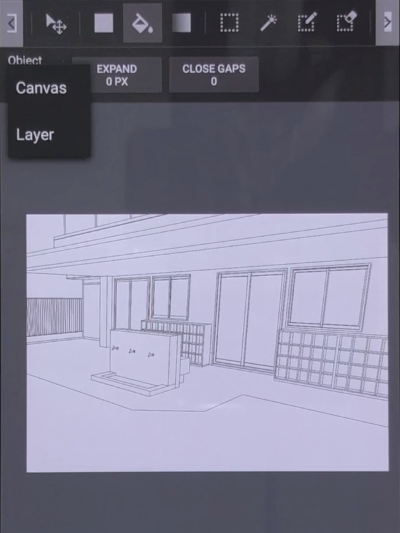
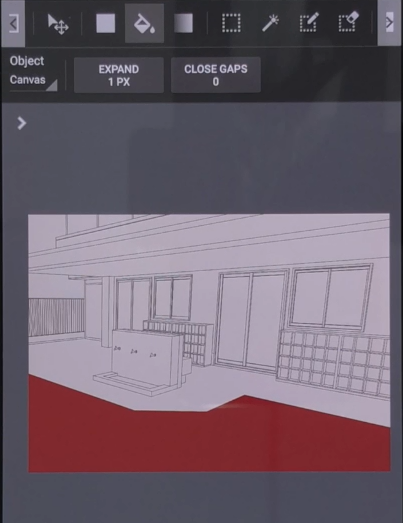
If you want to fill within the lines, select “Canvas”.
And if you increase the "extension" a bit, it coats nicely without any gaps!
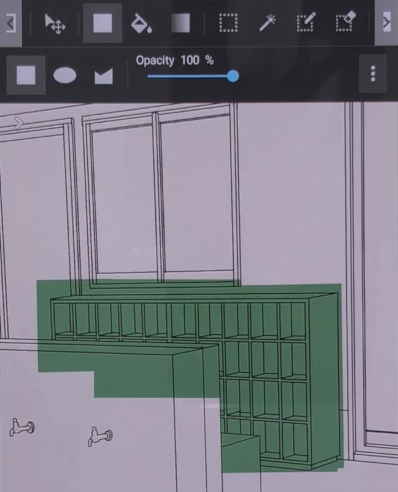
We will tell you how you can color areas with a lot of lines like this shelf.
First use the fill tool to roughly add a color.
Next, use the bucket tool. Select a transparent color from the color palette.
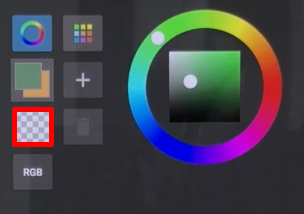
Now you can just tap the areas that you want to erase.
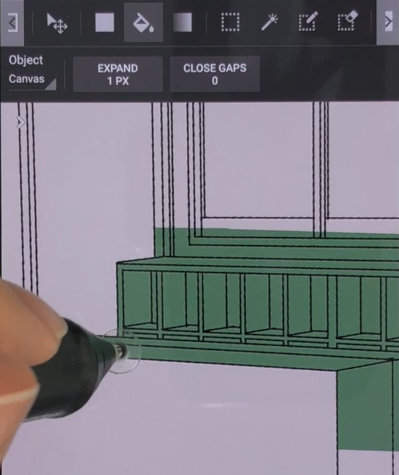
Use an eraser for the smaller areas.
Use this method to color areas with a lot of line details.
After the base colors are done, let's add shadows.
Add a multiply layer, and color the shadow areas with the bucket tool.
We used a gray-ish color for the shadows.
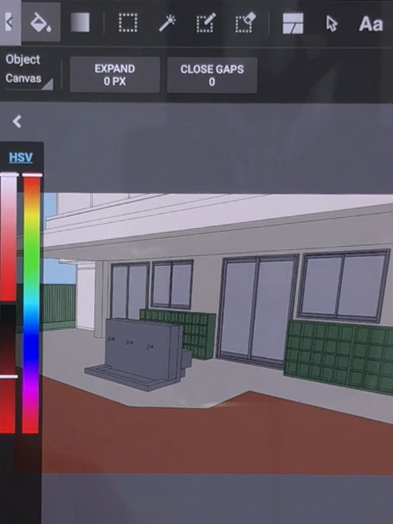
Next, use the magic wand tool and select a part of the building.
Select the gradation tool, and set it to "Foreground to transparent".
Select a light color and add a gradation from left to right.
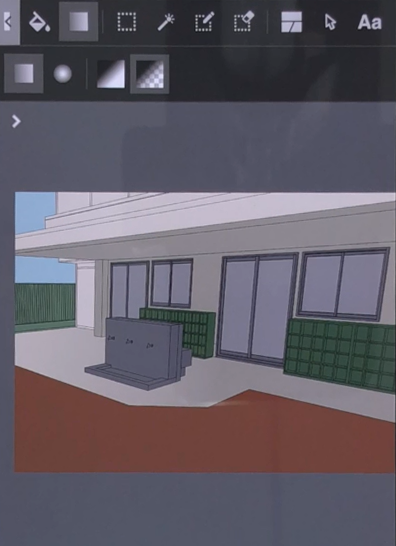
The gradation makes the shadows look more interesting.
Next add a multiply layer, and add shadows to individual parts.
Once the shadows are done, let's add some texture!
Add a new "overlay" layer.
Let's add a gradation to the ground.
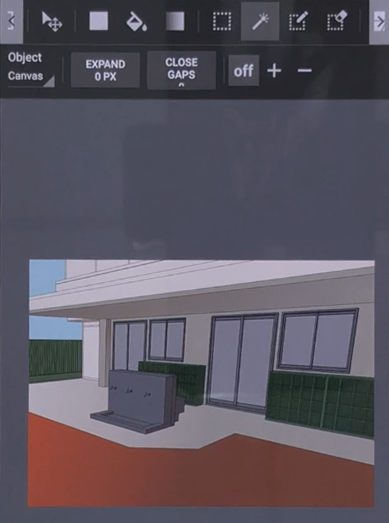
Do the same with the sky and building with an orange color.
Next add a multiply layer, and set the transparency to 10%.
Download Watercolor(rough) from the cloud brushes.
*You need to log in to use cloud brushes.
Let's add roughness to the building and the ground using that brush.
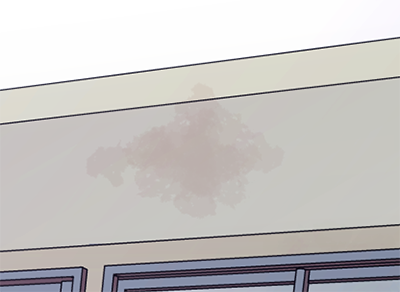
Try not to overdo it.
Next, let’s add a gradation using a multiply layer to the glass.
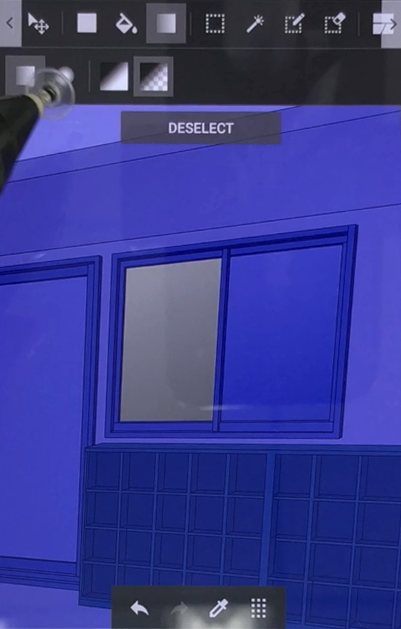
Let's also draw furniture shadows so the windows look transparent.
On a multiply layer with the water color brush, roughly draw the shadows.
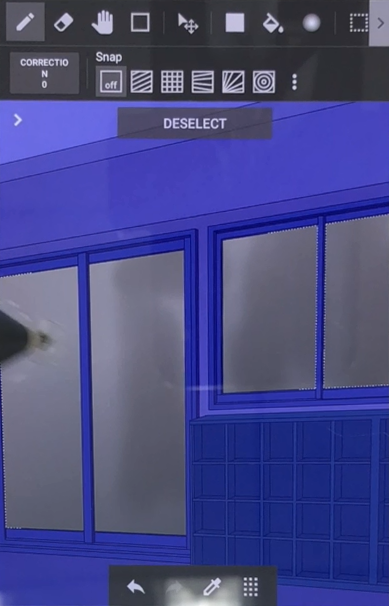
Adjust the opacity, and that’s done.
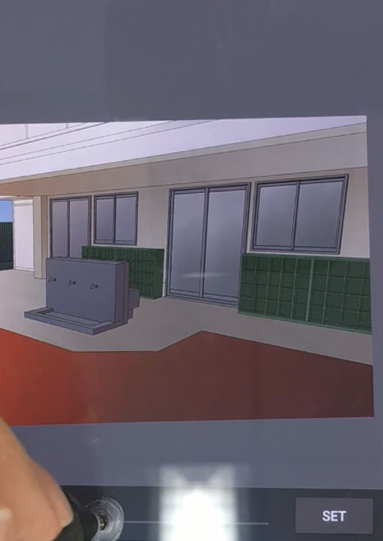
To add adjustments to the lighter area, create a "screen" layer.
Do the same thing we did before to add lighter colors.
We are using a light blue color.
Adjust the opacity as well.
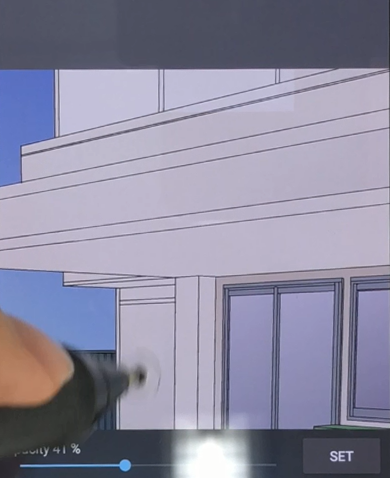
Lastly, let's do some final touches!
Add an overlay layer and fill it with a bright blue color.
Adjust the opacity until it looks good to you.
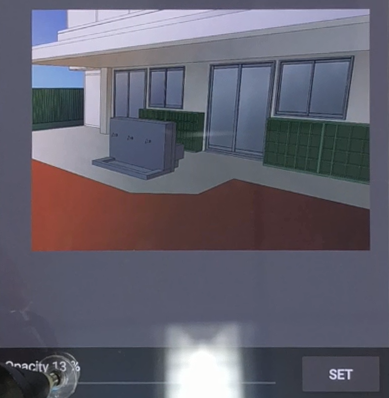
Do the same and add a pink overlay layer.
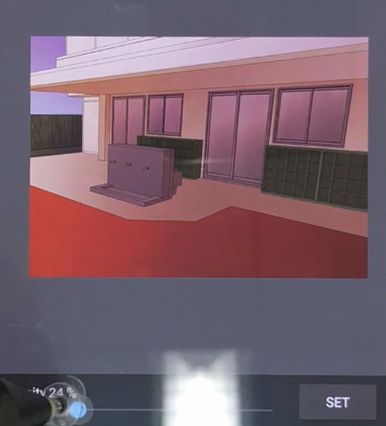
By doing this, the colors will look more balanced, and the mood can change too!
Next, download "colorful 1" brush.
Add a new screen layer, and add some random particles with the brush.
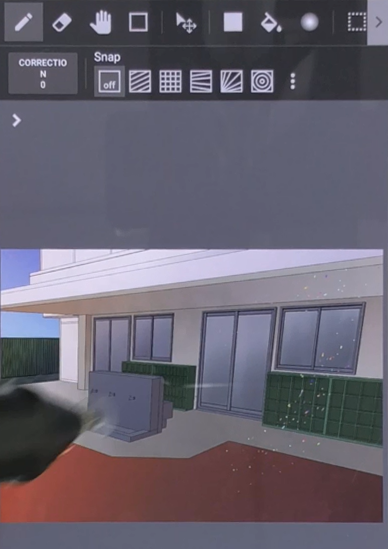
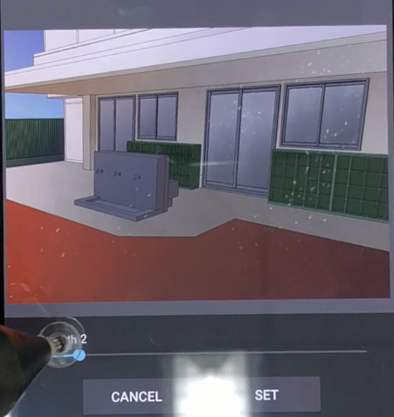
From the layer panel, select gaussian blur.
This will blur the particles and add a sense of depth.
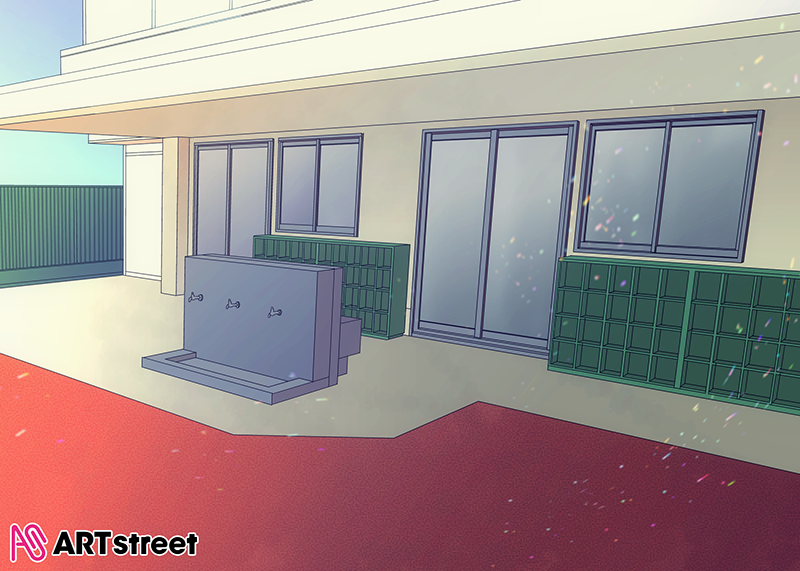
Adjust the colors a bit more, and it’s done!
With MediBang paint, you can color lineart from your smartphone!
We hope you try out for the “Using our background image contest”!


