Drawing with your finger on the phone!
2020-10-23

In this tutorial, we will cover finger painting on Android. We noticed in the comments that some of you don't own a stylus pen.
That's OK because you can finger paint with MediBang Paint, and I will show you how!
Drawing with your finger on the phone!
First, I will roughly sketch a character.
It doesn't have to be detailed at this stage.
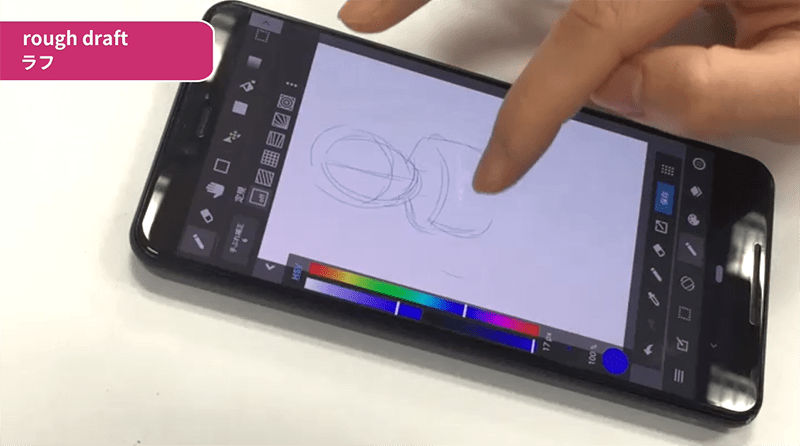
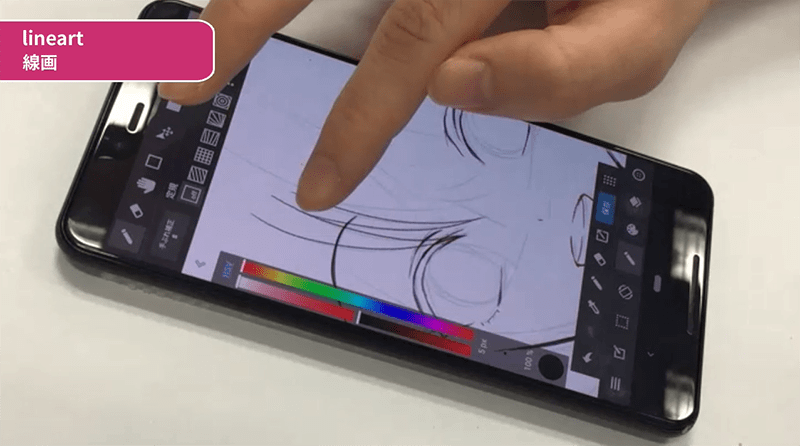
For the inking, I used a 5px pencil.
With finger painting, it is helpful to zoom in.
Make swift movements for the hair.
After the lineart is done, I will add the base colors.
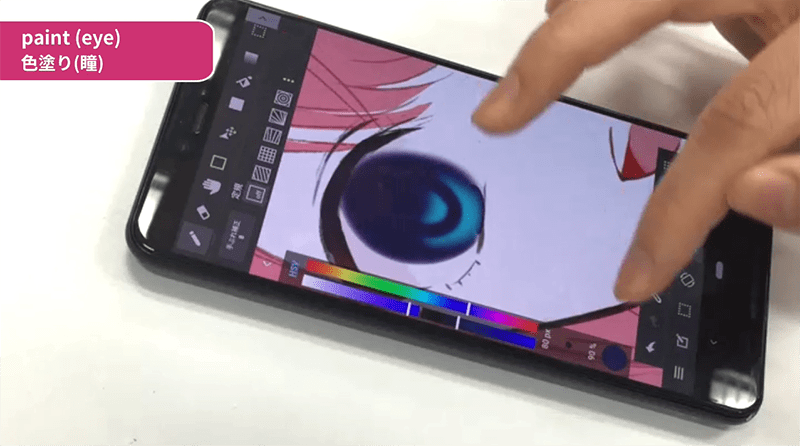
Next, I will paint the eyes.
Paint the dark colors with the airbrush on low opacity.
Paint the top part of the eye, and an oval at the center.
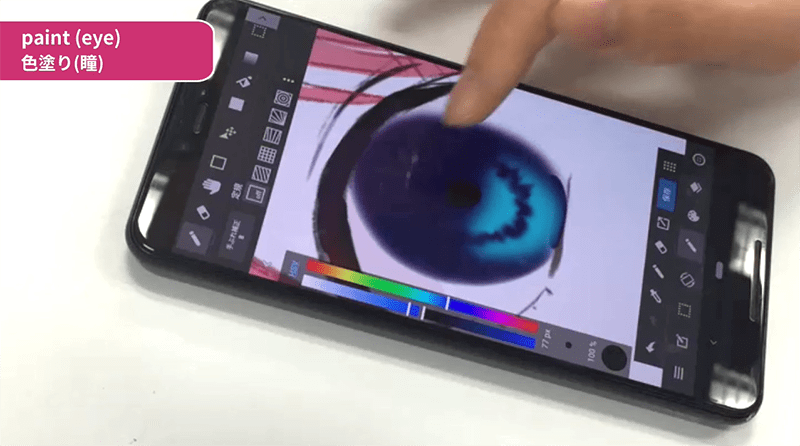
Use the smudge tool with a low opacity for the details of the iris.
Draw the pupil with a darker color.
Add a new layer, and set the blending to Add.
Add a color that is similar to the eye at the bottom of the eye.
I slightly added purple at the top.
Then I added another lighter color.
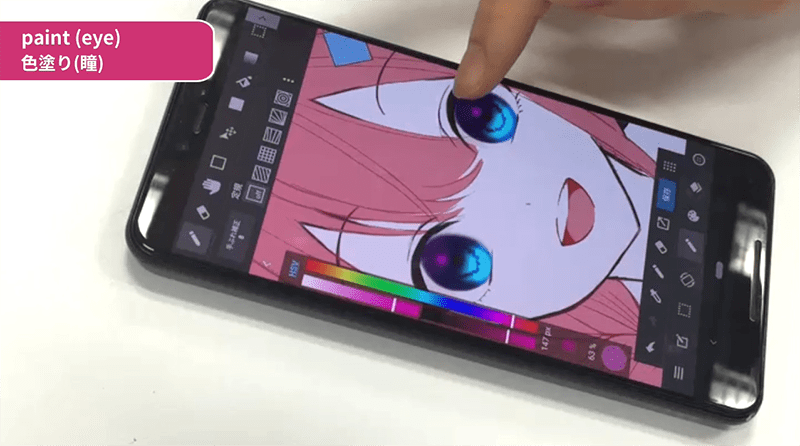
Now the highlights.
The position and size of the highlights will totally change the way it looks.
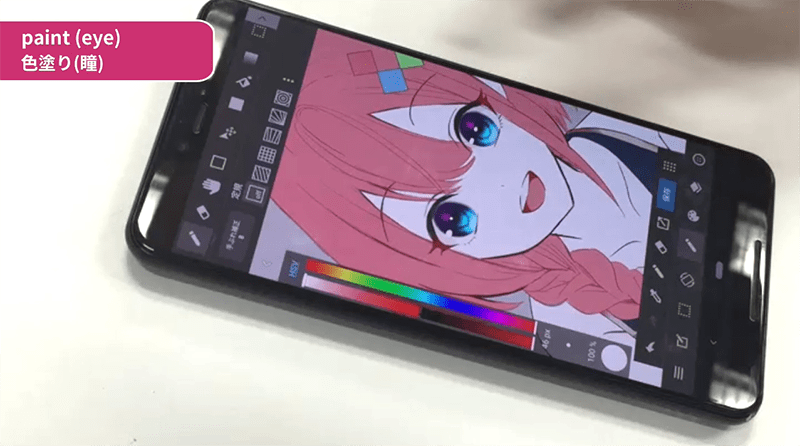
Now the skin.
Add a new layer and set the layer effect to Watercolor edge.
Draw the shadows with a color slightly darker than the skin.
Add a darker color to some areas, like the neck.
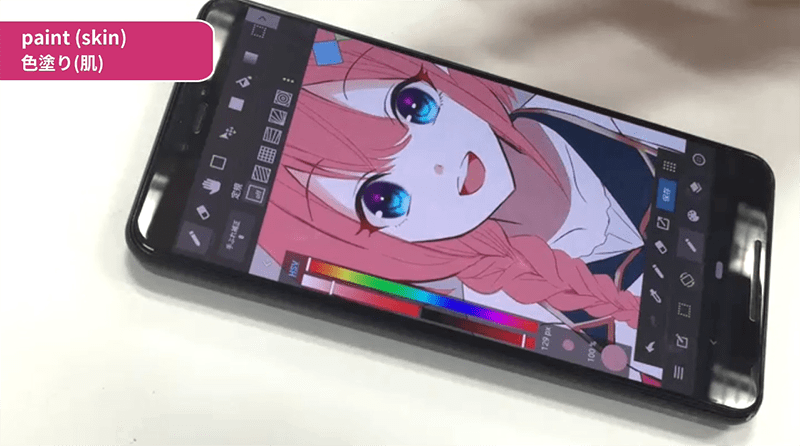
Add colors to the cheeks and shoulders using the airbrush.
The rosy cheeks give a kawaii look to the girl!
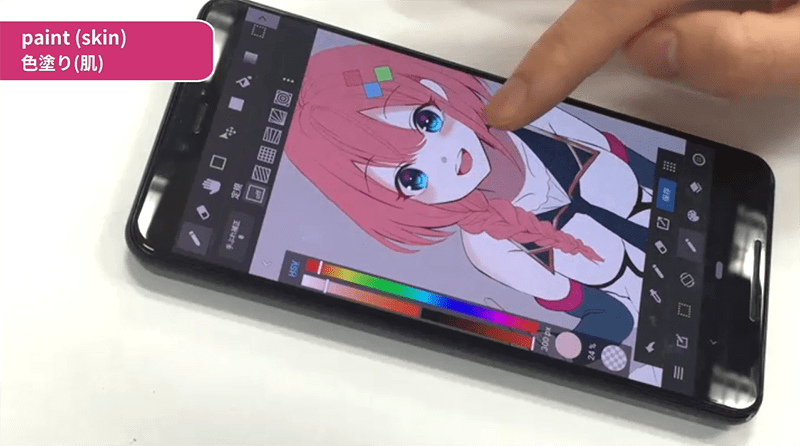
For the hair, I will first add pink to the tips.
Add a new layer, and set the effect to watercolor edge.
Paint shadows with the watercolor brush.
Adjust the edges with the eraser.
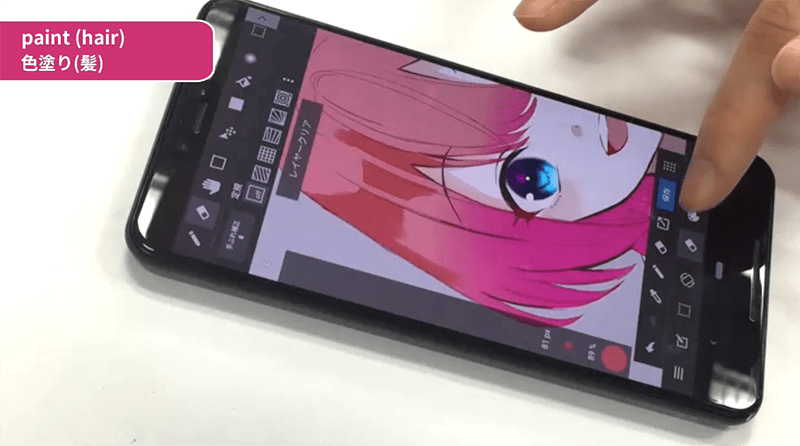
Add highlights.
Again, adjust the edges with the eraser.
Now the hair looks shiny.
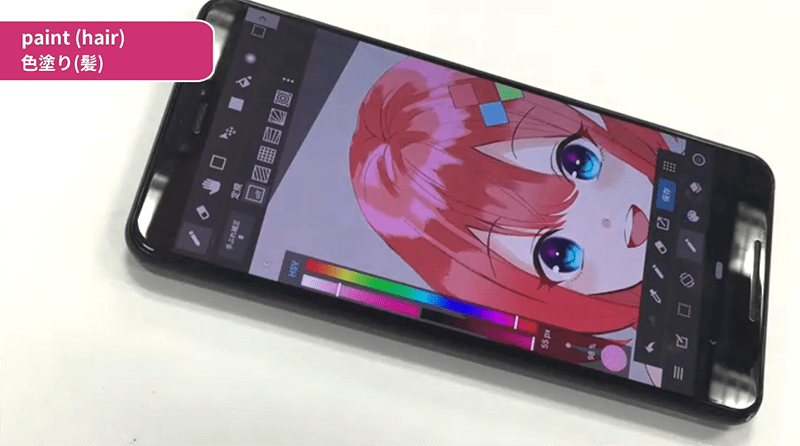
Add a red color to the bangs with the gradation tool.
Set the blending to screen.
Now the bangs look transparent, and light.
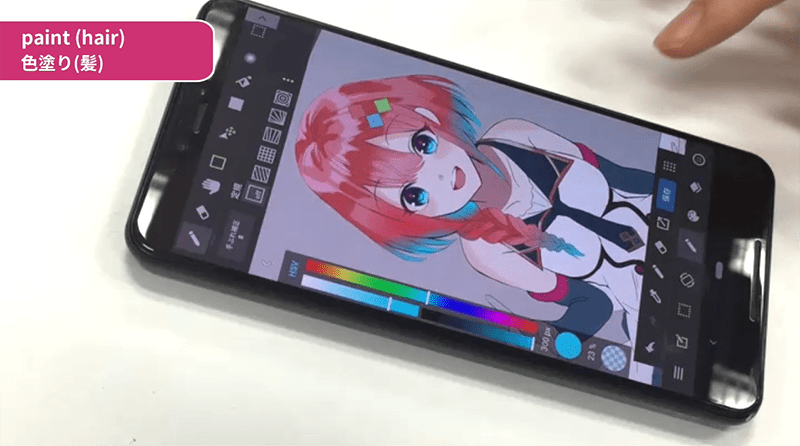
I finished off the hair by adding blue to the tips.
Now the background.
I downloaded the "Jewel 1" cloud brush and painted all over the canvas.
*You need to log in to download brushes.
Use gaussian blur with the highest value twice.
Use the hue filter to adjust the colors.
Add a blue gradation at the bottom.
This sets the mood of the background!
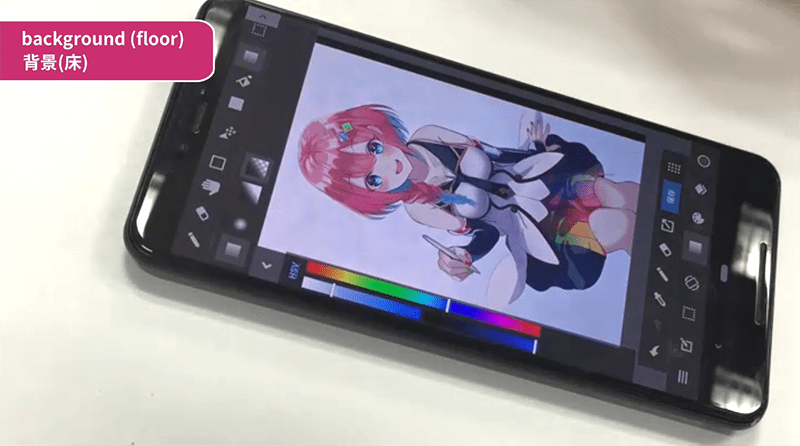
Use the round fill tool and draw the floor.
Use gaussian blur.
Download "Rainbow Spiral" cloud brush and draw in circles.
Use the free transform tool, and fit it to the floor.
Repeat and create more of those.
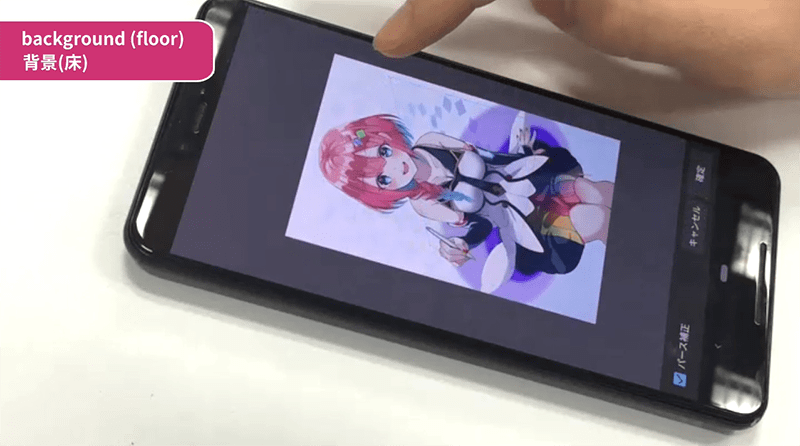
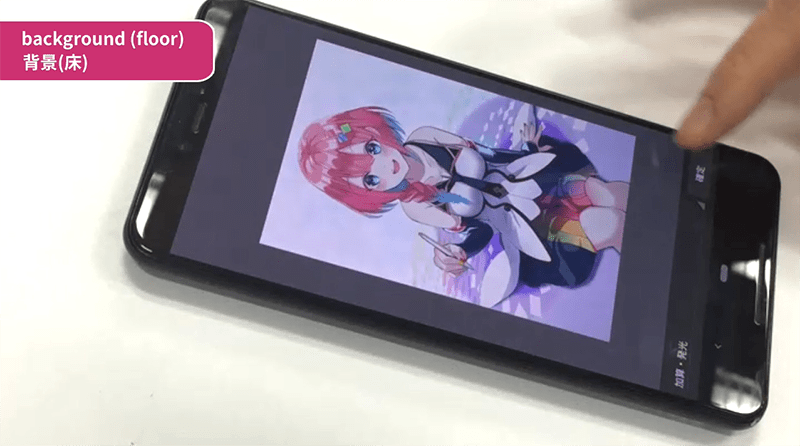
Add shadows between the floor and the ground.
This makes it look 3-dimensional.
Set the blending of the spiral layer to add to make it glow.
Next is effects.
I drew the shape of the effects with black.
Add a new layer above the black effects, and check "clipping".
Add colors so that it looks like a rainbow.
Add a lighter color to the effects behind the character. This will give a sense of depth.
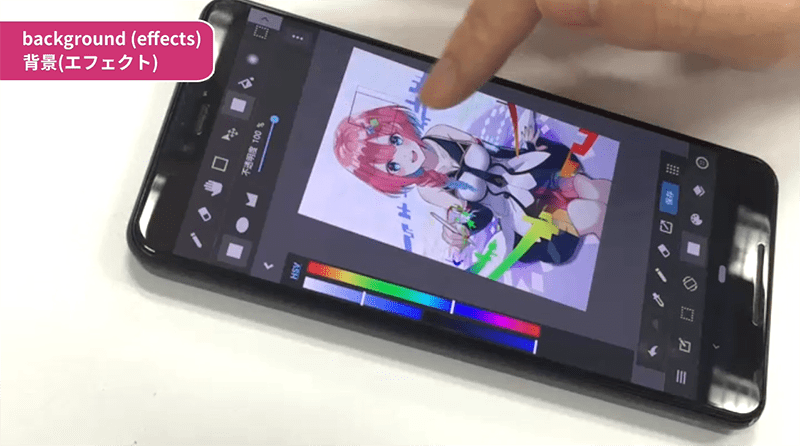
Download the cloud brush "colorful 1", use the biggest brush size, and add particles on the entire canvas.
Download "colorful 2" and check "Rotate along".
With the brush selected, create a circle with the shape tool.
Set the layer blending to screen.
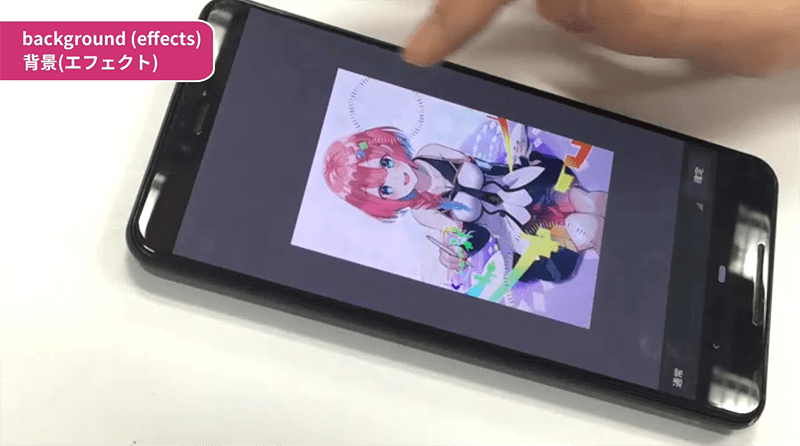
Now I will add a butterly.
Draw half of the butterly.
Duplicate the layer and flip horizontally.
Move the layer and merge the wings.
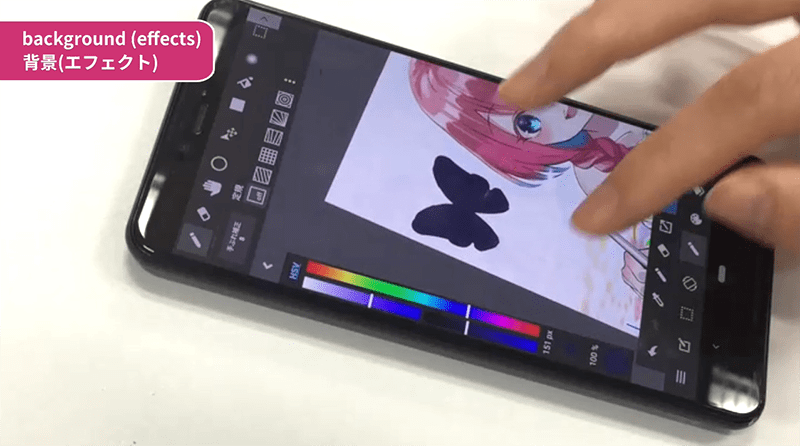
This looks too flat. I will give it an angle with the free transform tool.
Then duplicate the butterfly and transform. Create several butterflies like that.
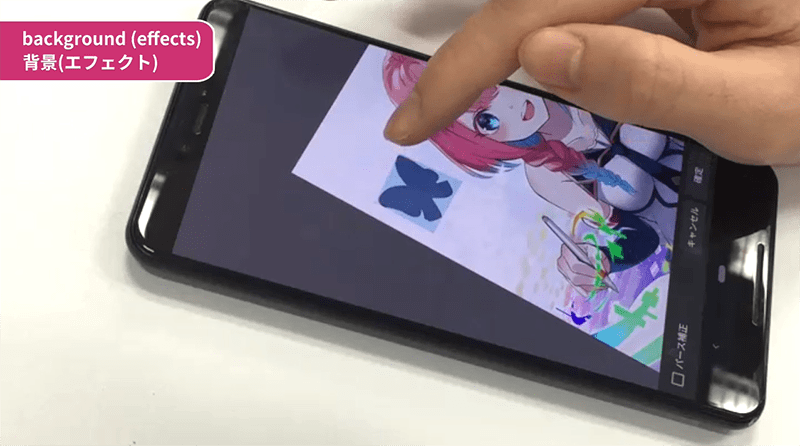
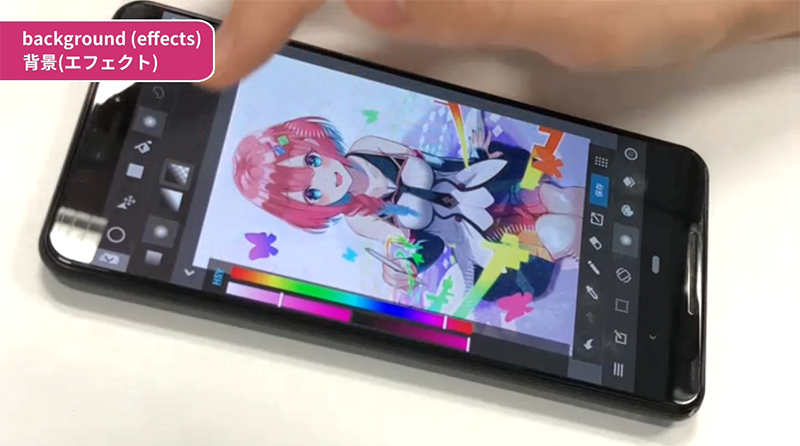
Merge the butterfly layers. Add a layer above it and check clipping.
Make the butterflies colorful, and it's done!
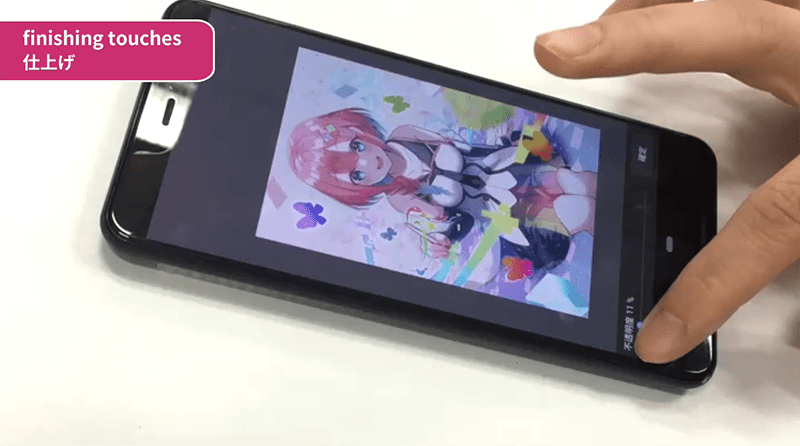
Now the finishing touches.
All the layers are merged at this point.
Duplicate the layer and select "Tone curve".
Adjust until the colors look good to you.
Let the layer blend to "Lighten" and lower the opacity.
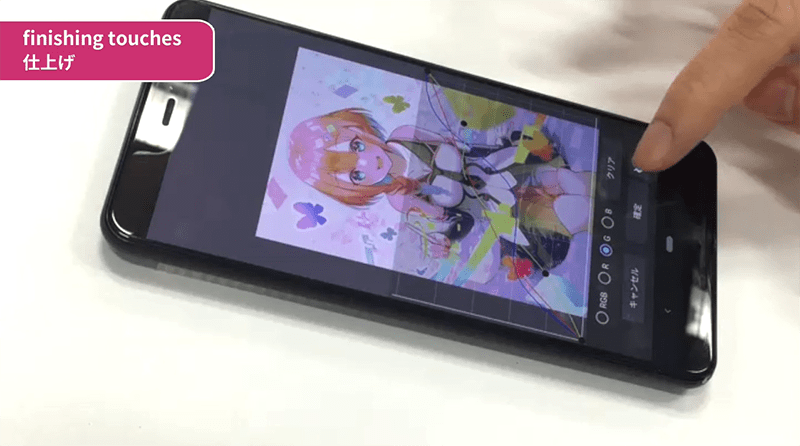
Add a layer and fill it with a light blue.
Set the layer blending to "Lighten" and lower the opacity.
The blue layer gives a softer look to the artwork!
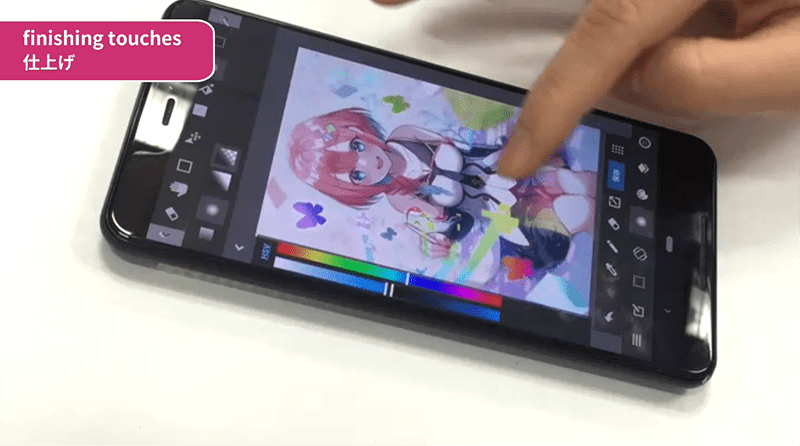
Duplicate the layer.
Use gaussian blur.
Add a mask layer above the blurred layer.
On the mask layer, paint the character black to get rid of the blur.
This makes the artwork more 3-dimensional.
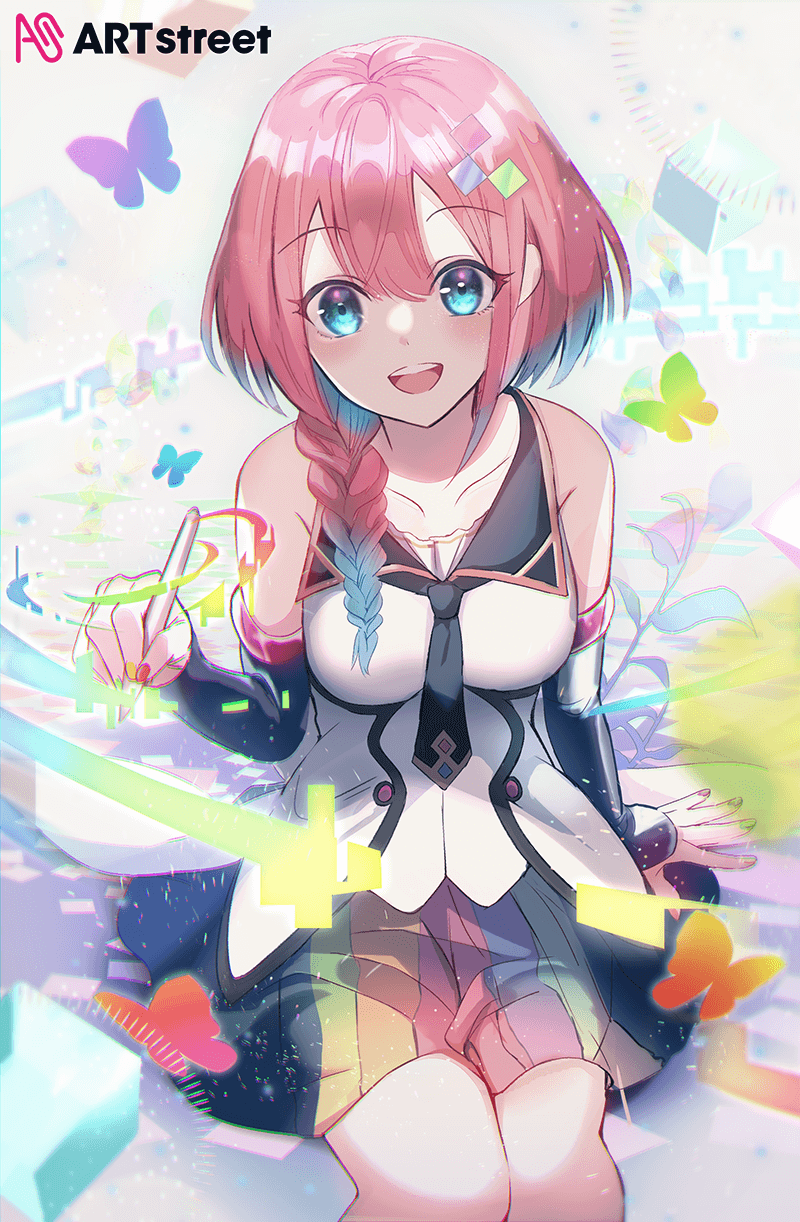
Completed!
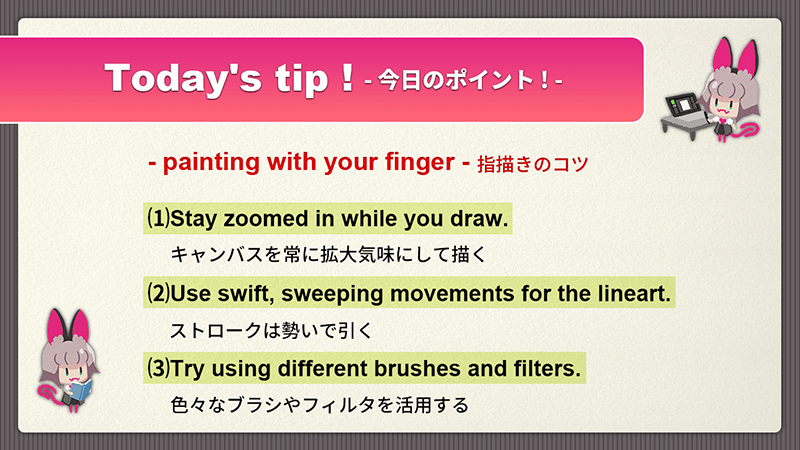
If you want to, you don't need a stylus to draw on your phone.
Finger painting has lots of potential!
We hope you try finger painting with MediBang Paint.


